The Ranch Style House Interior Is Gutted!
Article may have affiliate links. If you make a purchase, I may earn a tiny commission at no extra cost to you. Big thanks for supporting my small business.
The ranch style house interior is gutted and wow, it’s looking so good! Remodeling a ranch style house from a 1950’s style to a modern day showpiece often times requires removing walls, old tile and gutting just about the entire house.
Depending on the layout, you may be able to get by with minimal structure “re-design” which will save you money in the long run.
Over the last few weeks, Jim and his crew have removed just about every aspect of the interior related to 1950. The progress has been amazing so lets take a look at the current state of the ranch interior!
FAQs about Ranch Style Homes
Ranch Remodel Ideas
Replace & Enlarge Front Door
A home improvement project like replacing your front door (similar to how we enlarged the front door entrance at the split level house) is one of the easiest ways to modernize any style house.

The existing front door was fairly old so we decided to install a larger more modern door with a sidelight from the Remodelers Outlet in Fall River, Ma. Click through this post, how to install a wider prehung exterior door, to see the new front entry!

Jim reframed the front door rough opening to fit the new door which I will share soon.
The front porch also got a full makeover with new siding and cedar shakes to add a pop of color. See the front porch makeover and let me know what you think!
Enlarge The Entryway
The existing floor plan had arched doorways in the dining room and kitchen which we loved but the door widths were very narrow making the rooms feel closed off.
The view below is from the front door entryway.

The view below is the same wall above (from the opposite side) after removing the existing sheetrock and exposing the studs.

For a ranch, the original floorplan was quite nice but still boxy feeling.
Enlarge The Hallway
- Open up the hallways by increasing arch doorway width
- Remove non-load bearing wall at front door to open into living room increasing entry way space
Here is the hallway before looking into the living room and the dining room (to the right).

Here is the same wall above, shown below once the sheetrock was removed.

Living Room Remodel
- Widen arches and create open concept
- Vault the ceiling
The living room view to the hallway and dining room before.

In an effort to keep the charming feel but create a more open look, we decided to remove the walls and reframe the arches creating a more open feel between the kitchen, dining room and living room.
Click through this post, enhance your home with arches, to see the full transformation.

The new arch transition between the rooms will create character and visual interest vs a boring standard opening with trim.
By keeping part of the wall in tact, we were able to save money by not removing the load bearing beam. If you remember, we removed the load bearing beam at the split level house remodel which eliminated the kitchen and dining room walls. This was a costly decision but necessary to accomplish the cathedral open concept.

If you have the extra budget to open up the ceiling in the living room, consider it!
We were able to remove the ceiling and expose beams to create an open concept living room which is going to look amazing when it’s finished.
As of right now, we still need to add new sheetrock and plaster but you can see, the openings are much wider!
Ranch Kitchen Remodel
- Close up window above sink
- Relocate heat register on left wall
- Install larger window on left wall and new full view door
- New U shaped cabinet layout with peninsula
- New cabinets, appliances
The existing kitchen layout was fairly basic sporting a traditional L style.

We decided to remove the window over the sink and relocate the heat register in order to create a U shaped kitchen with a small peninsula.
Removing all the cabinets and appliances took these guys about 1 hour which was crazy fast. I could not believe how quick the kitchen disappeared!

As you can see below, the space now is ready for a full kitchen install with the sink being on the left wall under the new window, the range will be where the current window is and the refrigerator will be on the right side wall.

The new layout increased storage and provides a modern day style kitchen.
Click through this post, white kitchen cabinets with white countertops to see the full before and after makeover.
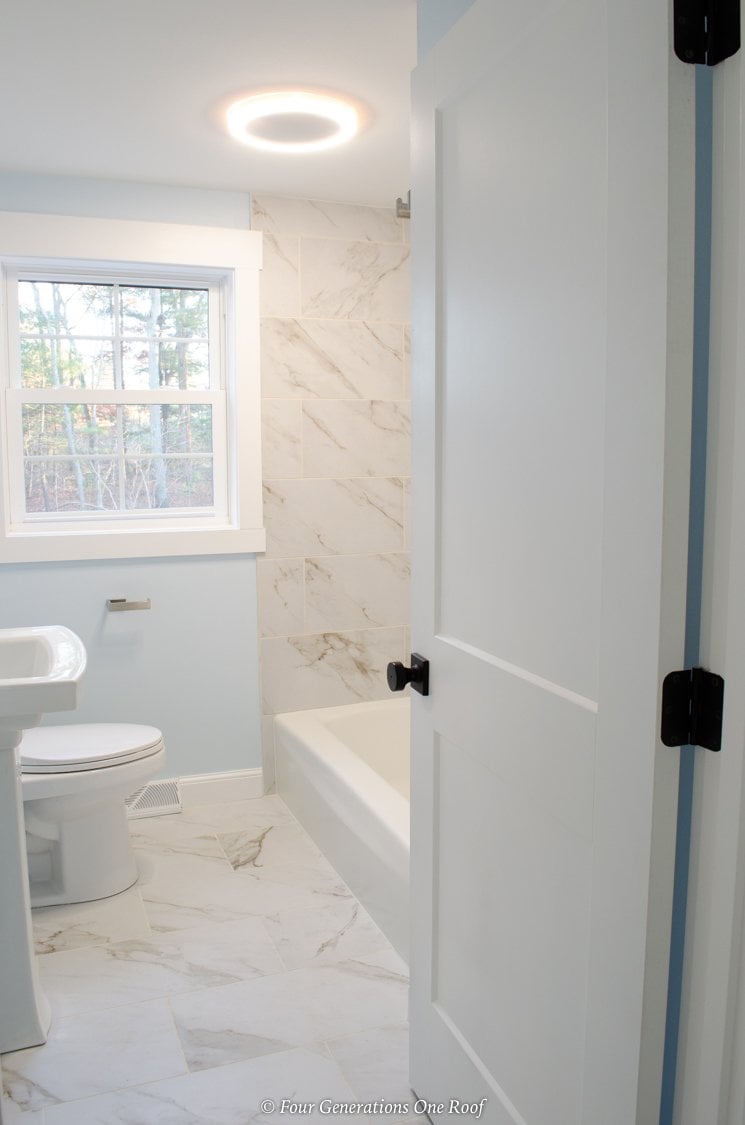
Ranch Bathroom Renovation
- remove everything down to the studs
- keep the tub and glaze
- new vanity, fixtures, lighting
- tile around tub and install glass doors
- install tile flooring

Removing the pink tile, pink toilet and sink was like being in a time warp.
I know this bathroom was probably spectacular back in the day. Most everything in the house was the best of the best over 80 years ago when it was built.

Jim’s crew member loves demo!

In a couple hours, they had this bathroom totally gutted.

The basement is currently being finished incorporating another living space, enlarging the bedroom with additional windows, a laundry room and a full bathroom renovation.

The finished basement and staircase were in desperate need of an update and to open things up a bit, we removed the center part of the staircase half wall.
Click through this post, to see the full before and after basement staircase.
Get caught up on the rest of our ranch home remodel by visiting the links below.
More Ranch House Renovation Series Posts
- Cute ranch renovation house project (the start and full tour of the home before we started remodeling)
- The day we gutted the interior (see the demo process of the entire house)
- Ranch house makeover (before and after of entire house)
- Small ranch house exterior makeover
- ranch front porch makeover (see how we added an accent wall)
- White kitchen cabinets with white countertops (kitchen before and after)
- How to elevate a ranch interior with arched doorways
- How to add curb appeal with a new front door (see how we installed a wider front door)
- How to build wood shelves in a closet (see how we transformed an old coat closet into a pantry)
- DIY Fireplace Makeover (how to paint a dated stone fireplace with white paint)
In addition to everything I just shared, we repainted the entire interior Sherwin Williams Greek Villa, installed larger windows, new exterior doors and board and batten siding making this cute little ranch well on its way to a modern ranch home.

Meet Jessica
What started as a hobby, Jessica’s blog now has millions of people visit yearly and while many of the projects and posts look and sound perfect, life hasn’t always been easy. Read Jessica’s story and how overcoming death, divorce and dementia was one of her biggest life lessons to date.


Can’t wait to see how this turns out! We just bought a 50s rancher too and it needs some updating. Thanks for the inspiration!
Hi Rachelle! You are welcome and I’ll be sharing updates over the next 30 days 🙂 Ranches are so fun to update, lots of potential! Have fun updating yours 🙂
Can’t wait to see the after of all your hard work!
Thank you! Will share pics soon 🙂