Ranch House Makeover Before and After: Remodel Ideas
Article may have affiliate links. If you make a purchase, I may earn a tiny commission at no extra cost to you. Big thanks for supporting my small business.
Today I’m sharing our 3 bedroom 2 bath ranch house makeover project, where we transformed a 1950s ranch-style house into a modern living space. After purchasing the ranch fixer-upper last year, we started with an ultimate goal to revamp every aspect of the home while preserving the home’s classic appeal but bring into the 21st century.
If you have been following along since last year, you have seen many of the renovation projects including the kitchen, bathroom and new vaulted ceiling in the living room.
Let’s take a look at the entire remodeling project from start to finish because I know you all love a good before and after blog post!

How Do You Remodel a Ranch Style House?
Last year, Jim got the chance to buy a house straight out of the 1950s. It literally was exactly how the previous owners had left it before they passed away a few years ago.
The small ranch home was part of a larger family plot of land Jim acquired a couple of years ago, and the children of the previous owners were ready to sell.

There was something special about this house, the interior arches and the oversized living room made the house feel elevated and a luxurious vibe from back in the day.
So, we decided to keep that classic charm while giving the house a modern twist.
First things first, we made a plan on paper about what changes we wanted to make.
We wanted to maintain the integrity of the original design, so we decided to enlarge the existing arches.
They were just too beautiful to completely eliminate!
We opted for a semi-open floor plan, keeping some visual barriers between rooms – you know, to maintain that cozy traditional feel.
It was all about finding that perfect balance between classic and modern.
1950s Ranch Remodel Before and After
Get ready for some major upgrades!
We completely revamped the exterior with new siding and landscaping to boost curb appeal.
Inside, we faced challenges like no interior access to the garage, but we solved it by adding a new door from the living room, even if it meant adjusting the fireplace.
Let’s take a look at the exterior remodel first but stick around because the rest of the house transformation is equally as stunning!
Ranch House Makeover: Exterior
The existing house exterior was in need of a complete makeover.

The first thing Jim tackled was removing all of the overgrown shrubs that were covering the house.

The front yard led to a really cute front porch but you literally couldn’t see it.
Once the house was visible from the street, Jim replaced the old siding with new vinyl board and batten siding and gave the front porch a refresh by creating an accent wall of wood cedar shakes.
The entire house got new double hung windows and exterior doors making this a brand new home.

The garage door got a fresh coat of white paint completing the look of this new house.

The back of the house also got a full makeover with brand new deck leading to the large open backyard.

The exterior makeover of this small ranch house truly is remarkable.
The previous owners had lived in this house since it was built in the early 1950s and while they had both passed away several years ago, the home was still kept in the family by their children who grew up in this home.

They enjoyed stopping by regularly to see the updates as did the neighbors.
Visit this blog post, our ranch house exterior makeover, to see more pictures and details of this remarkable exterior remodel.
Ranch House Remodel: Interior
We aimed for an open floor plan to improve flow and functionality, without going fully open.
Unlike many ranch-style homes that open directly into the living room, this one had a small entryway of its own.
Not only did we install all new exterior windows and doors but we replaced all of the interior doors with solid core craftsman style doors.
Front Door

To make the most of this space, we decided to enhance it by installing a new front door with a glass sidelight.
The wider pre hung exterior door did require enlarging the existing framed opening but well worth the hard work.

Visit this blog post, installed a wider pre hung exterior door, to see the door installation project.
As you walk in through the new front door, you are greeted with an open feel entering the living and dining room area.

Arch Doorways
We also decided to widen the arches into the rooms, achieving that airy feel without removing any load-bearing walls.
As you can see below, the view from the living room into the entryway and dining room had existing archways that were really nice but narrow.

Widening the arch doorways enhanced accessibility and connection between rooms, all while maintaining structural integrity.
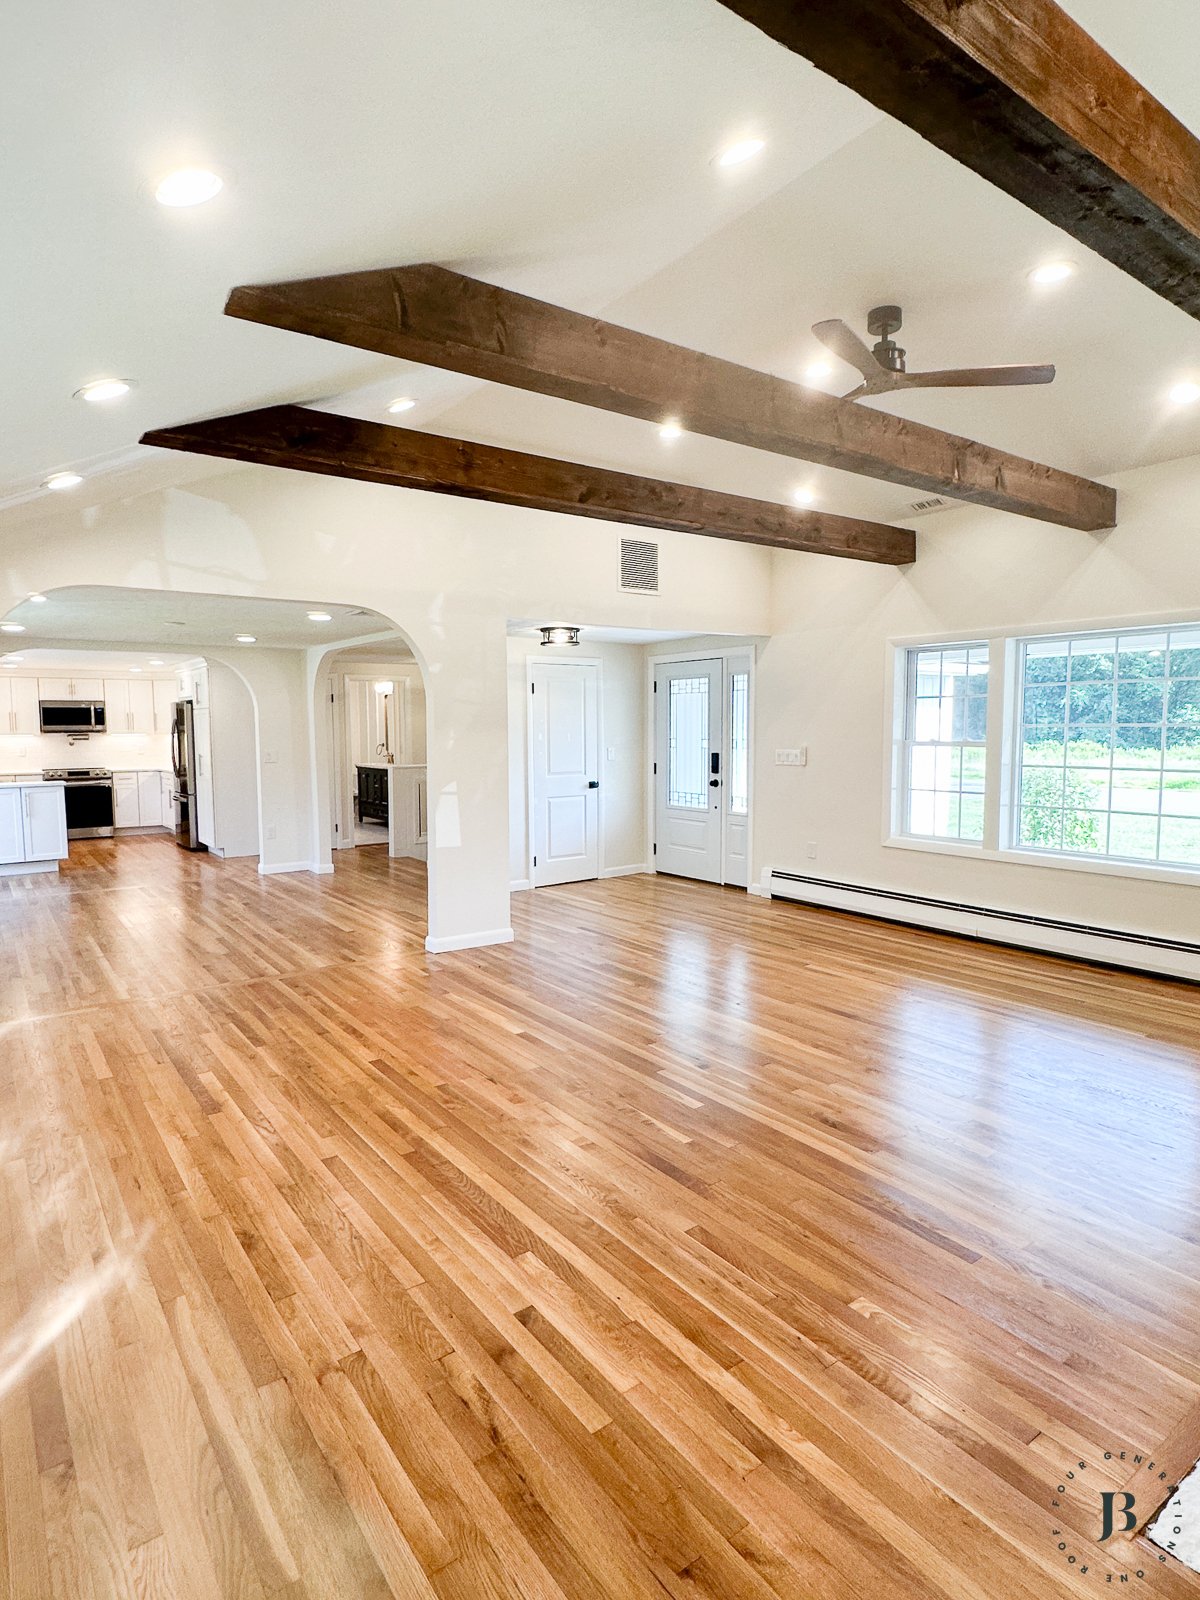
Plus, installing a vaulted ceiling in the living room added both visual interest and a sense of spaciousness.
Here is another before pictures of the living room.
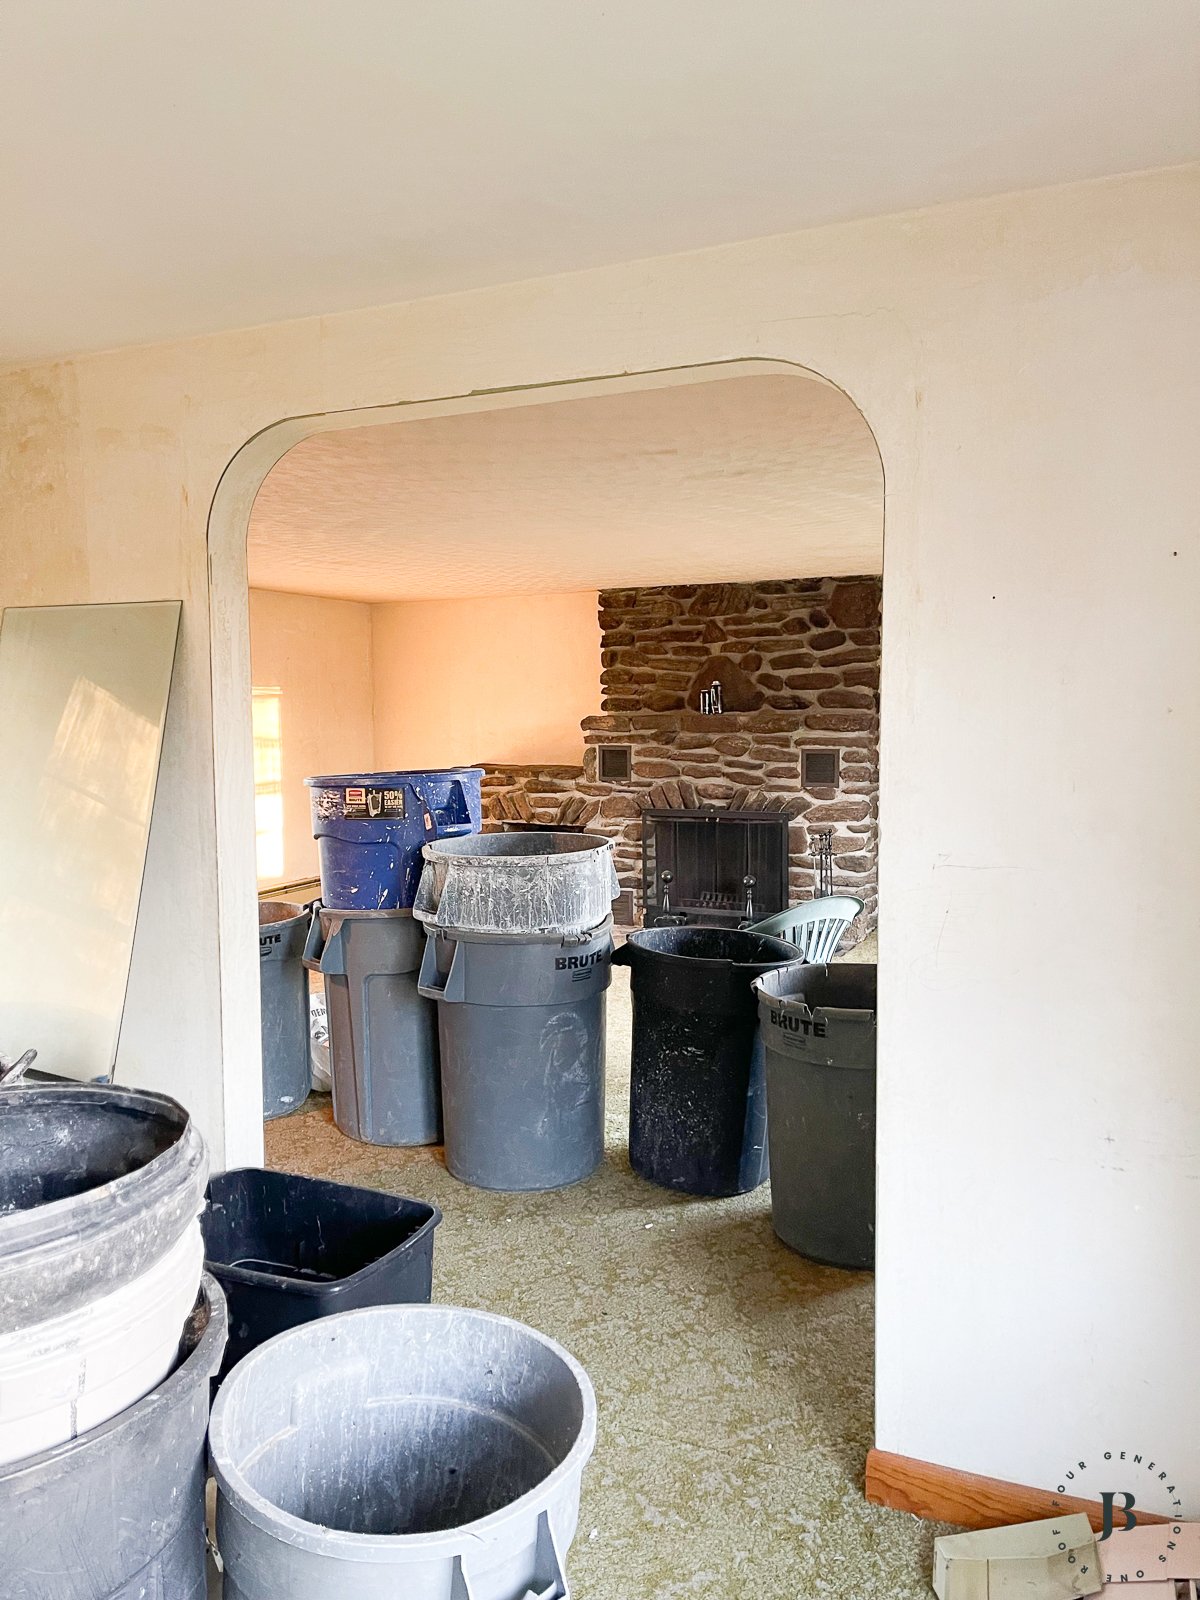
To create a cohesive look through out the home, we chose neutral paint colors and specifically Greek Villa on the main floor and finished basement.
You will see below how we opened up the dining room into the living room and hallway by widening the arches.
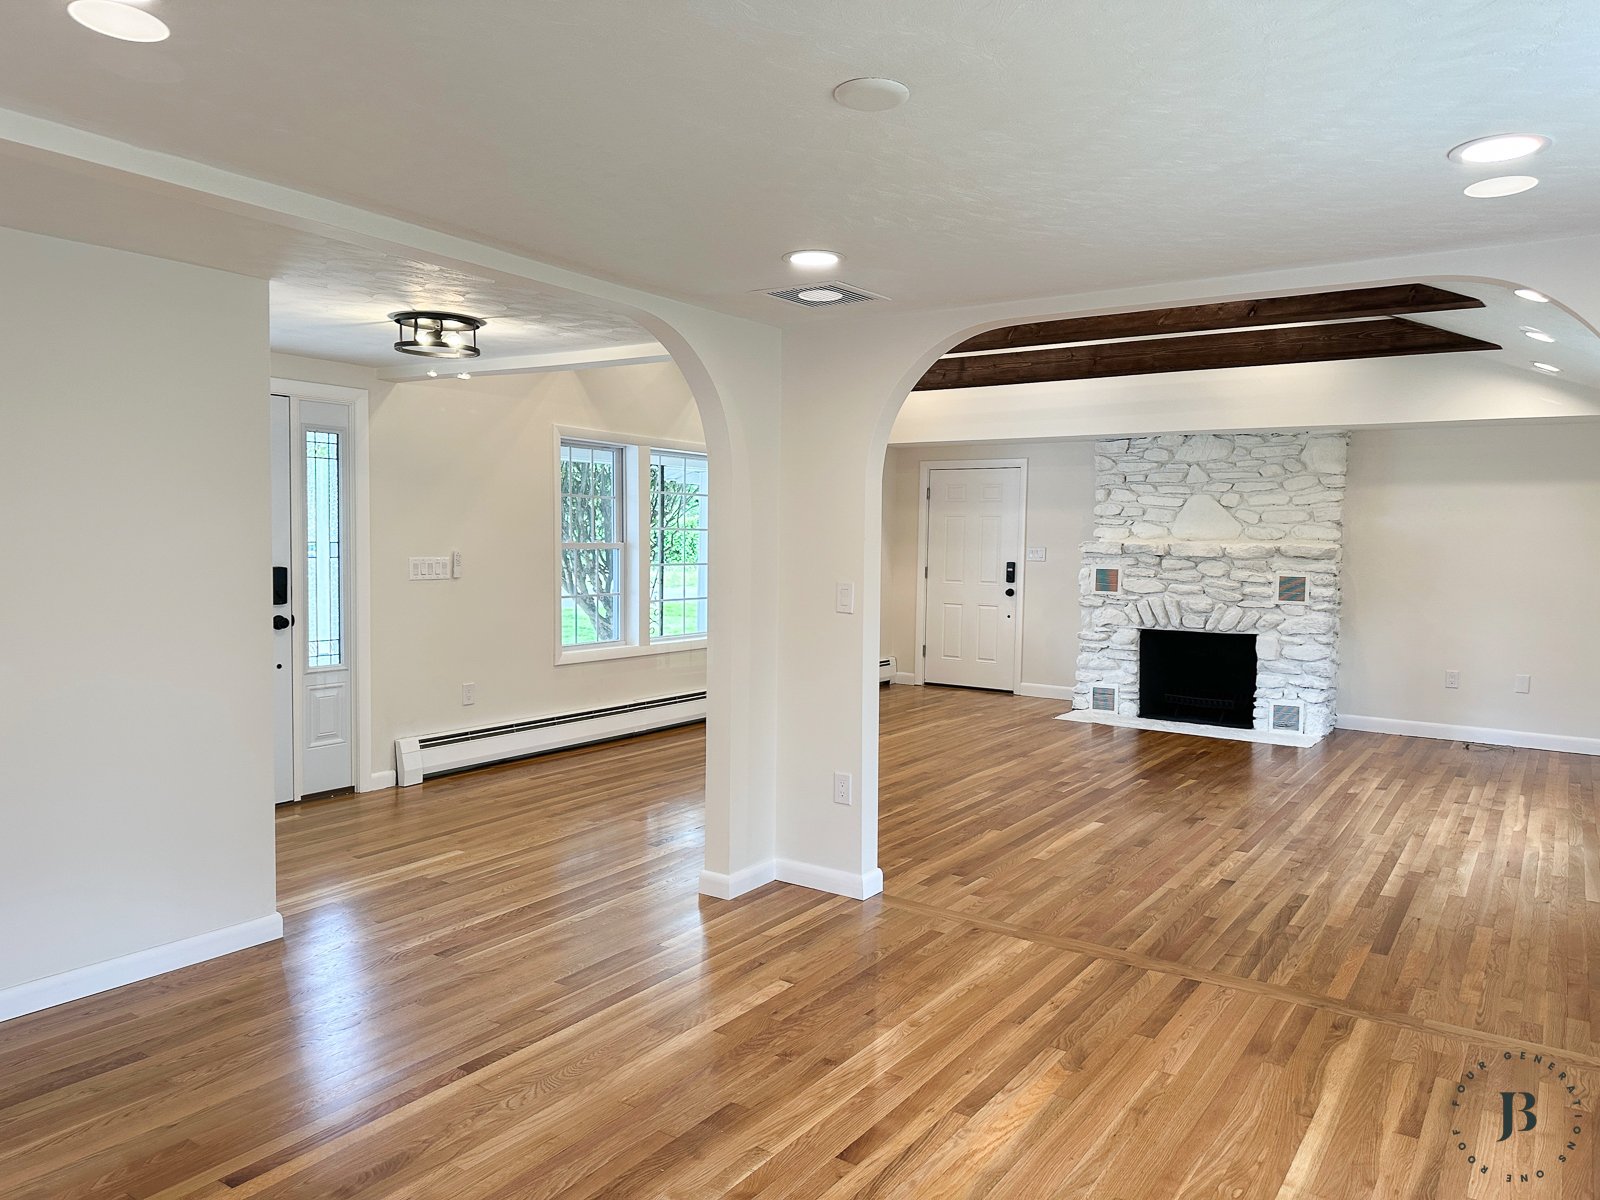
Notice the new door leading to the garage which is a huge bonus!
Visit this post, ranch house interior arches, to see how we widened and more details.
Vaulted Ceiling – Living Room
In the living room, Jim removed the ceiling creating a vaulted ceiling to give a more open feel.

He installed structural beams, which we stained with a rich dark wood tone to highlight the stunning vaulted ceiling.
Personally, I love the new look of the vaulted ceiling and arches, evident throughout the entire house.
Here is the same view from the living room into the dining room after we remodeled.
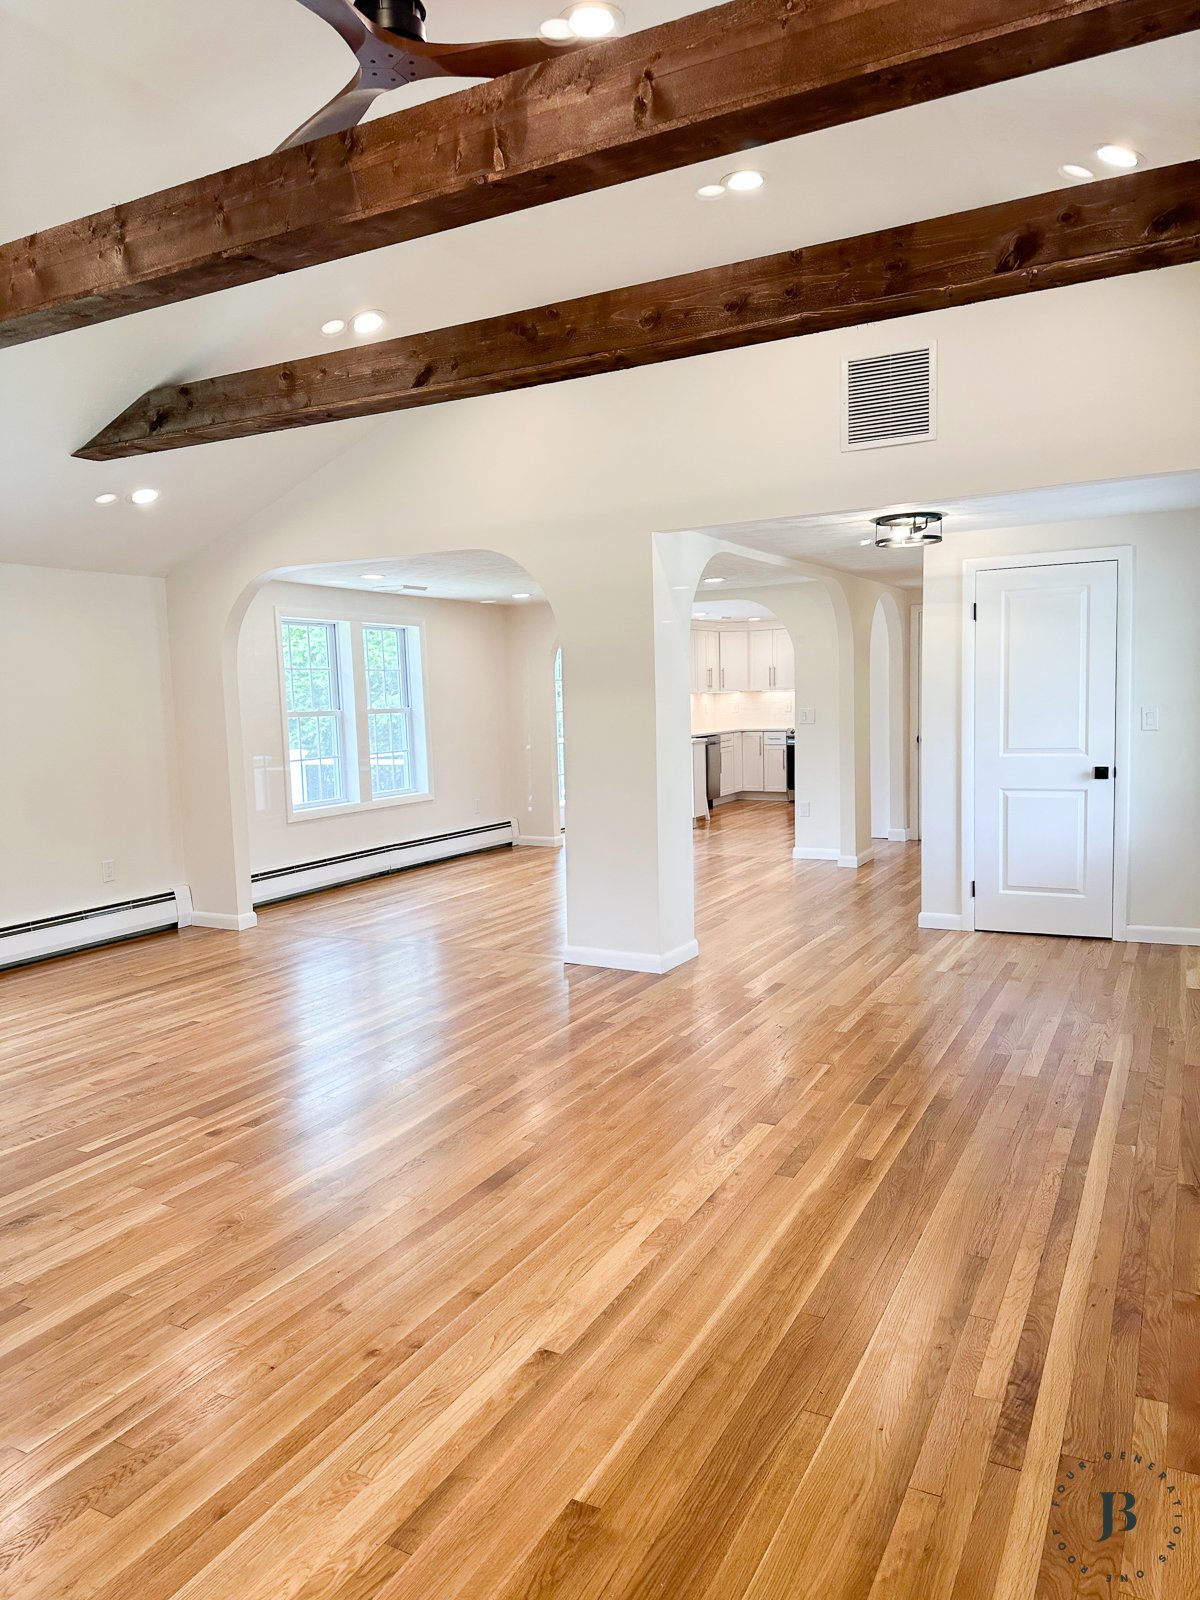
While we considered removing the existing fireplace 100% and replacing with a new modern design, ultimately, the total cost to compete was not in the budget.
Visit this blog post, ranch house interior is gutted, to see more before and renovation picutures.

The fireplace stone back in the day was more than likely very appealing but clashed with the new modern vibe of the home so we painted the stone the same white color as the walls creating a seamless look throughout the rest of the house.
Visit this blog post, fireplace makeover, for more pictures and all the details.
Ranch House Bathroom Makeovers
The house originally had two bathrooms, one on the main floor and one in the basement.
First Floor Bathroom
It was evident that back in the early 50s and 60’s the previous owners had invested in high-end features and stylish decor, but some elements were too outdated to salvage.

We kept the existing layout but gutted the existing space to accommodate a new vanity, toilet and bathtub/shower.

The original bathtub was cast iron and in great shape so we had it reglazed making it look brand new.
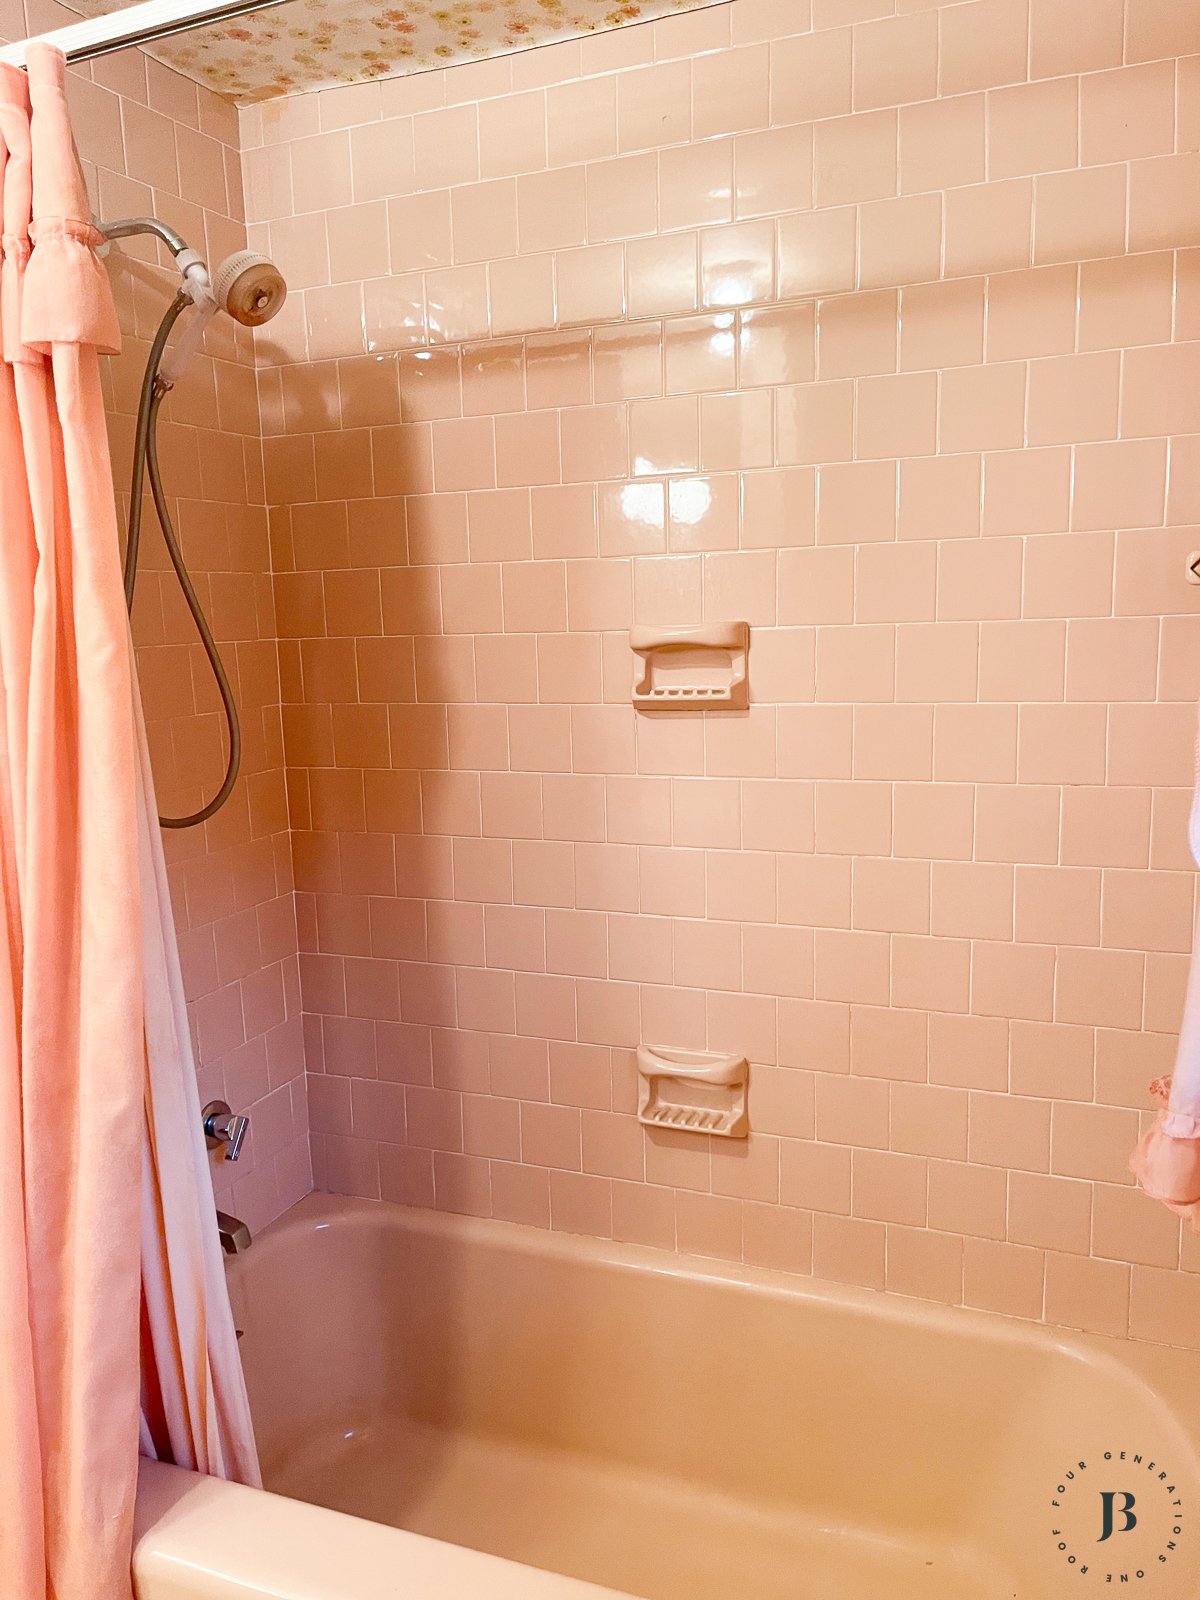
We opted to install the same floor tile to the shower walls to create a cohesive custom look.

New fixtures and lighting finished the look making this a beautiful bathroom makeover.
Pretty amazing right?
Basement Bathroom
The bathroom in the basement was originally scary and reminded me of a prison bathroom. I think because of the sink!

The interior walls, shower and entire bathroom needed to be completely gutted.
Once we had the space empty, down to the studs, We got busy picking out classic modern tile for the floor and shower.

We decided to install board and batten siding in the bathroom to give the small space charm and character while mixing in a modern vanity with a vessel sink and mid century modern lighting.

Once completed, this bathroom remodel was one of my favorite spaces in the house!
The goal was to make this small but mighty bathroom feel custom and not like a “basement bathroom.”
Related: Read this post, 10 large shower tile ideas, if you have a bath remodel on your mind.
Kitchen Remodel
In the kitchen, we made changes featuring a new layout, new white kitchen cabinets and white quartz countertops, along with creating a large archway to the dining room which made a big impact.

We also added a French door leading to the new rear deck and reconfigured the layout to create a U-shaped design for more space.
The natural light from the new french door was significant giving this small kitchen a fresh look.

To improve the workflow and accommodate modern appliances, we relocated the sink and added a peninsula for visual separation between the kitchen and walkway to the back door.

New glass jar style light pendants gave a modern feel while keeping with the look simple and classic.

While there wasn’t enough room to build an island or have seating at the peninsula, the open dining room space off the kitchen serves as an eat-in kitchen option and still have enough space to host larger family gatherings in a dining space.
Visit this post, 1950s ranch kitchen remodel with white kitchen cabinets and quartz countertops, to see more before and afters and the full renovation process.
Kitchen Pantry
The kitchen didn’t have a pantry other than the floor to ceiling kitchen cabinet that we installed so we converted a small coat closet in the hallway right off the kitchen, into a kitchen pantry.
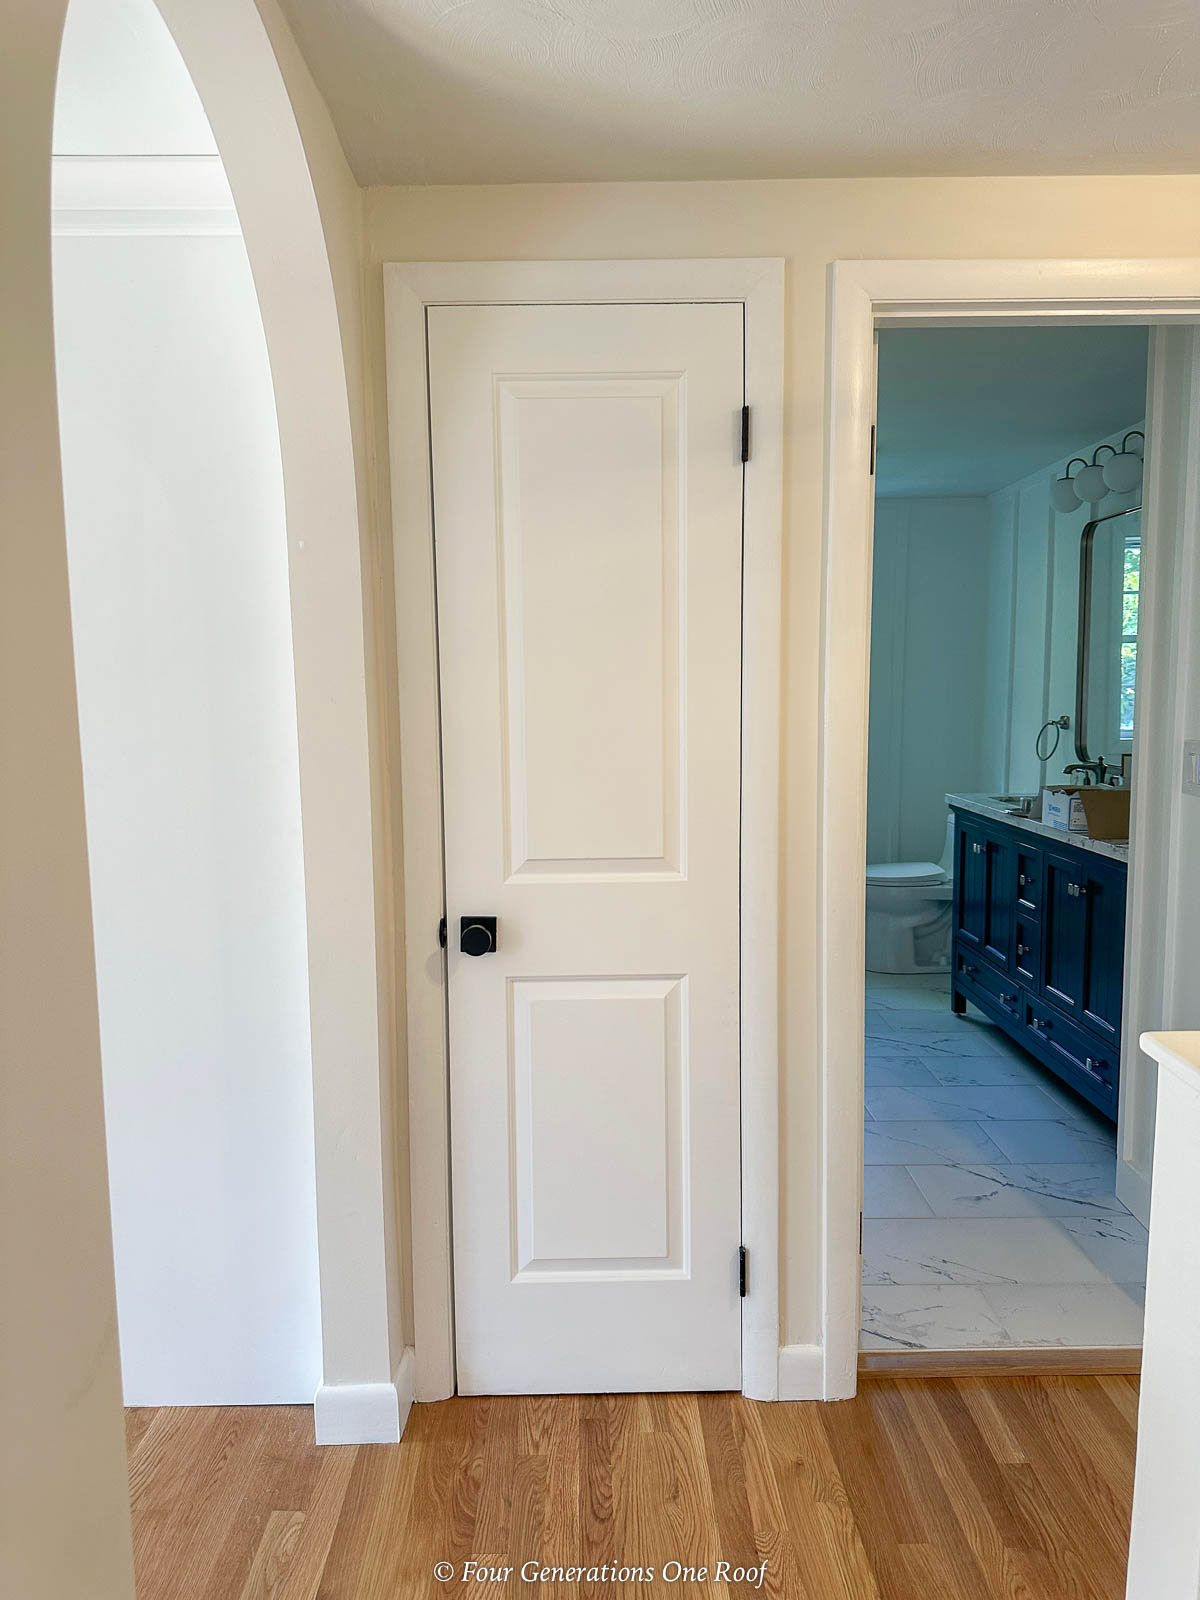
Visit this blog post, how to build wood closet shelves for a kitchen pantry, to see the full makeover.
Bedrooms
The home has two good sized bedrooms on the first floor and a bedroom in the finished basement.
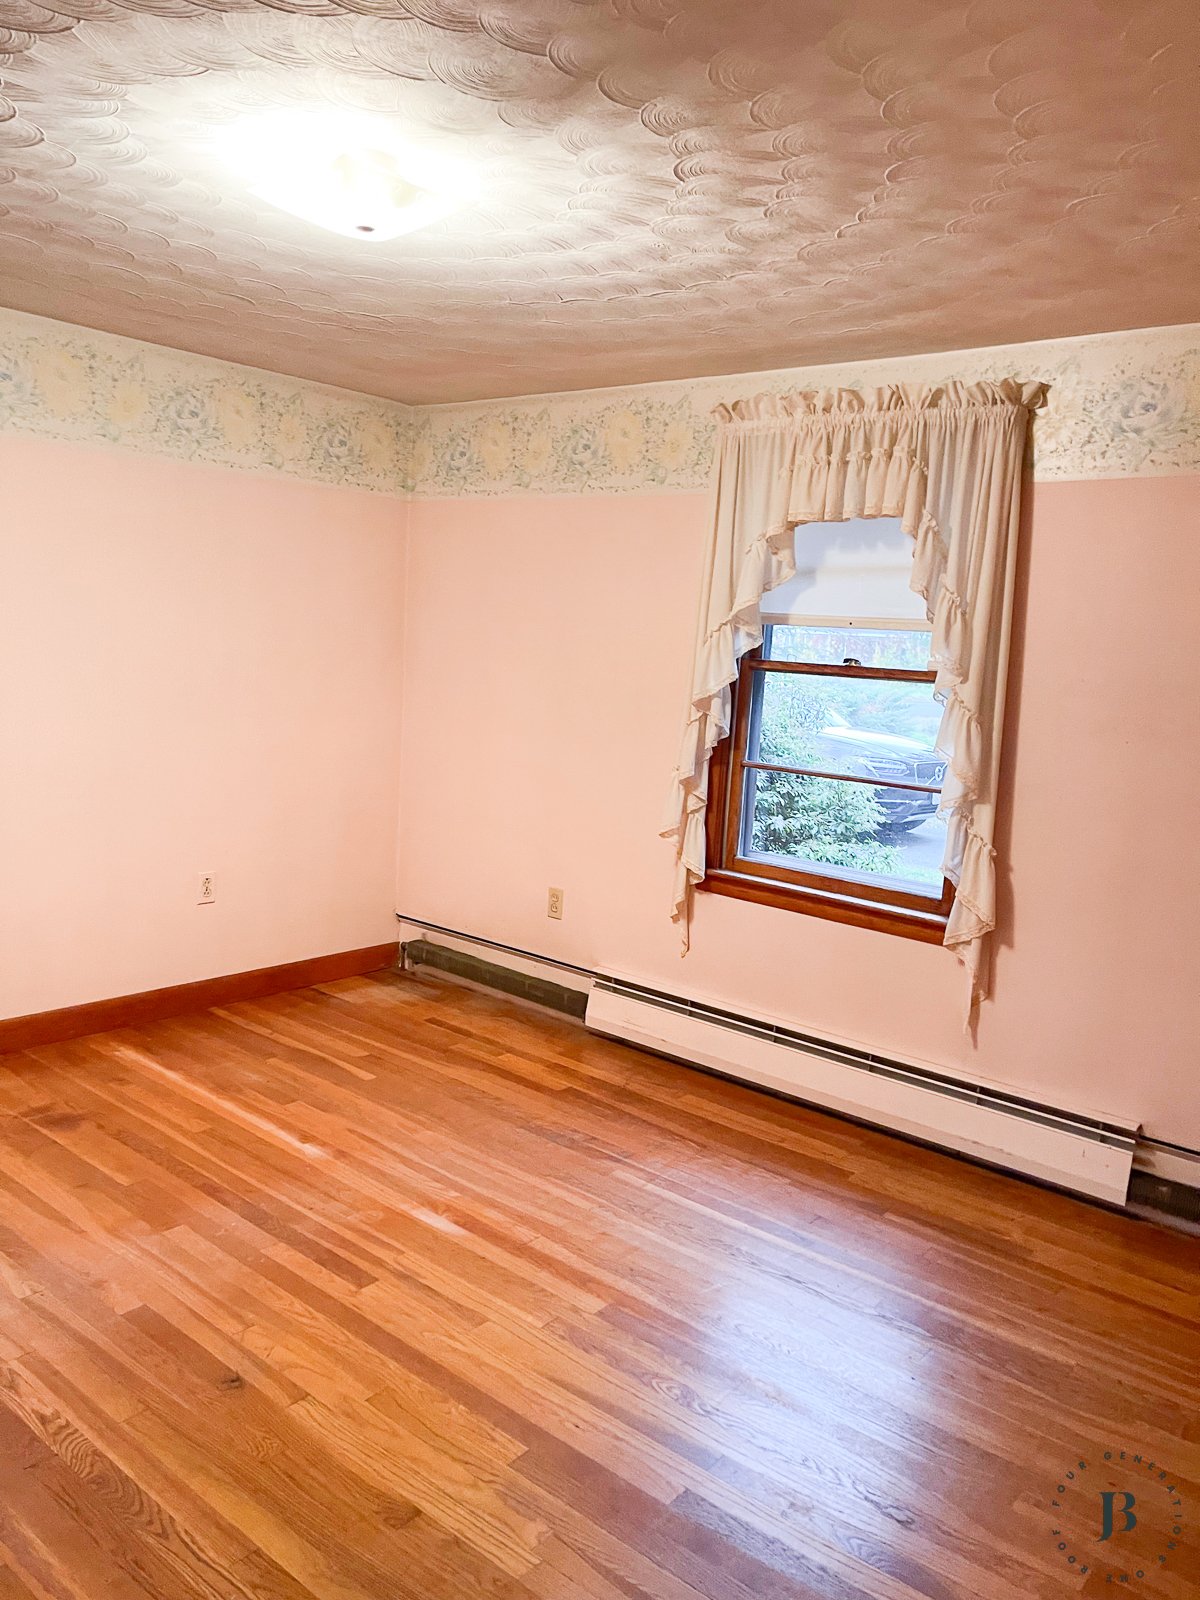
What I love about this ranch home is the previous owners didn’t cram 3 bedrooms on the first floor which typically makes the bedroom sizes really small.
Here is a different view of the bedroom above featuring new paint and closet doors.

It’s very common for ranch homes especially in the 50s and and 60s, to have all the bedrooms on the first floor.

The bedroom above was dated featuring older windows.
The remodeled bedroom below shows the updated windows, a fresh coat of paint and newly refinished floors.
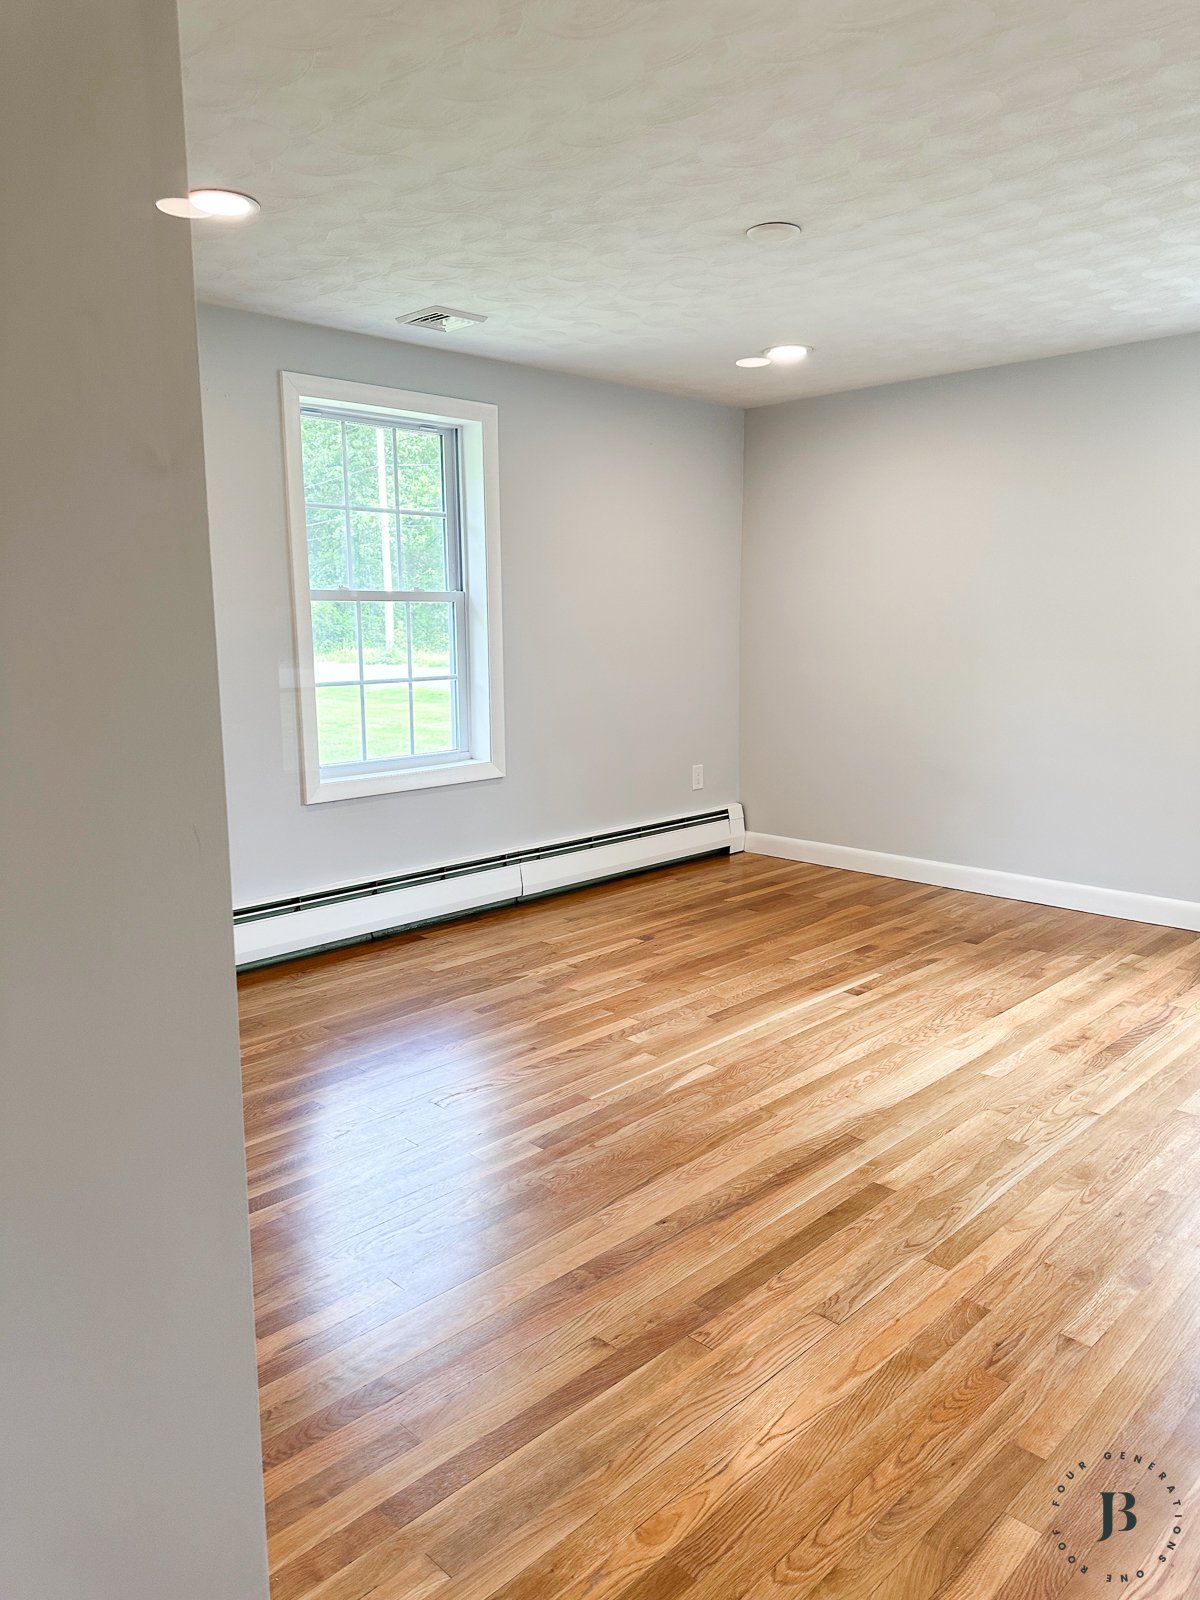
The layout of this house works perfectly for a growing family who may have an older child or a parent that lives with them, that would enjoy a private bedroom or bathroom in the finished basement.

The basement bedroom above was in desperate need of updating.
As you can see below, the basement bedroom got a 100% makeover!

Overall, the newly remodeled how now has 3 beautifully updated bedrooms all with newer closet shelving and doors.
Basement Stairway
The stairs leading to the finished basement also needed a complete overhaul.
The stairs leading to the basement were open to the main floor which is a nice feature, especially if your basement is finished.

We opened up the half wall along the stairway to create a more open feel, painted the paneling and replaced the stair risers and treads.

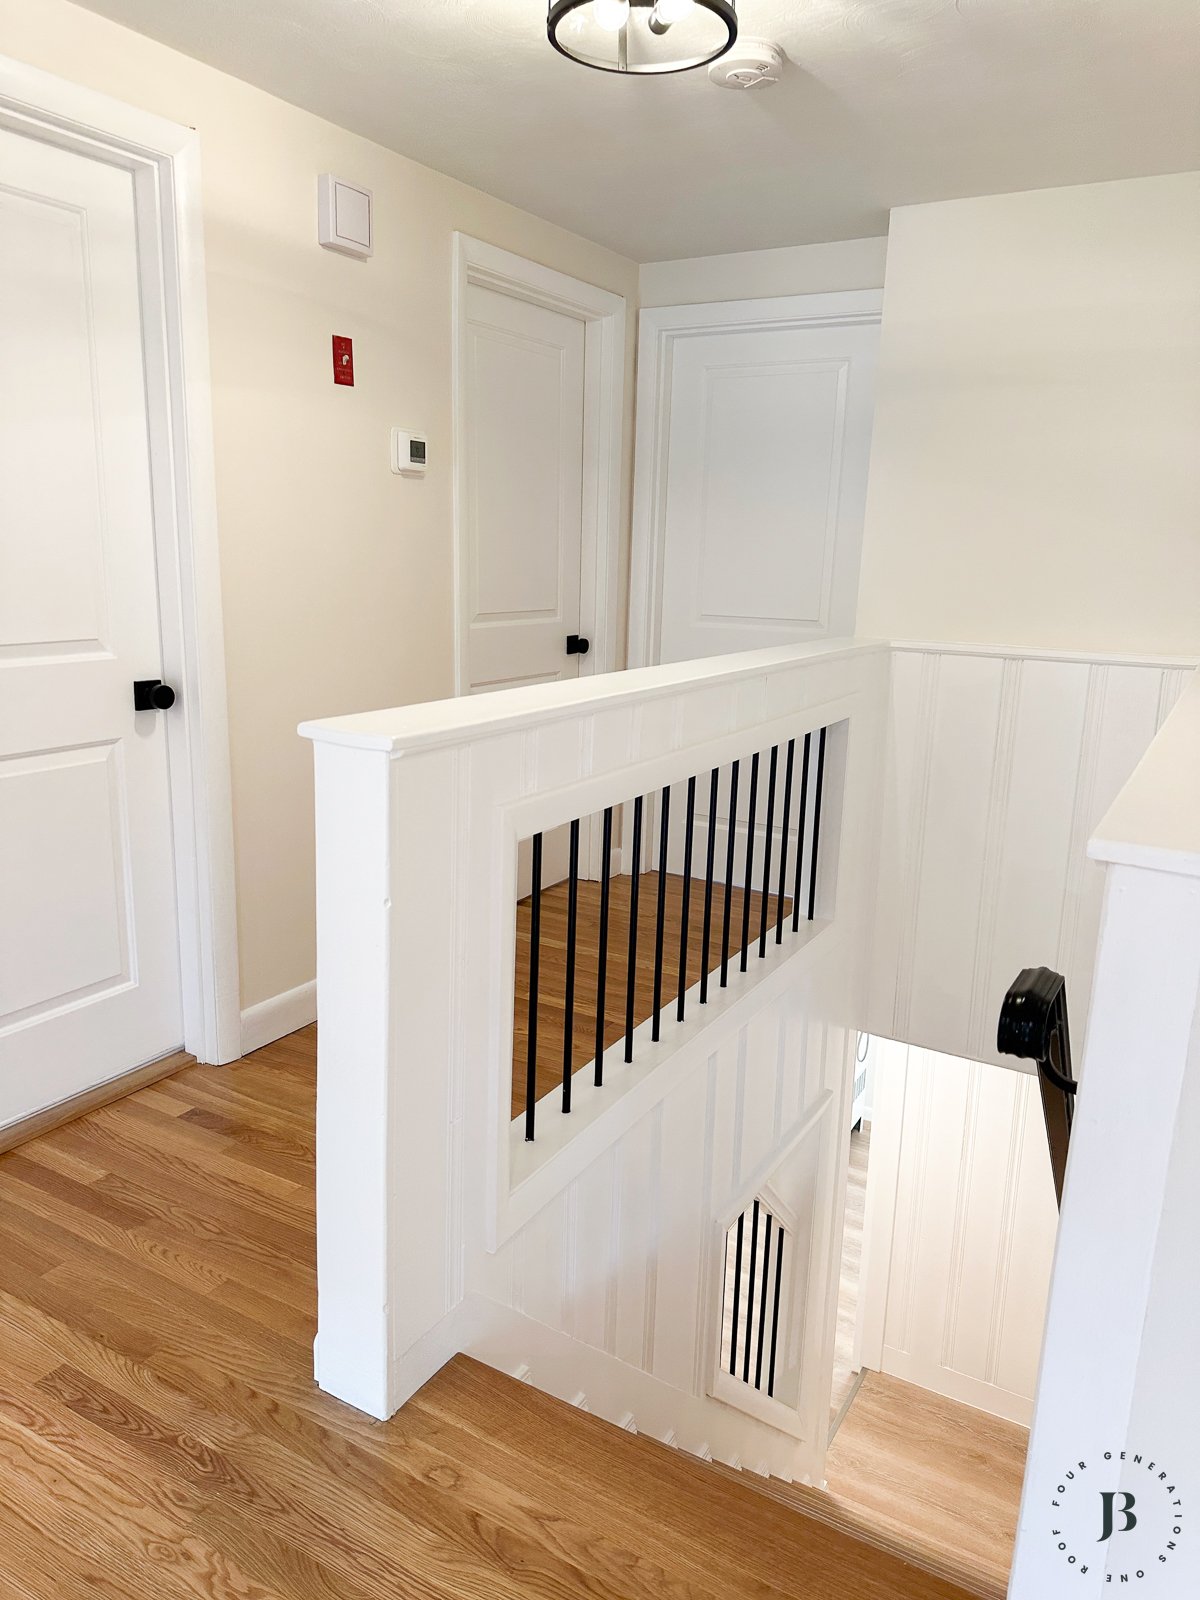
Visit this blog post, ranch basement stair makeover, to see more before and after pictures with all the details.
Finished Basement Remodel
The basement renovation aimed to transform it into a functional family room or additional living space.
The overall square footage of the house without the basement was on the smaller side so we knew by finishing the basement into a more livable space, we could get a higher asking price when for sale.
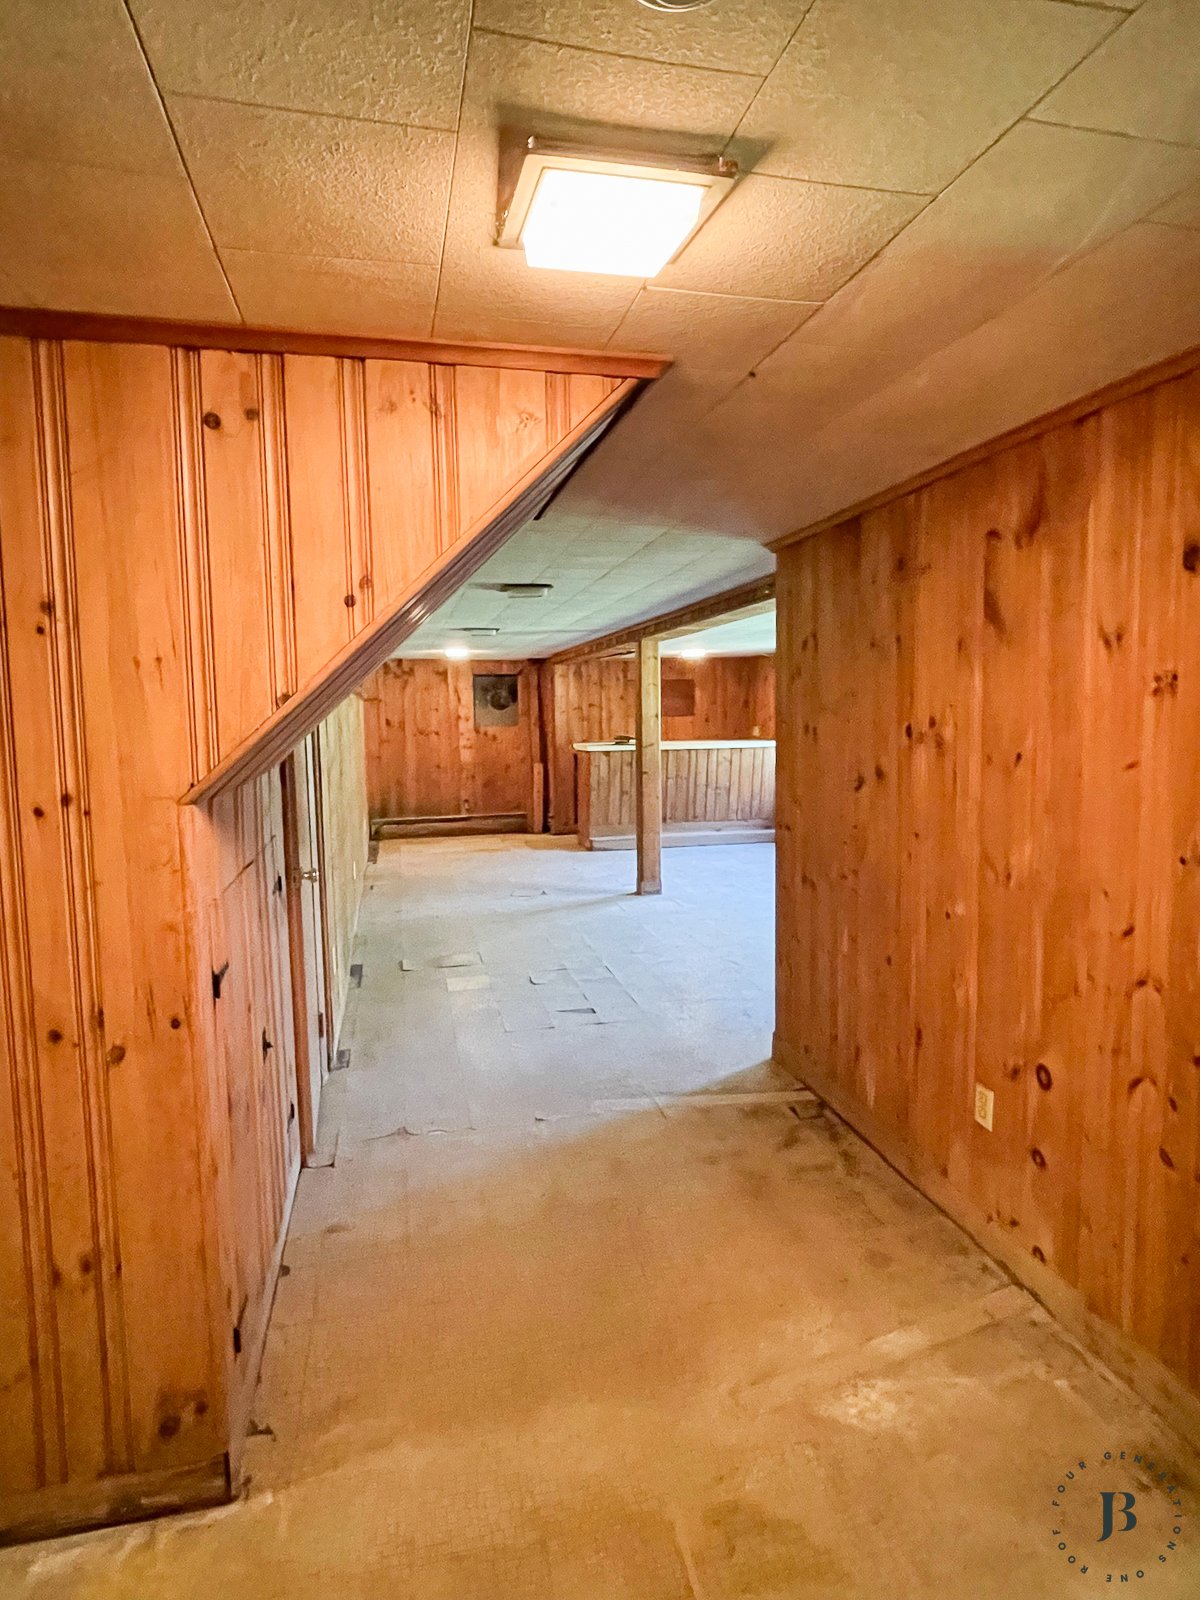
Our goal was to always sell this fixer upper so having the finished basement for either a home office, additional bedroom or additional family room was important.
As you can see, the newly refinished basement flows seamlessly with the rest of the house.
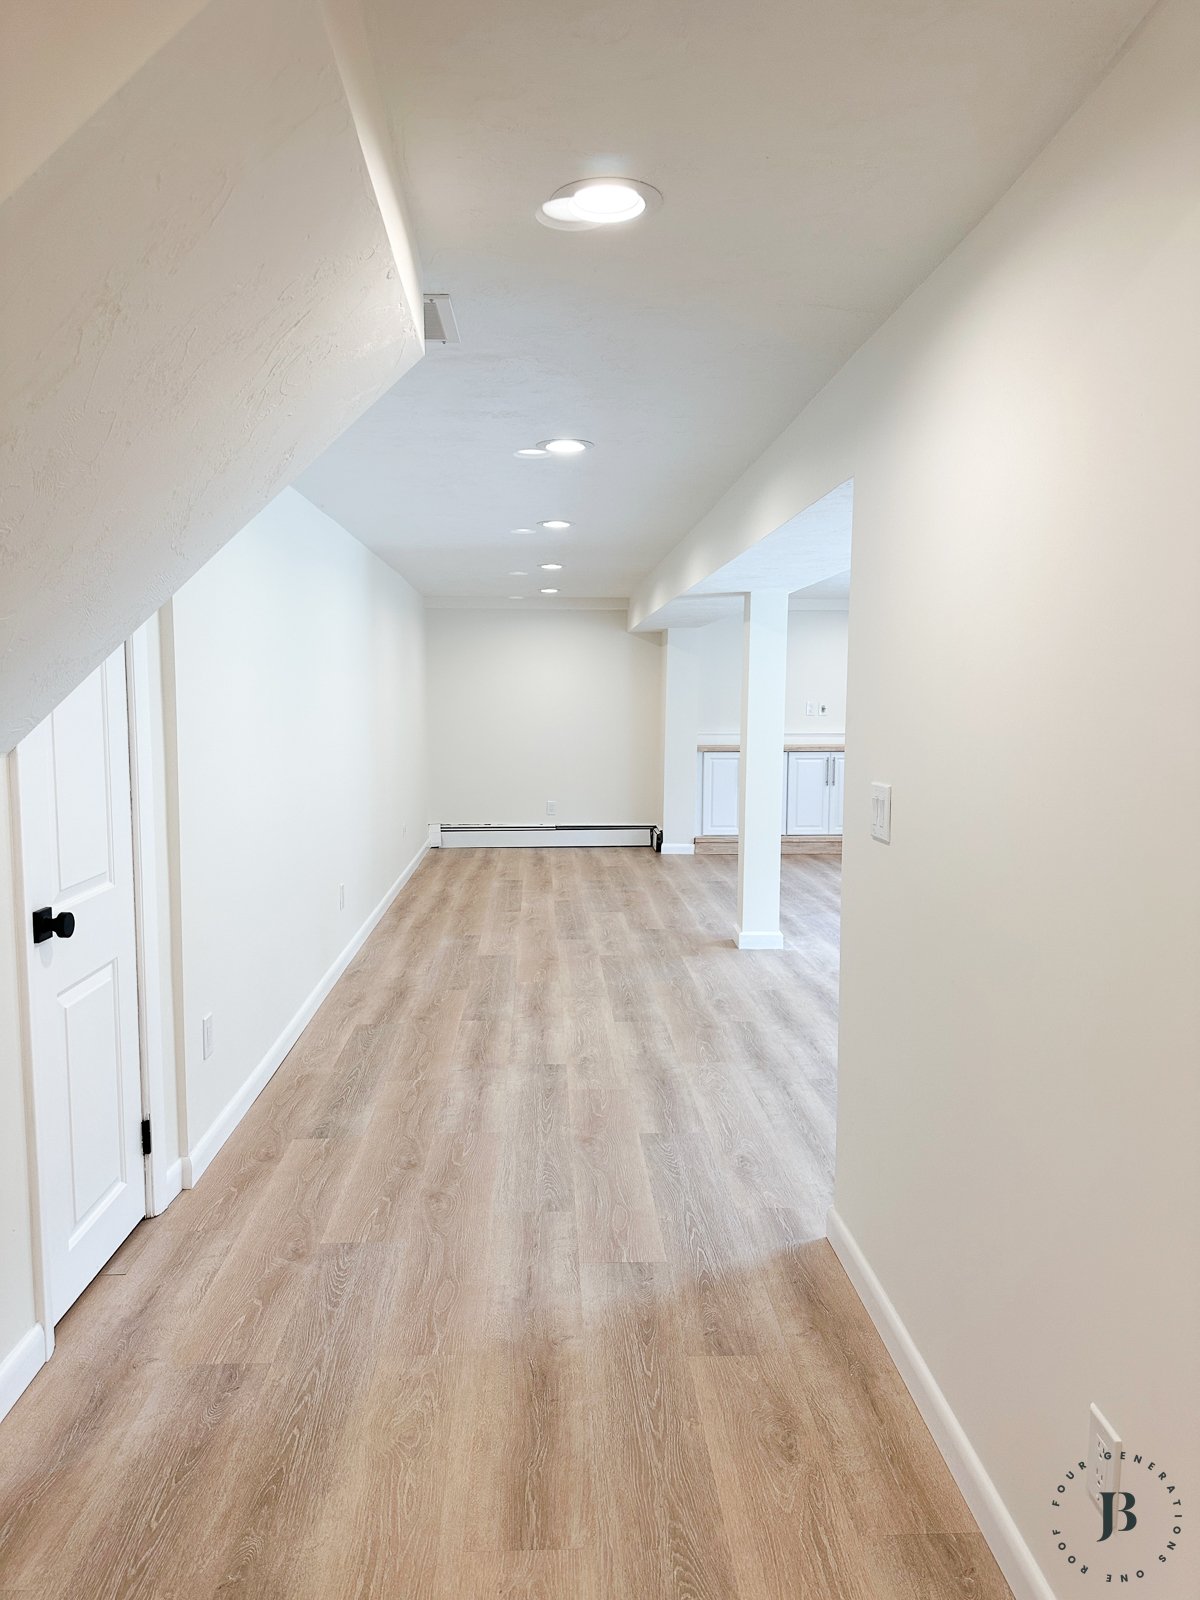
Initially completed but dark, we decided to remove the old ceiling to increase height, crucial for avoiding that boxed-in basement feel.

This simple adjustment made the space feel open and airy.
We also focused on maximizing natural light and easy access by installing new sliding glass doors and large windows.

We replaced the interior walls with new sheetrock and once the white paint was added, the transformation was amazing.
We also used Sherwin Williams Greek Villa in the basement to tie the space in with the main floor.

The finished basement added an additional 550 square feet to the house which included a 3rd bedroom, laundry room and bathroom.
This fixer-upper home renovation was an absolute blast! We recently sold the house to a young couple with two furry friends. If you’re considering a transformation for your own ranch-style home, remember the potential to craft a modern new design that is functional, and welcoming.
Get caught up on the rest of our ranch home remodel by visiting the links below.
More Ranch House Renovation Series Posts
- Cute ranch renovation house project (the start and full tour of the home before we started remodeling)
- The day we gutted the interior (see the demo process of the entire house)
- Ranch house makeover (before and after of entire house)
- Small ranch house exterior makeover
- ranch front porch makeover (see how we added an accent wall)
- White kitchen cabinets with white countertops (kitchen before and after)
- How to elevate a ranch interior with arched doorways
- How to add curb appeal with a new front door (see how we installed a wider front door)
- How to build wood shelves in a closet (see how we transformed an old coat closet into a pantry)
- DIY Fireplace Makeover (how to paint a dated stone fireplace with white paint)

Meet Jessica
What started as a hobby, Jessica’s blog now has millions of people visit yearly and while many of the projects and posts look and sound perfect, life hasn’t always been easy. Read Jessica’s story and how overcoming death, divorce and dementia was one of her biggest life lessons to date.



Jessica,
What an AMAZING update! I wish I could find someone with your talent and vision to remodel my 1950’s ranch! Contractors in my area (Portland, Maine) seem to be booked until 2027:( but I will certainly reference your ideas when the time comes!
Great job!
Thank you Peggy! Yes, contractors are booked up all over the place it seems. Portland is definitely too far from us in Mass :). I am offering online 1:1 calls though this upcoming month as a newer feature that readers seem to like when planning/strategizing a renovation so feel free to checkout that zoom option … maybe I can help virtually 🙂 https://stan.store/fourgenerationsoneroof
We are in the process of the exact same remodel! My current conundrum is this: did you just paint the old oak trim or replace it? My contractor wants to replace all the trim and doors and it seems like such a waste of beautiful wood
we did replace most of the trim b/c we added new windows. We left the original baseboard and just painted it – it looks great! The doors, we replaced them all b/c they were hollow and really old.