

How To Build Simple Closet Shelves With Plywood
Article may have affiliate links. If you make a purchase, I may earn a tiny commission at no extra cost to you. Big thanks for supporting my small business.
Are you tired of dealing with a messy closet? Let’s take a look at how to build closet shelves with plywood and create a functional tidy space. DIY closet shelves will also save you money compared to buying expensive closet systems.
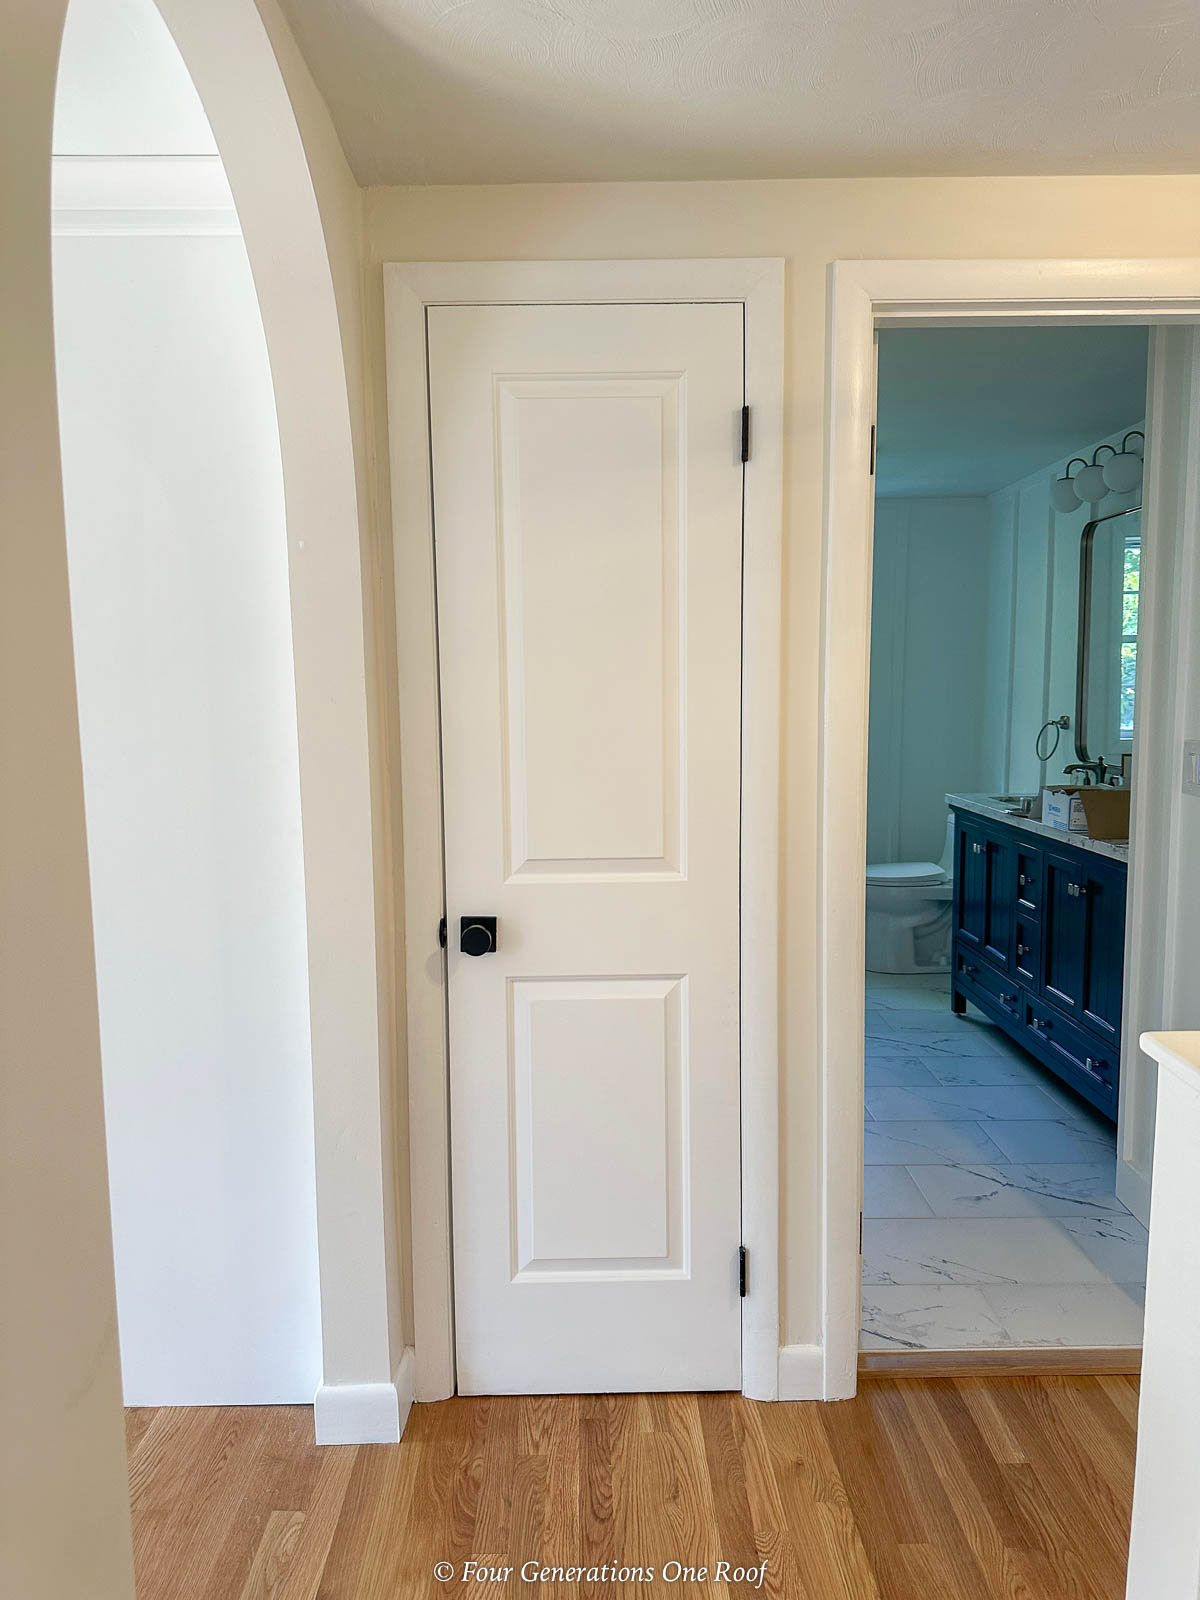
We just revamped a tiny closet next to the kitchen in our ranch renovation project. Originally meant for coats, we soon saw its potential as a much-needed kitchen pantry.
What Kind Of Wood To Use For Closet Shelves
For these diy closet shelves we used 3/4″ plywood. For closet shelves, plywood and MDF are popular for their affordability and ease of customization, while solid woods like pine or oak offer superior durability and a premium look.

Questions to consider during the planning stage:
- How much space do you have for shelves in your closet?
- Do you want to include a hanging rod for clothes?
- What are the dimensions of your closet space?
Consider the weight of items and your budget when choosing, as each wood type has its unique benefits.
During our ranch kitchen renovation, we realized we needed more storage for pantry type items so we decided to convert a nearby hall closet into a kitchen pantry with wood shelving.
If you missed the kitchen renovation post, be sure to click through this post, white kitchen cabinets with white countertops (before and after).
The original closet was dark, had a closet rod and a thin top shelf. The side of the closet was wasted space and not functional.
Once you have removed everything from the closet, make a list of supplies that you can purchase at your local home improvement store.
Materials Needed
- stud finder
- measuring tape
- pencil
- level
- 3/4 inch plywood
- 1×2 pine cut to shelf length
- wood glue
- brad nailer and nails
- 3″ wood screws
- circular saw
- bin primer
- paintable caulking
- wood filler
- pure white paint (satin finish)
DIY Closet Shelves
Step 1: Measure and Plan
The first step in building closet shelves is to assess your closet’s dimensions and layout.
Determine how many shelves you need and mark the walls with a pencil or painters tape to determine a visual of where the shelves will be.

Be sure to take into consideration what type of items will be stored in the closet to create the bottom shelf at the appropriate height to accommodate taller items that will be on the floor.
Step 2: Find the Studs
Locating the studs behind the wall will help ensure that your shelf brackets are securely fastened to the wall. If you cannot find the studs, you will need to use drywall anchors to hold the shelf braces in place.

This step is crucial to make sure your shelves are secure and will not collapse.
Step 3: Cut The Shelves To Size
Purchasing a large sheet of plywood and cutting your shelves to size is the cheapest way to build shelves.
Cut your shelves to size with a circular saw and use a sanding block to sand off any rough edges.
Step 4: Cut The Shelf Brackets or Cleats
We used 1×2 pine strips to create our shelf brackets (also known as cleats). We wanted a floating shelf look which means the brackets are not shown.

We cut the pine strips to the length of the side walls and back wall.
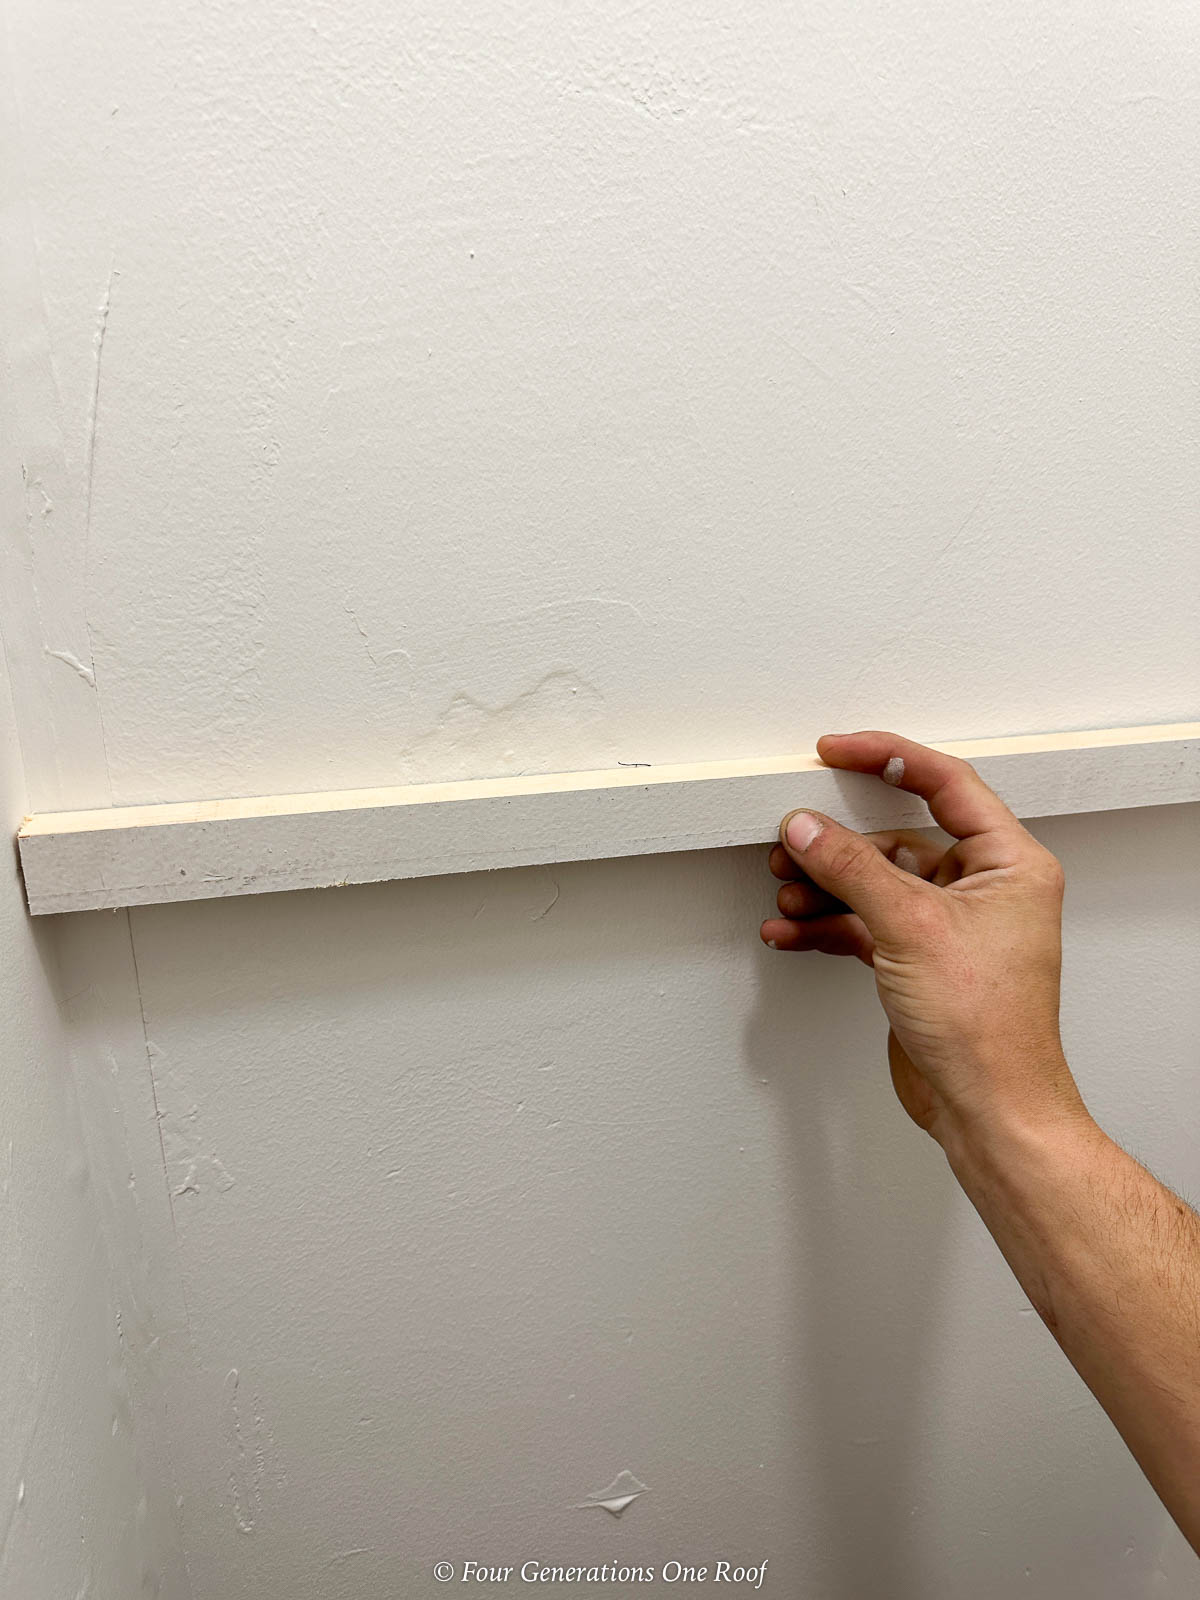
Step 5: Attach Shelf Brackets To Wall
The next step is to nail the pine shelf brackets to the sides of the wall with a nail gun to hold in place.
Be sure to use a level to make sure the brackets are straight. You don’t want crooked shelves!

Next, reinforce the brackets with 3″ wood screws to the wall. Depending on your closet and if you are using drywall anchors, you will need to pre drill a pilot hole for the anchor.

We screwed the pine shelf brackets directly to the studs.

Step 6: Place Shelves On Top Of Brackets
Place the shelves on top of the brackets to ensure they fit.
Once you are sure they fit, remove and apply wood glue on top of the brackets and place shelves back on top of the brackets.

Be sure to whip any excess glue that may seep from under the shelves.

You will notice that the brackets are on all sides of the closet which provides extra support.
Finally, nail the shelves to the brackets.

Step 7: Add Pine Face Frame To Shelves
We opted to add a face frame to each shelf as the plywood is somewhat thin and we wanted a more custom look.

Be sure to sand any rough spots on the wood before priming and painting. You may need to sand again once the primer dries as well.

We cut a 1×2 strip of pine for each shelf that we nailed to the front of each shelf to give a finished look and also hide any gaps between the shelf and the wall.
Step 8: Prime and Paint
The last step is to caulk (use paintable caulking) any gaps between the shelves, wall, face frame and fill any nail holes.
This small closet went from non functional to a DIY custom closet on a dime that is now perfect for kitchen pantry items.
These simple shelves took under 1 hour to make plus painting and dry time.
The entire closet is now modern, fresh and looks great!

Once the caulking is dry, add your second coat of paint. If you opted to not prime and apply 1 coat of paint prior to installing the shelves, you will need to follow the priming and 2 coats of paint.
Shelving Paint Tip
The best way is to prime and paint on coat on shelves and brackets before installing.
Is It Cheaper To Build Your Own Shelves
Building closet shelves with plywood is an excellent way to maximize your closet space while saving money.
Whether you have a linen closet or a master closet, these easy closet shelves will provide ample storage and is by far the biggest bang for your buck.
Get caught up on the rest of our ranch home remodel by visiting the links below.
More Ranch House Renovation Series Posts
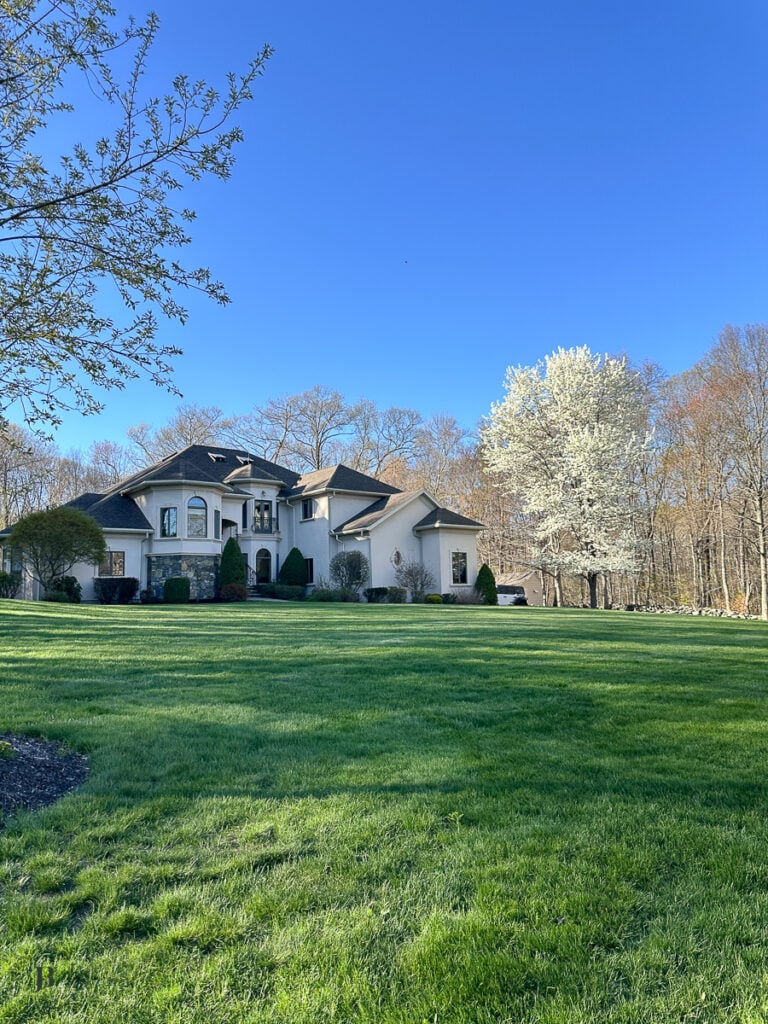
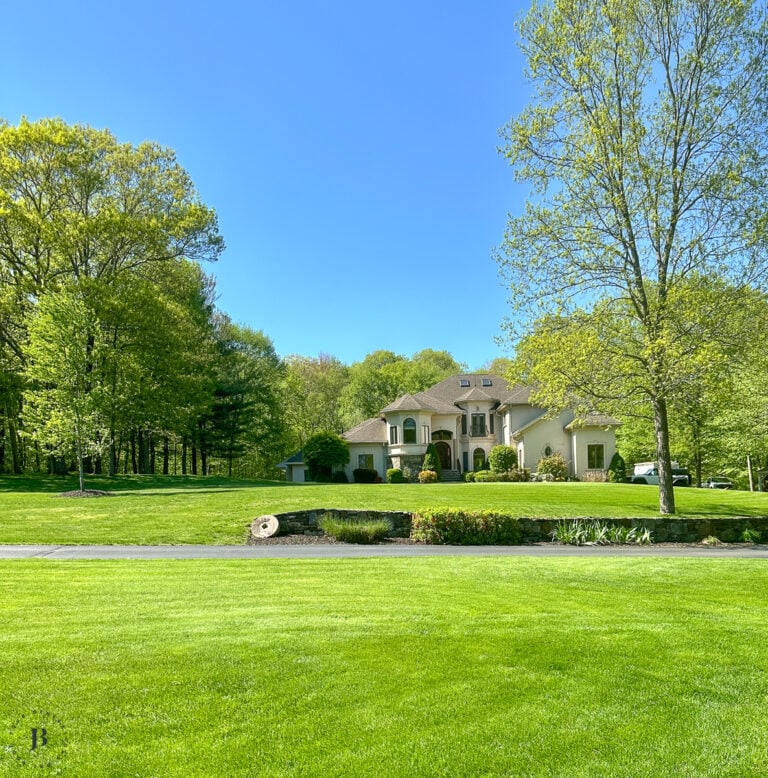
- Cute ranch renovation house project (the start and full tour of the home before we started remodeling)
- The day we gutted the interior (see the demo process of the entire house)
- Ranch house makeover (before and after of entire house)
- Small ranch house exterior makeover
- ranch front porch makeover (see how we added an accent wall)
- White kitchen cabinets with white countertops (kitchen before and after)
- How to elevate a ranch interior with arched doorways
- How to add curb appeal with a new front door (see how we installed a wider front door)
- How to build wood shelves in a closet (see how we transformed an old coat closet into a pantry)
- DIY Fireplace Makeover (how to paint a dated stone fireplace with white paint)
More DIY Closet Shelving Posts You Will Love
- How to build closet shelves with plywood
- How to build floating shelves in the laundry room
- How to hang glass shelves in a bathroom
- DIY dream closet in our master bedroom
- Removing wire shelving and installing wood closet shelves in a small bedroom closet
- How to make a wall shelf in living room for Christmas vignette
- How to hang wall shelves with painters tape
Latest Blog Posts

Meet Jessica
What started as a hobby, Jessica’s blog now has millions of people visit yearly and while many of the projects and posts look and sound perfect, life hasn’t always been easy. Read Jessica’s story and how overcoming death, divorce and dementia was one of her biggest life lessons to date.
I received and was able to view the shelf video.
Thank you Tricia!
How do you find the anchors when the brackets are nailed in? Excited to start this project but a bit confused.