

Kitchen Layout Ideas We Actually Used (and the mistakes we fixed)
Article may have affiliate links. If you make a purchase, I may earn a tiny commission at no extra cost to you. Big thanks for supporting my small business.
If there’s one thing that kept happening every time we renovated a kitchen, it’s this, there was almost always a wall sitting in exactly the wrong spot. Sometimes it boxed the room into a space that felt too small. Sometimes it blocked the sightline into the rest of the house and most of the time, the entire layout was just awkward and tight!
We pulled a poorly placed wall like that out of THREE different kitchens, a 1970s kitchen remodel, a split-level boxy kitchen, and a 1950s Cape Cod kitchen with the stove floating on a random wall. These were renovation-flip projects, not our own homes and Jim handled the construction on all three and each house, had its own version of the same problem!
Let’s take a look at 12 different kitchens (yes 12!) and see how we fixed each layout mistake PLUS 6 new construction kitchens where the layout started off correct from the start!
What Counts as a Kitchen Layout Mistake
A layout mistake isn’t a paint color or a cabinet finish. It’s a structural choice that keeps creating the same friction, a wall blocking the sightline into the rest of the house, a shape that forces two people into a hip-check every time they pass, storage that’s nowhere near where it actually gets used.
If swapping the hardware wouldn’t fix it, it’s a layout problem, not a decorating one!
Here’s the quick way to sort it:
- Structural problem. Something is blocking flow, light, or sightlines badly enough that it’s worth removing.
- Shape problem. The footprint is fine, but the layout inside it, an L, a U, a galley, isn’t working for how the room gets used.
- Cosmetic problem. The layout is already right. Only the finish needs to change.
The six new construction builds we are featuring towards the end of the post show a kitchen that was designed for “today’s functioning” family and took into consideration traffic flow and ease of use.
The Kitchen Wall Removal We Kept Making
Three different renovations, one decision that kept repeating, TAKE OUT THE WALL!
The 1970s Kitchen
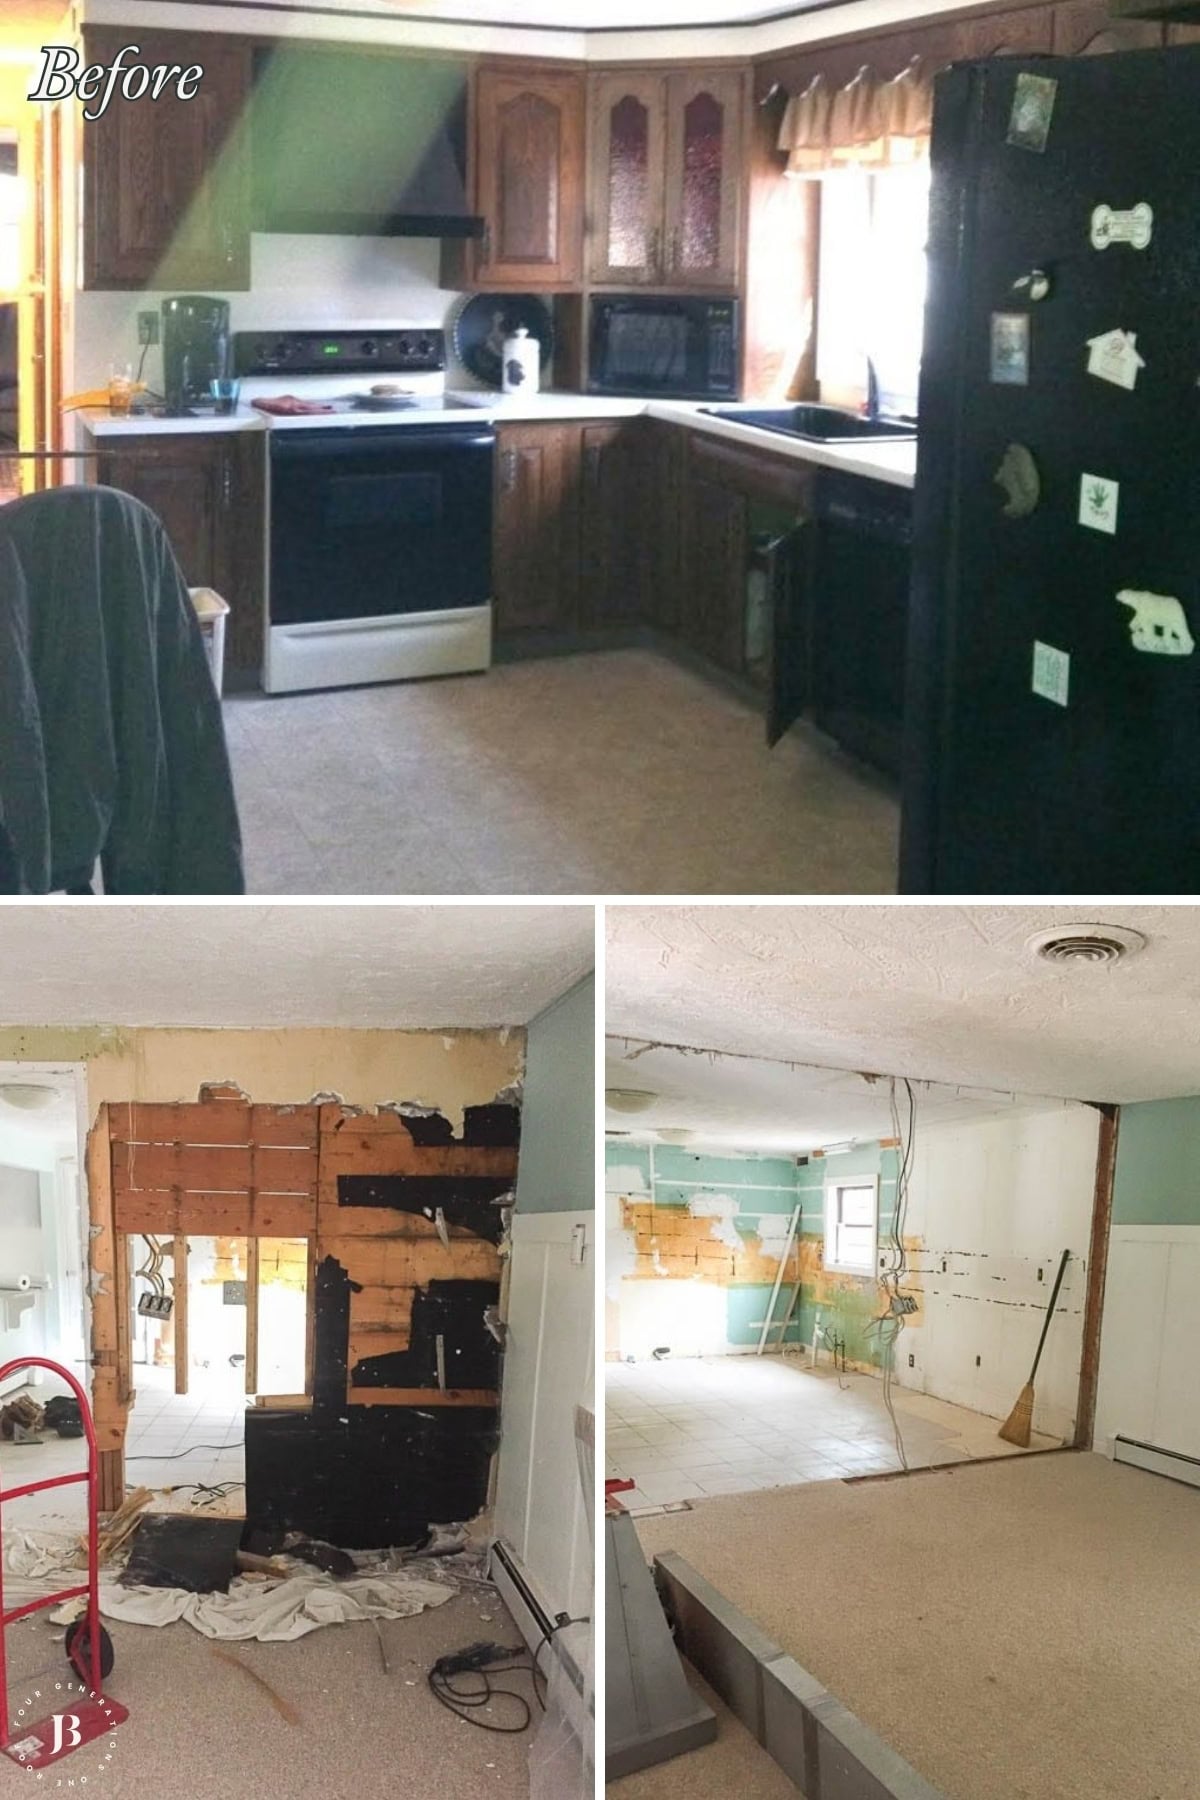
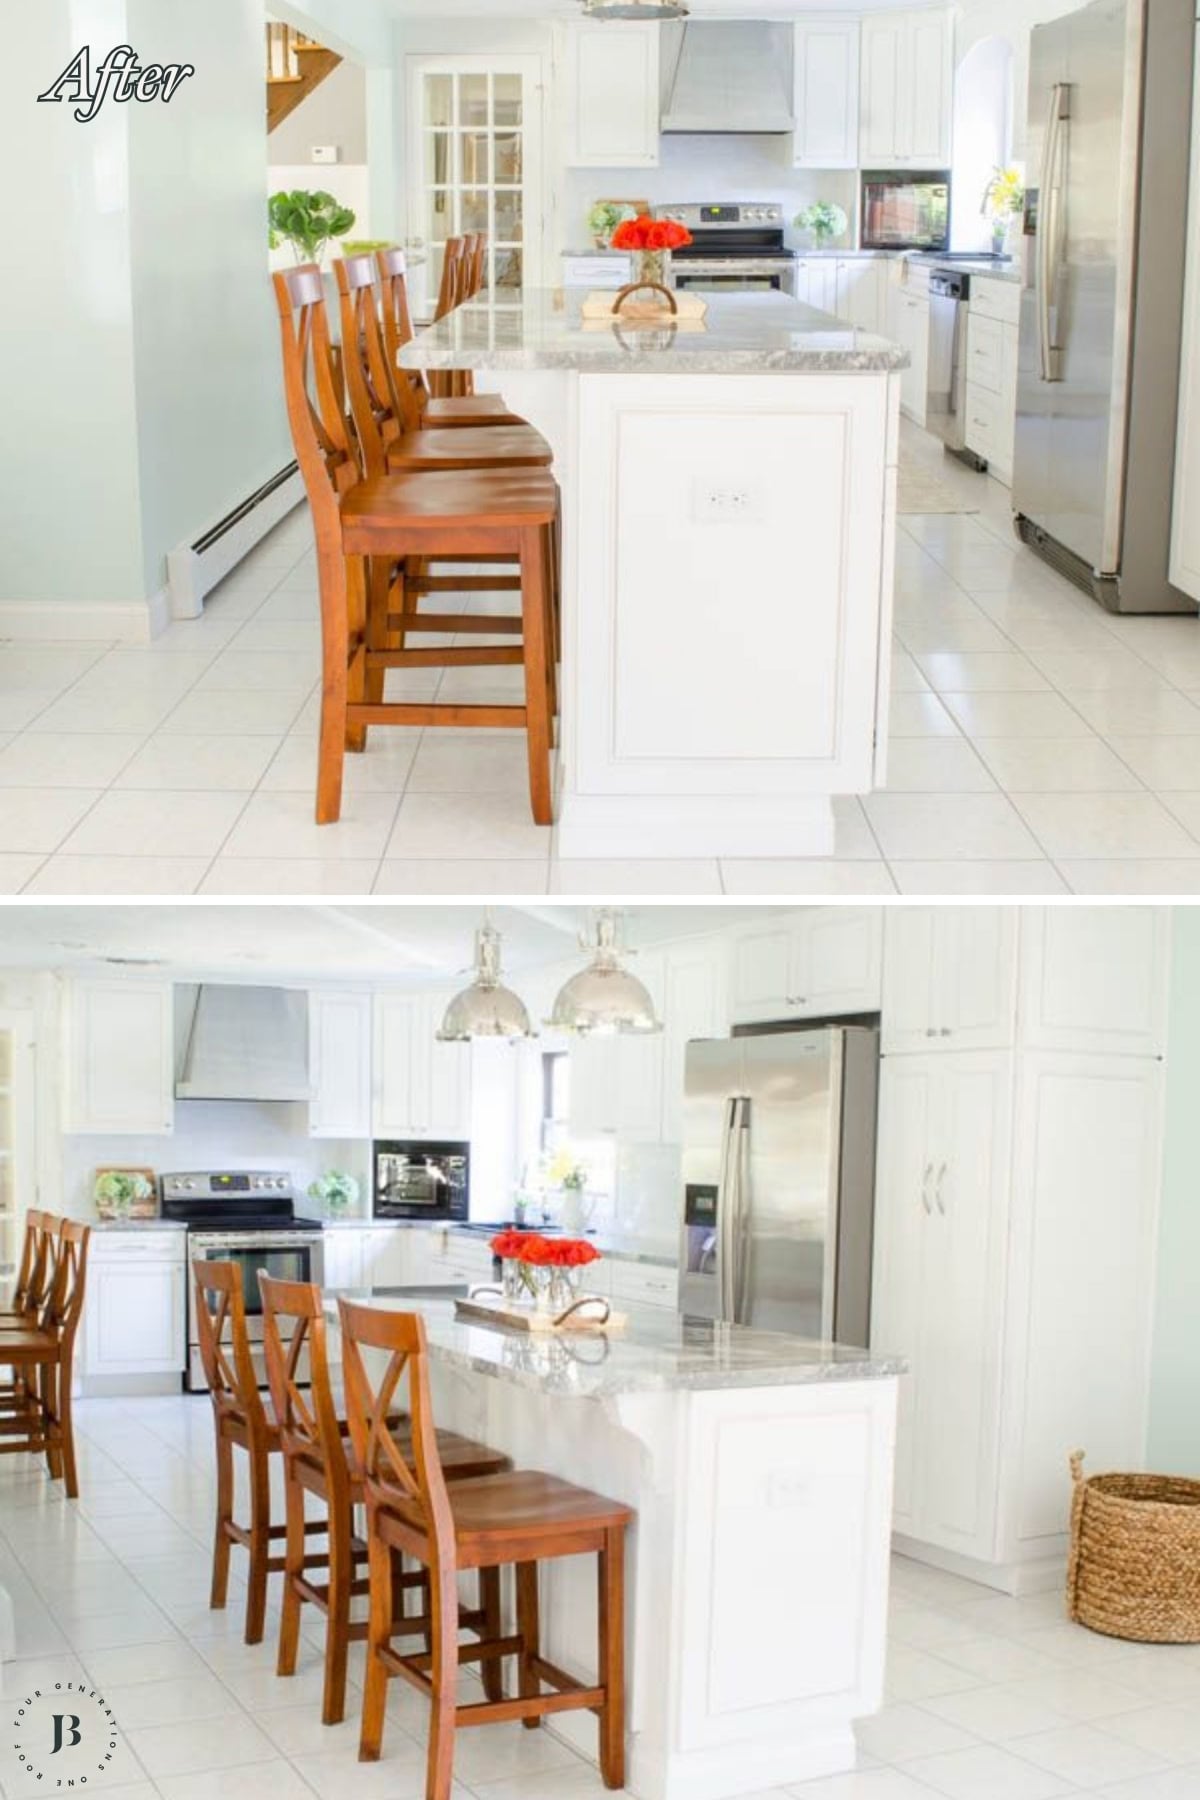
This 1970s kitchen remodel (at my childhood home) started at 220 square feet, closed off from the dining room by a wall that was doing nothing but blocking the room. Changing the floor plan meant taking that wall down, which brought the kitchen to 500 square feet and opened it straight into the dining space.
The 1970’s Split-Level Kitchen
The split-level kitchen remodel needed a new floor plan and a fix for a second problem stacked on top of it: a low, boxed-in ceiling that’s typical of that style of house. Jim took out the wall and vaulted the ceiling in the same project, solving the layout problem and the proportion problem at once.


The 1950s Cape Cod Kitchen
The 1950s Cape Cod kitchen remodel entailed removing the wall between the kitchen and living room and swapping a table for a peninsula. That single change did double duty, it opened the room and gave us seating that didn’t eat floor space.


L Shaped Kitchen Layout, Turned Into a Working U
The kitchen at the ranch house renovation went from an L-shape to a U-shape with a small peninsula added in. The footprint stayed as is. What changed was the relationship between the counters, and that’s the whole fix! Three work zones instead of two, with the peninsula doing the job an island would in a bigger room.


The view above shows an extra wide arch which we intentionally created. We opted to leave the existing wall but widen the opening to create a bit of definition between the kitchen and dining area. The main floor of the ranch house had minimal square footage so removing “all” the walls would have made the home feel “too open” so designing wider arched door openings created definition between rooms and really nice visual appeal!
A Small Kitchen Layout, Fixed on a Tiny Budget
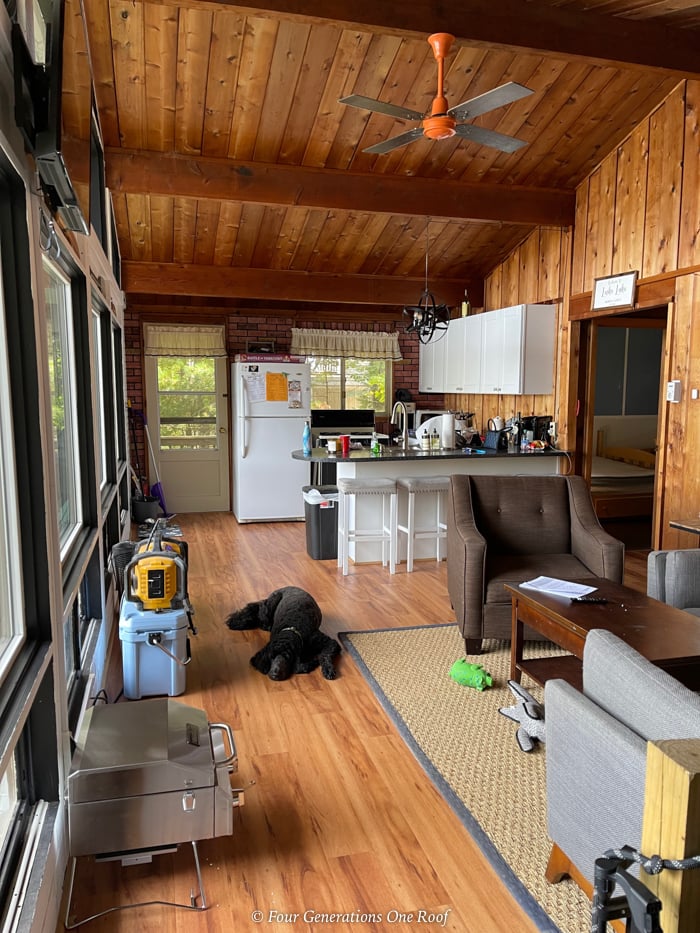
Our lake house kitchen remodel came in under $4,000, and the layout going in was, honestly, a hodgepodge mess. No consistent shape, appliances and storage scattered without a working relationship to each other. Reworking it into a U-shape was the fix! Removing the window and door allowed us to utilize that wall for a handful of new cabinets and better placement for the appliances.

When the Layout Wasn’t the Problem
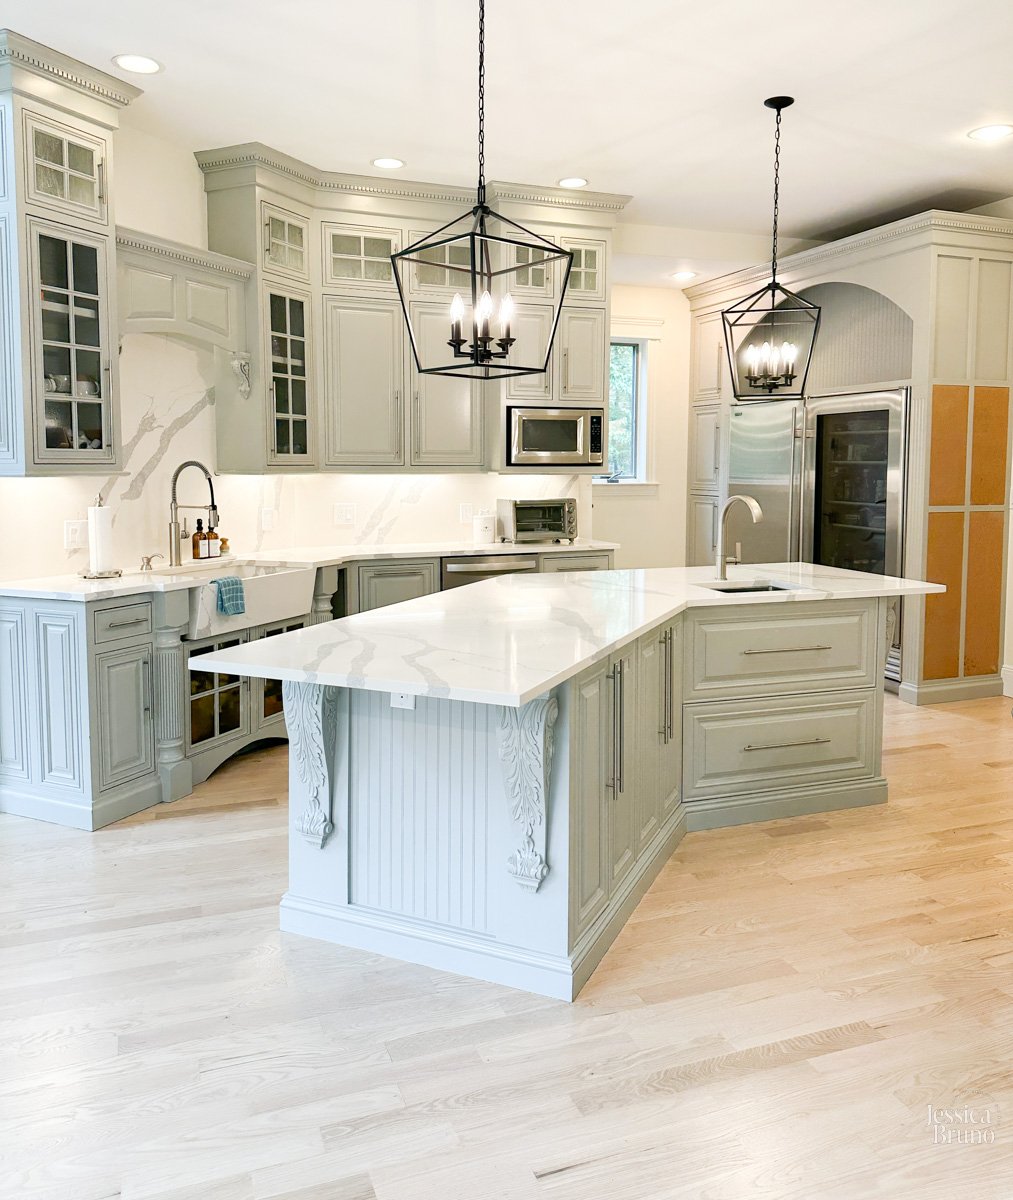
Not every dated-looking kitchen has a layout mistake in it. Our very own grey kitchen with white countertops is the case that proves it! We kept the existing, fairly ornate cabinet detailing and layout completely untouched, and updated the counters to a Cosmos Calacutta quartz along with professionally painted cabinets.

It’s worth sitting with that for a second if you’re staring at your own kitchen right now. Before you start planning a demo, ask whether the room’s actual shape is working and only the finish has gone stale. Those are two different renovations, and they don’t cost the same thing!
The kitchens below were designed on paper before the walls went up. Let’s look at SIX new construction builds that Jim completed where the layout was built around how the family actually lives.
A Small-Space Kitchen That Still Fits an Island
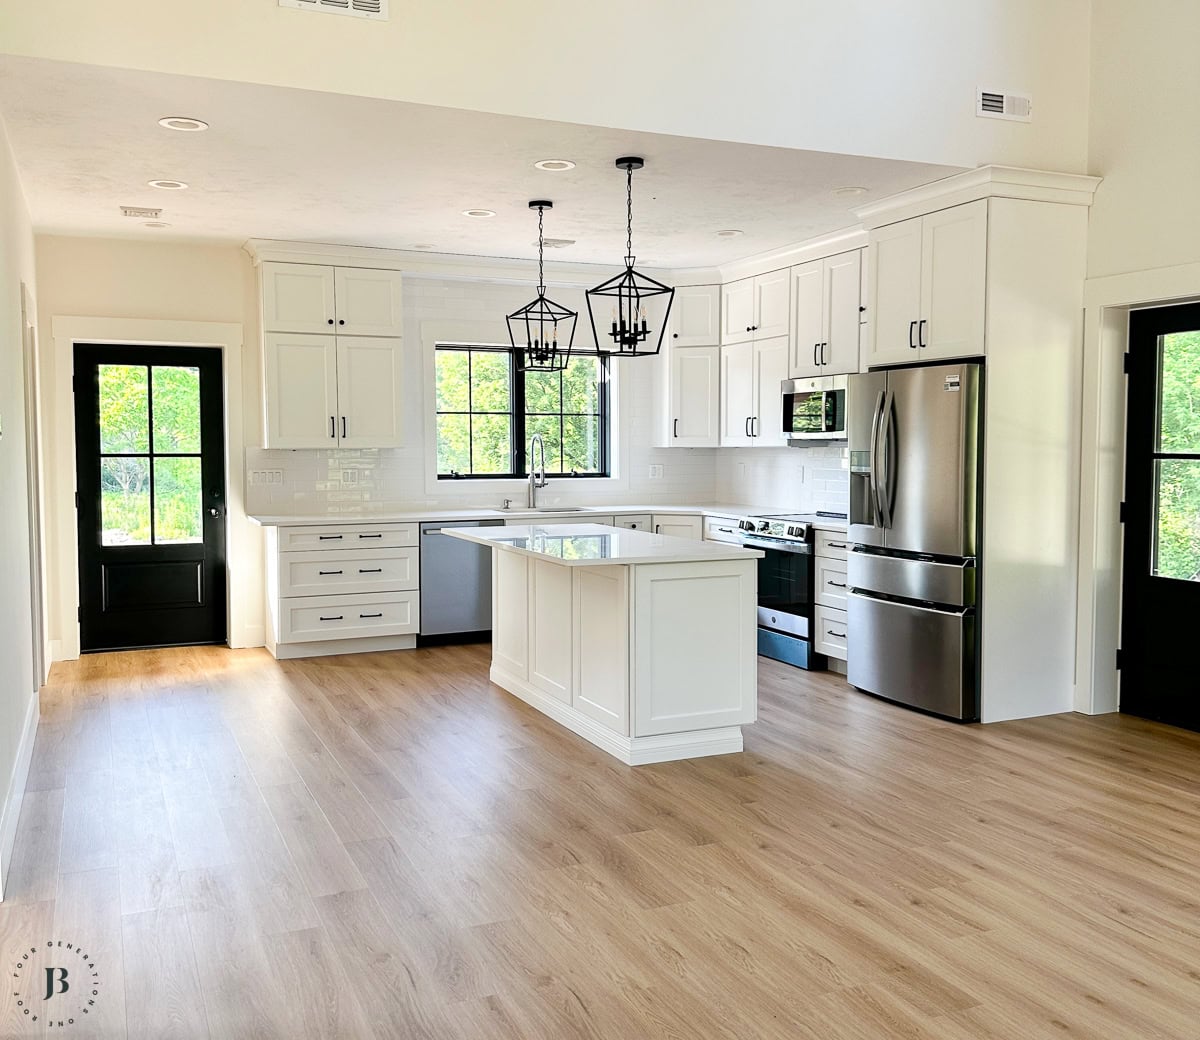
The finished ADU is 900 square feet total, and the kitchen still fits an island that seats three to four people. That’s only possible because the layout was drawn around the island first, not squeezed in around leftover space.
An Island With Its Own Sink
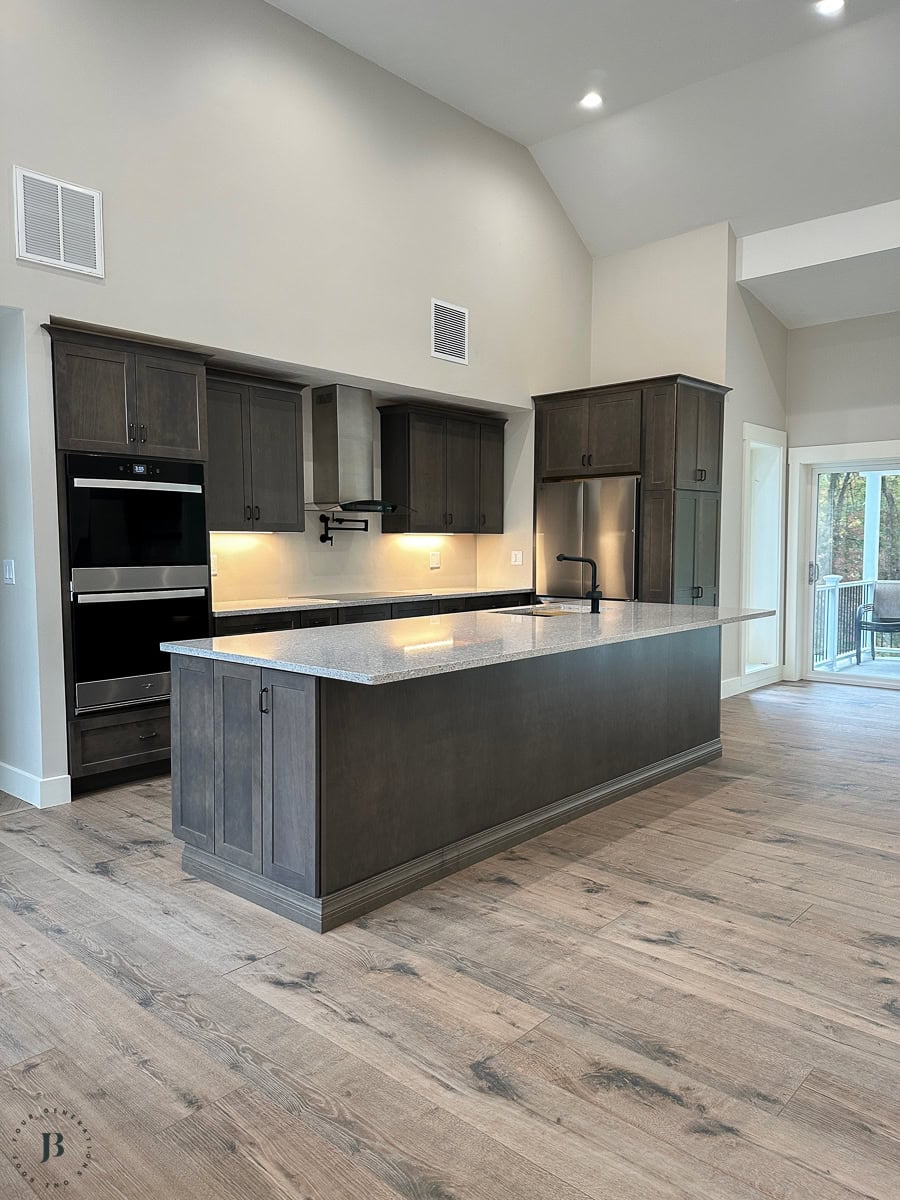
The multigenerational home with two houses connected by a kitchen is built around an island with its own sink. It’s intentionally oversized because the house is multigenerational, with two family wings running off either side and a shared kitchen and great room in the middle. The kitchen had to work for several people at any given time.
The pantry isn’t inside the kitchen itself. It’s a full wall of built-in storage in the hallway just off the kitchen. The hallway is somewhat open to the kitchen and features floor-to-ceiling, double-door cabinets with pull-out drawers.

A Narrow Kitchen Layout, Built Around the View
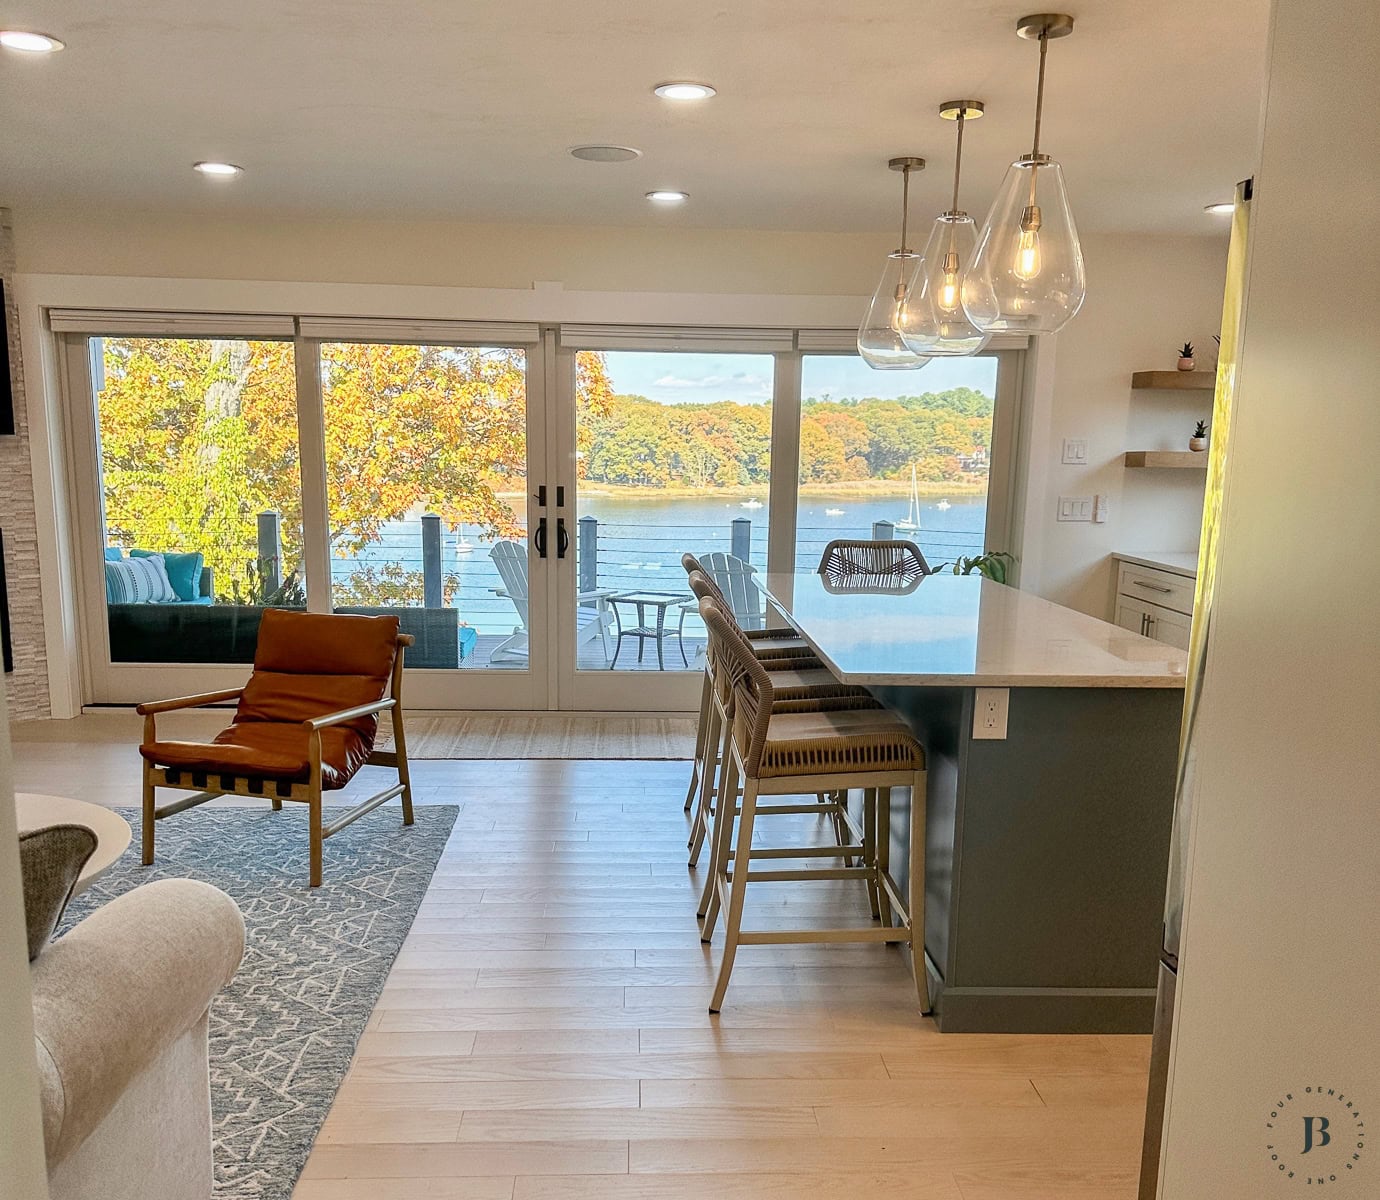
Our Rhode Island waterfront house sits on a narrow lot, which makes the entire house fairly narrow, kitchen included. Both the kitchen and the living room needed a water view, so the layout had to solve for width and sightline at the same time, not just one or the other.
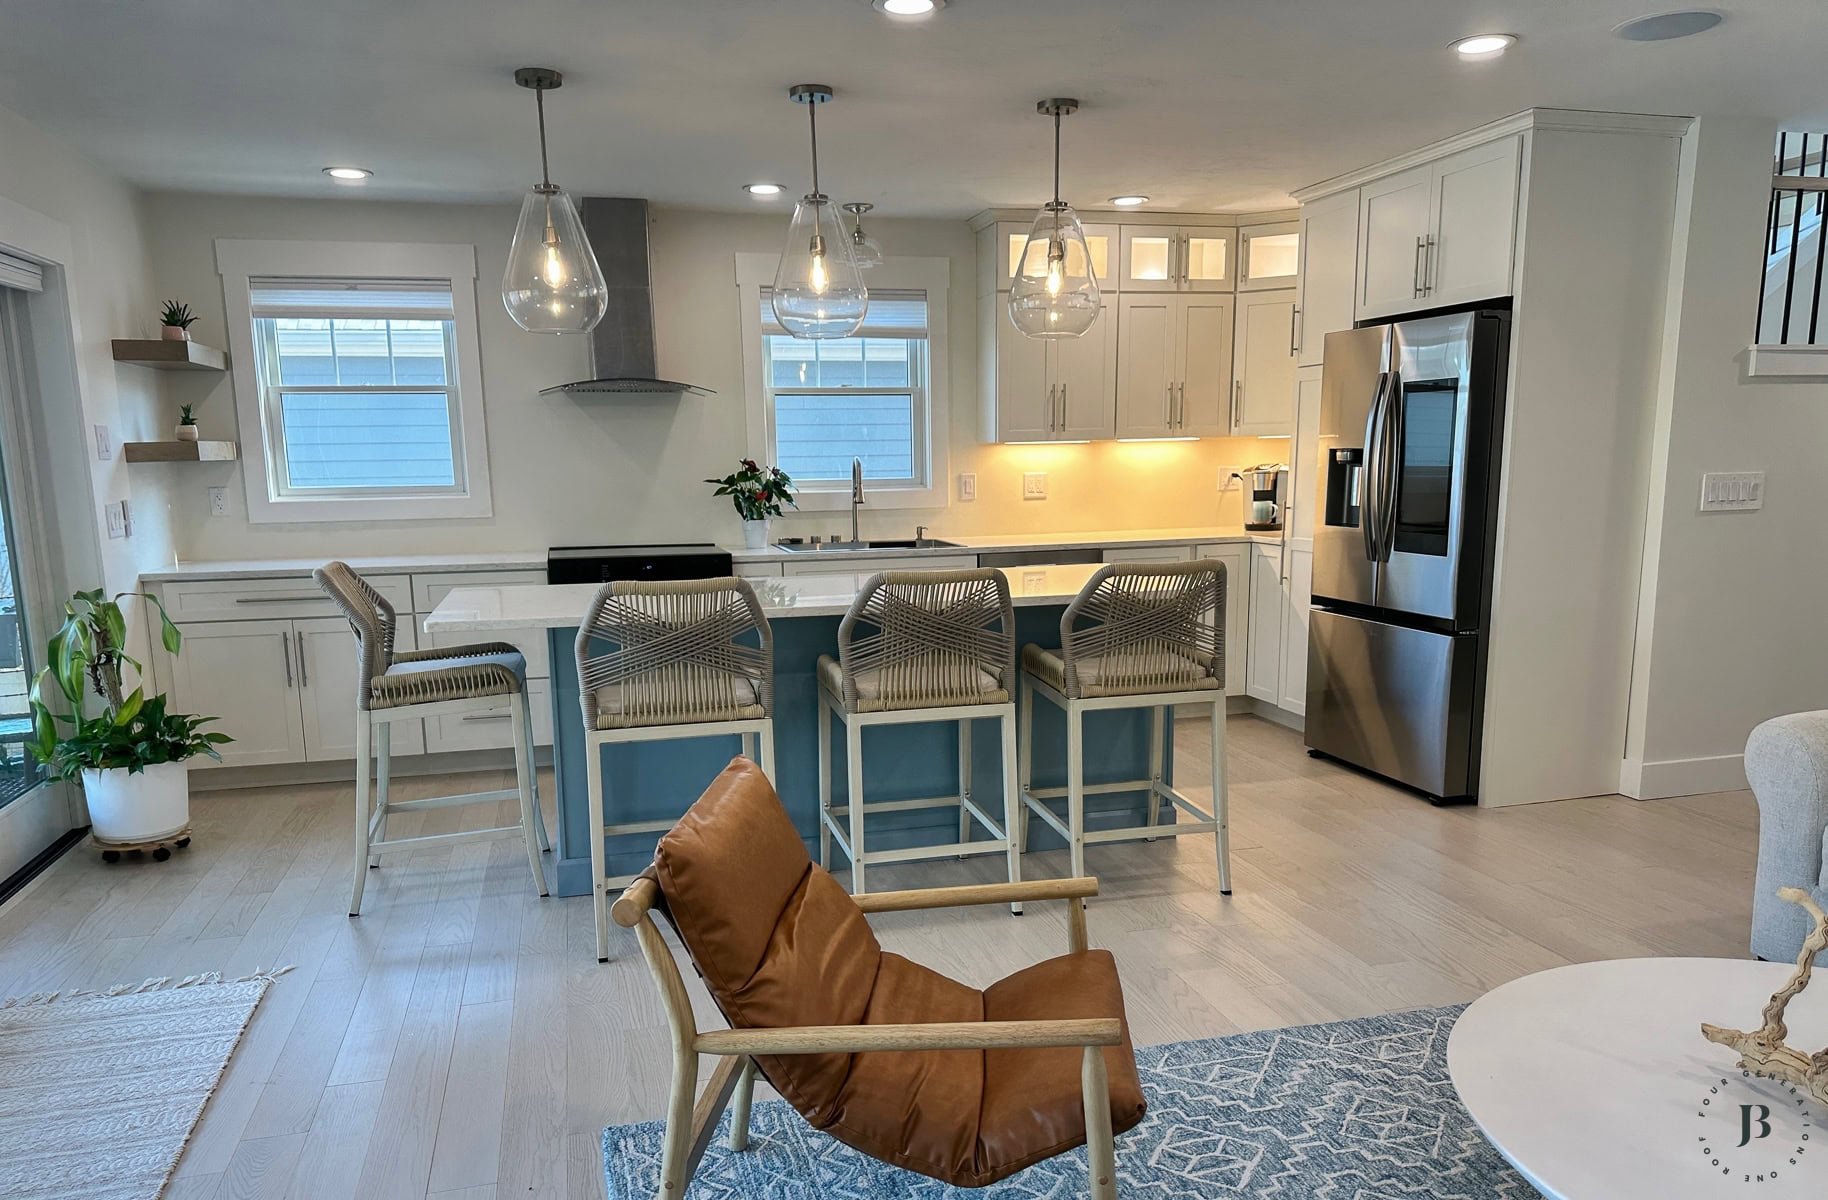
When Jim finished this build two years ago, the goal was simple: an Airbnb retreat where guests could soak up that view from both spaces, and we could too, whenever it wasn’t booked.
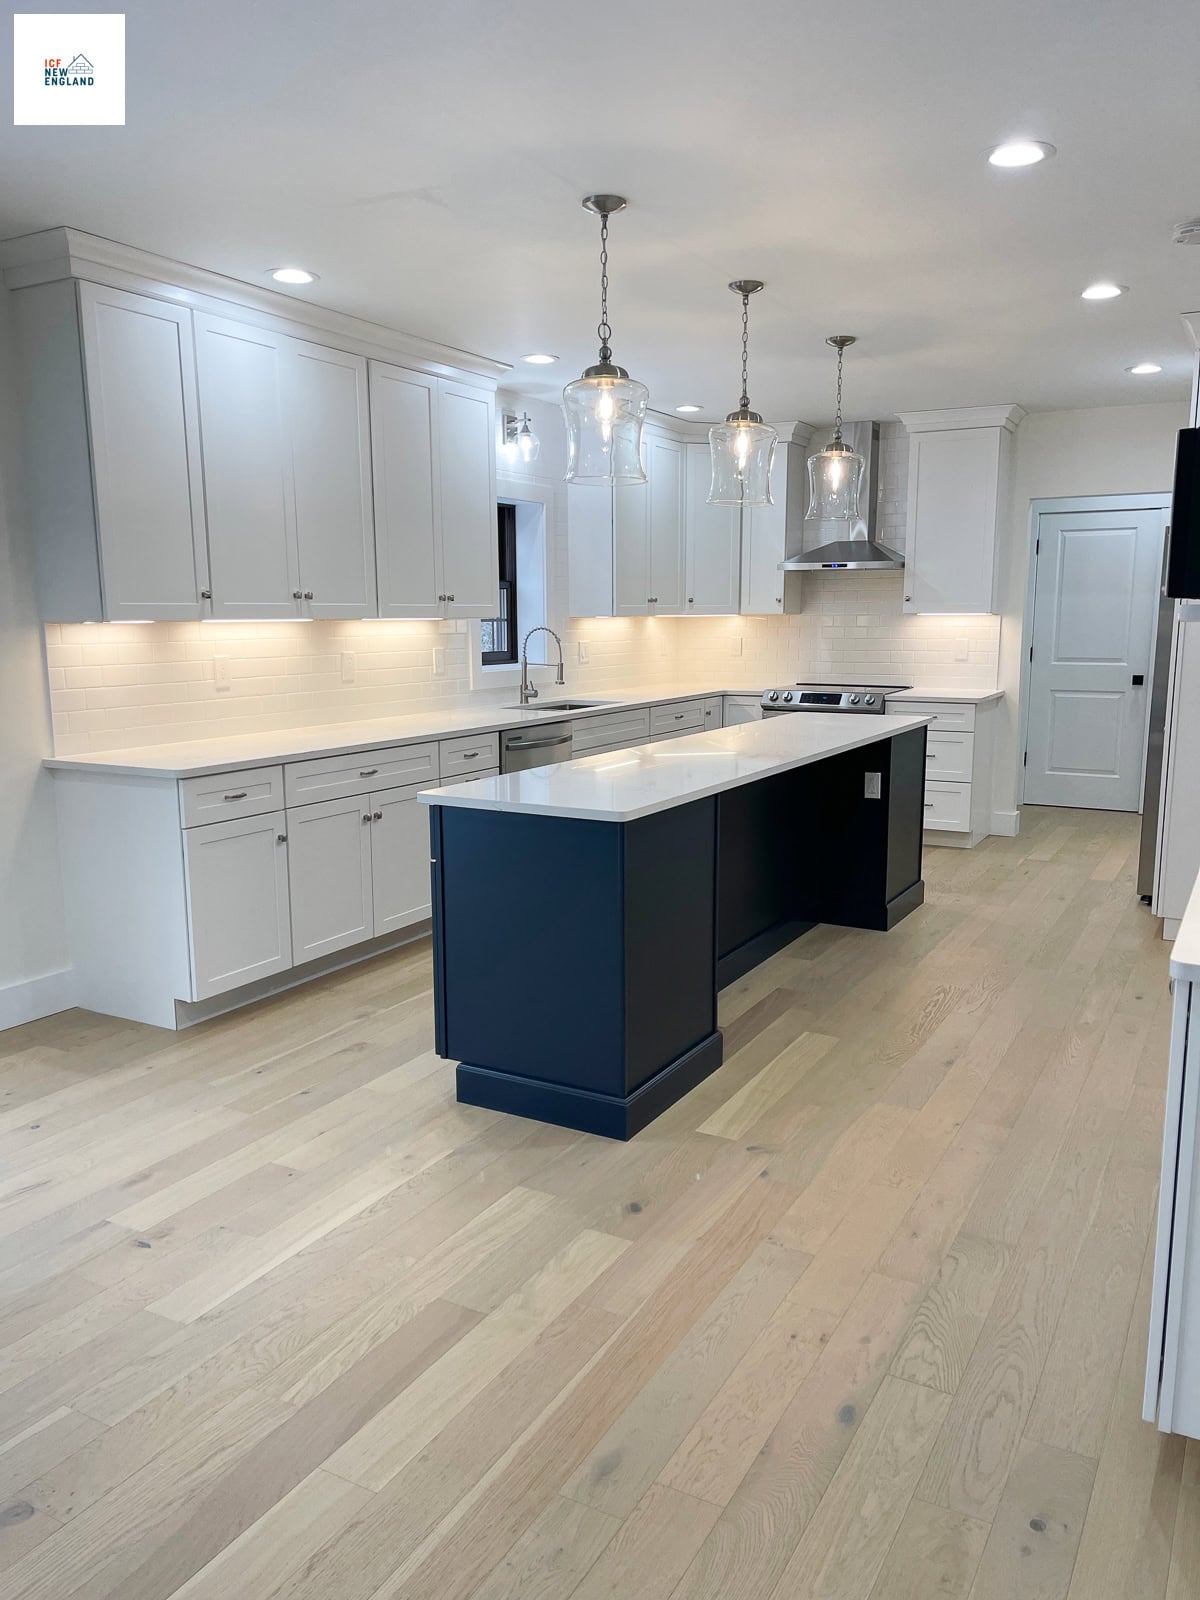
Another new construction home below, shares a kitchen where we decided to install kitchen cabinets on both sides of the wall leaving us space for a kitchen island that was long and narrow.
You can see more of this home over at ICF New England where I have started sharing more of Jim’s new construction projects.
Built Around a Large Island
The new construction home below featured a beautiful kitchen with a large island, which anchors the room, and everything else got planned around it! When Jim built this home, the homeowners had two kids and a third on the way. Now they have six! Their goal from day one was a large island their growing family could actually gather around.
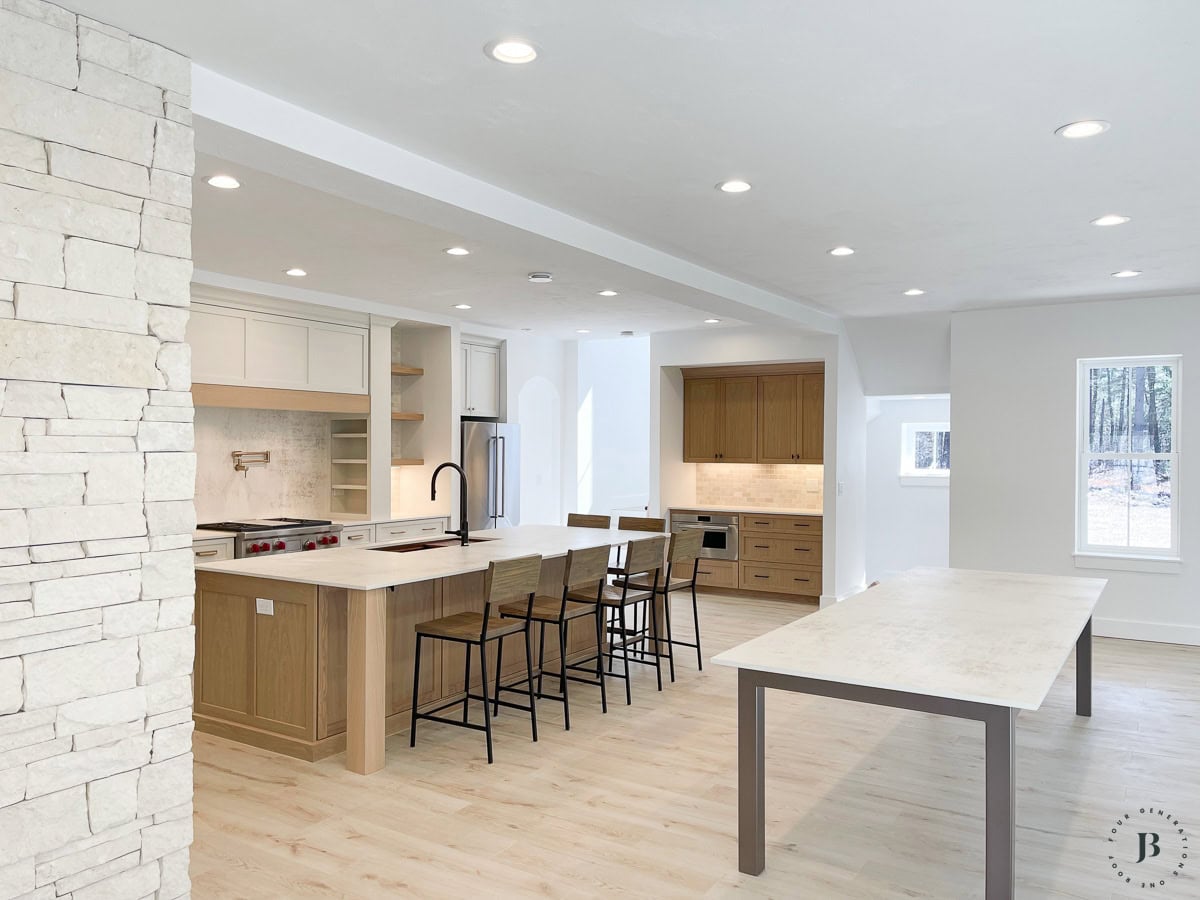
The next kitchen layout is the final space at the recent multigenerational compound where Jim built a modern farmhouse with a detached ADU. This oversized island also creates a clear divider between the living room and kitchen.
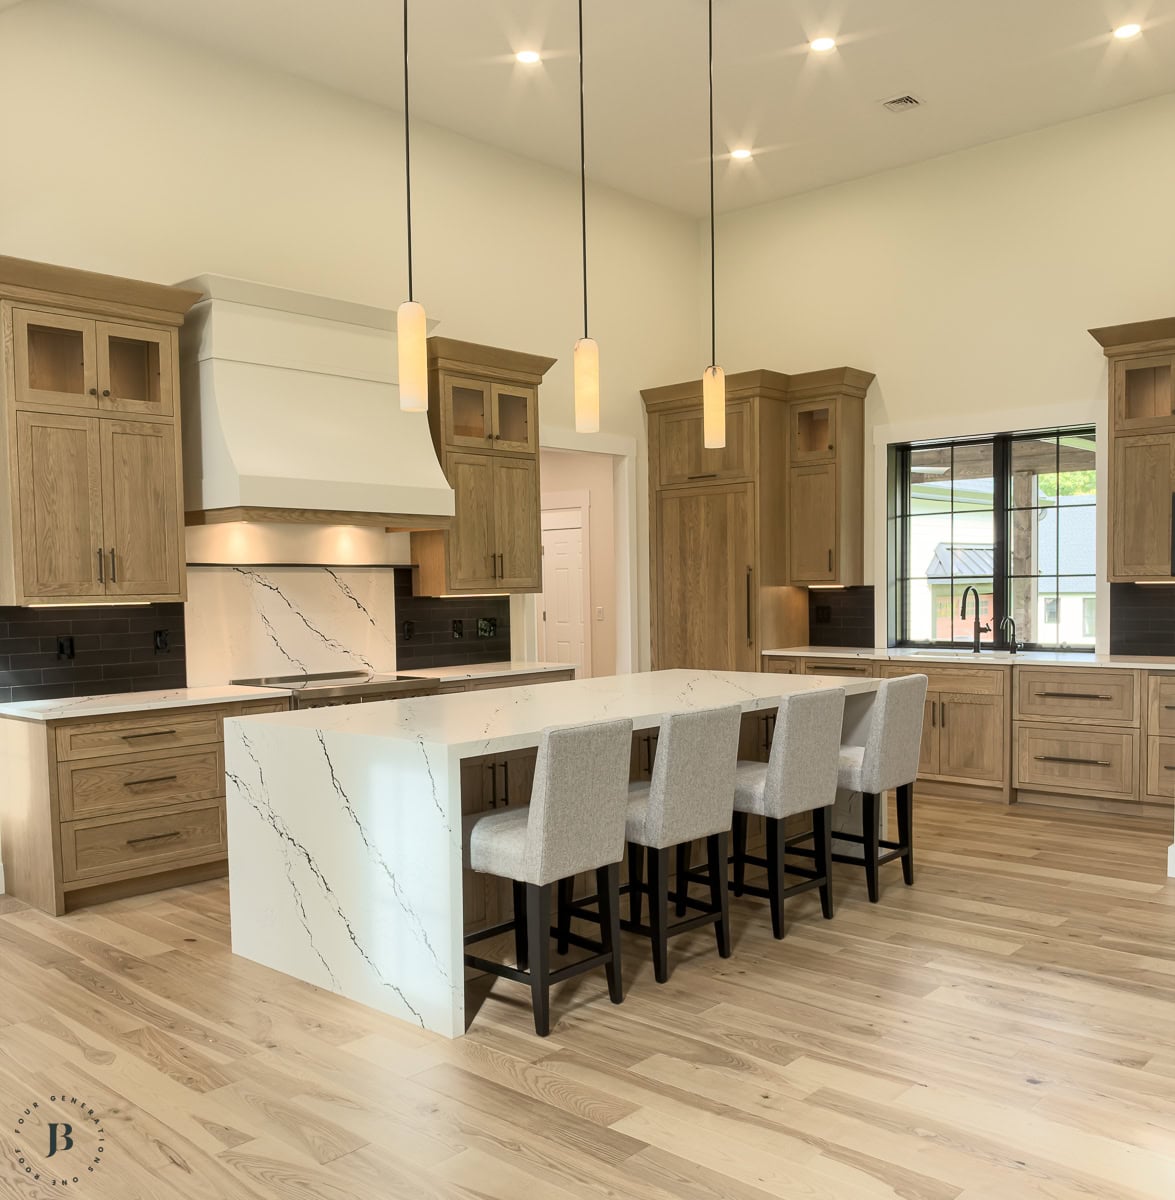
A Kitchen Island With the Microwave Built In
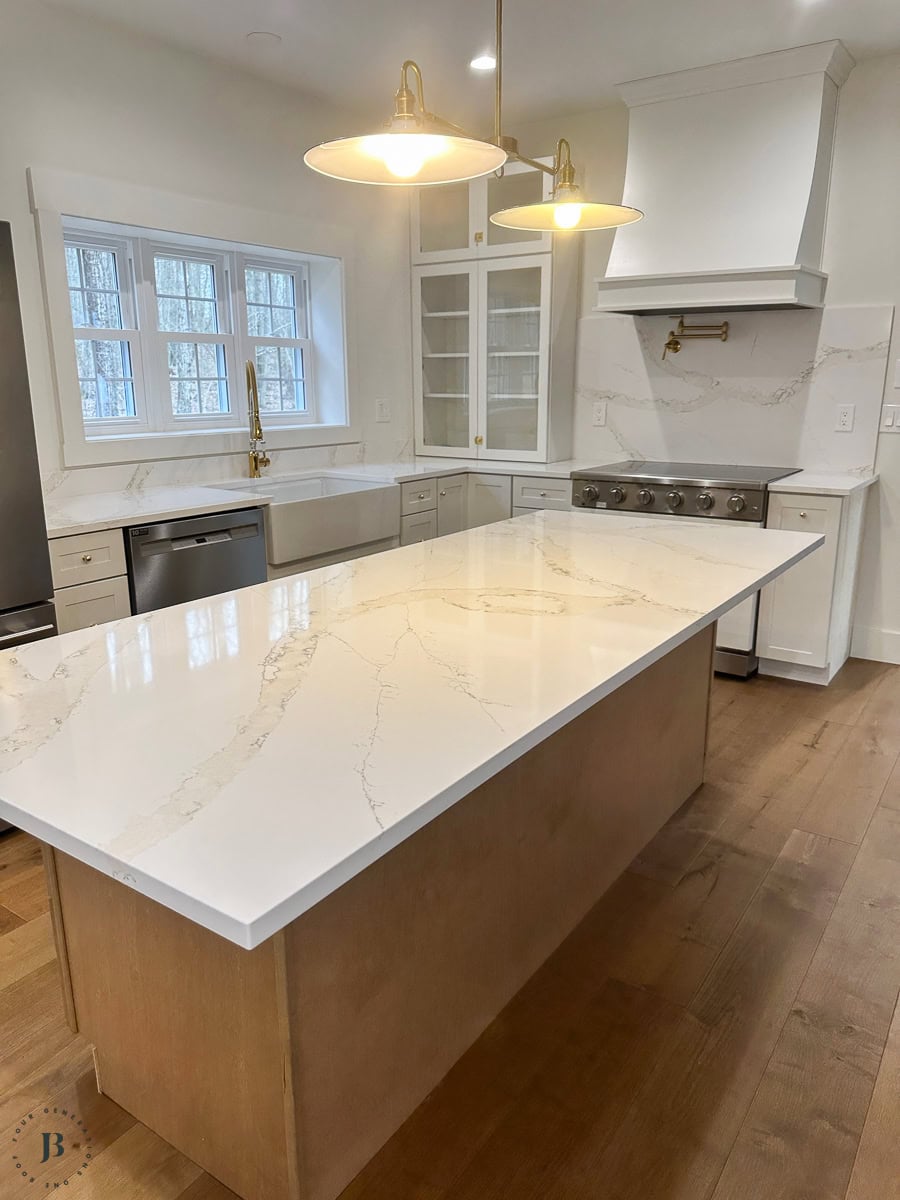
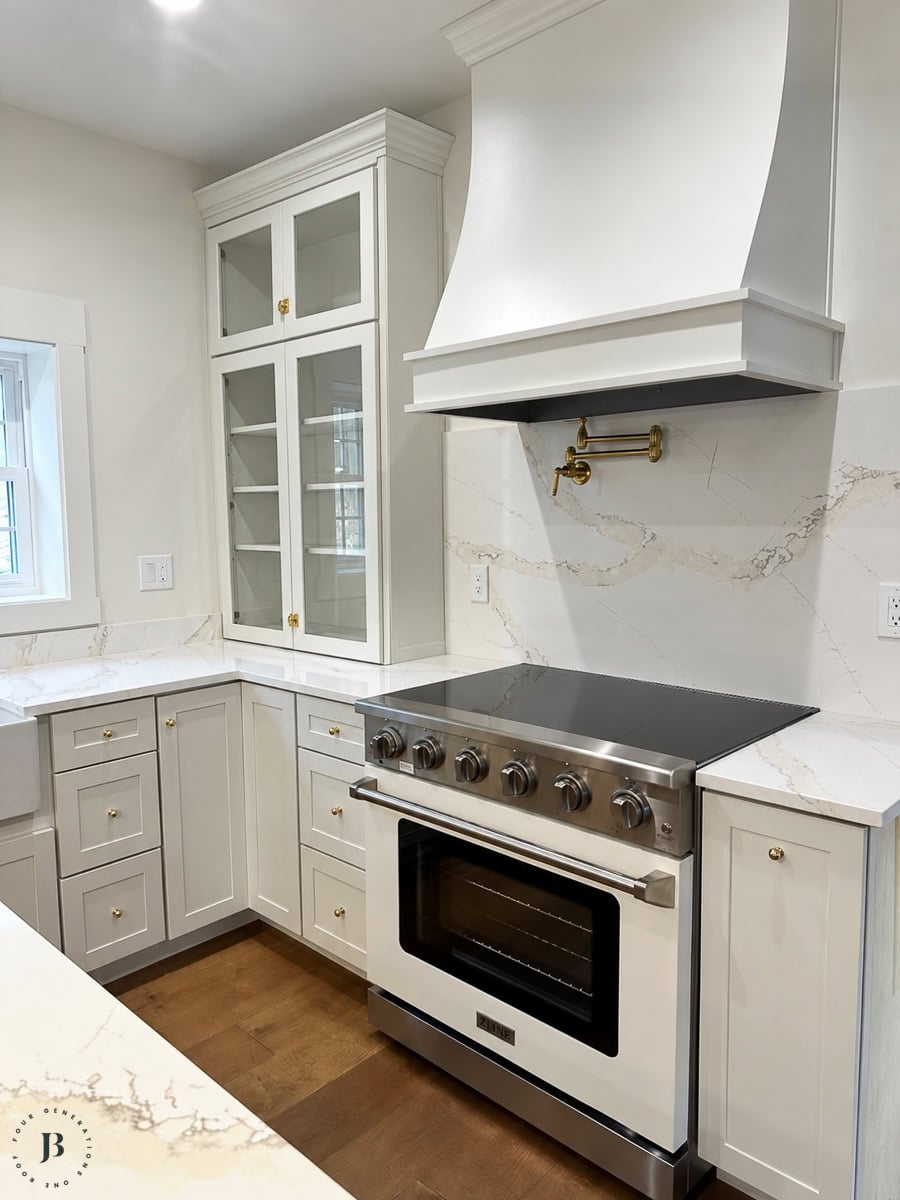
Another new construction home features the microwave built into the island instead of taking up cabinet space along the wall. This is a great alternative when your wall space is limited! The homeowner wanted a beautiful hutch cabinet (shown at the beginning of this post) and a custom wood hood, which didn’t leave a lot of options for where the microwave could go. The island turned out to be the perfect spot.
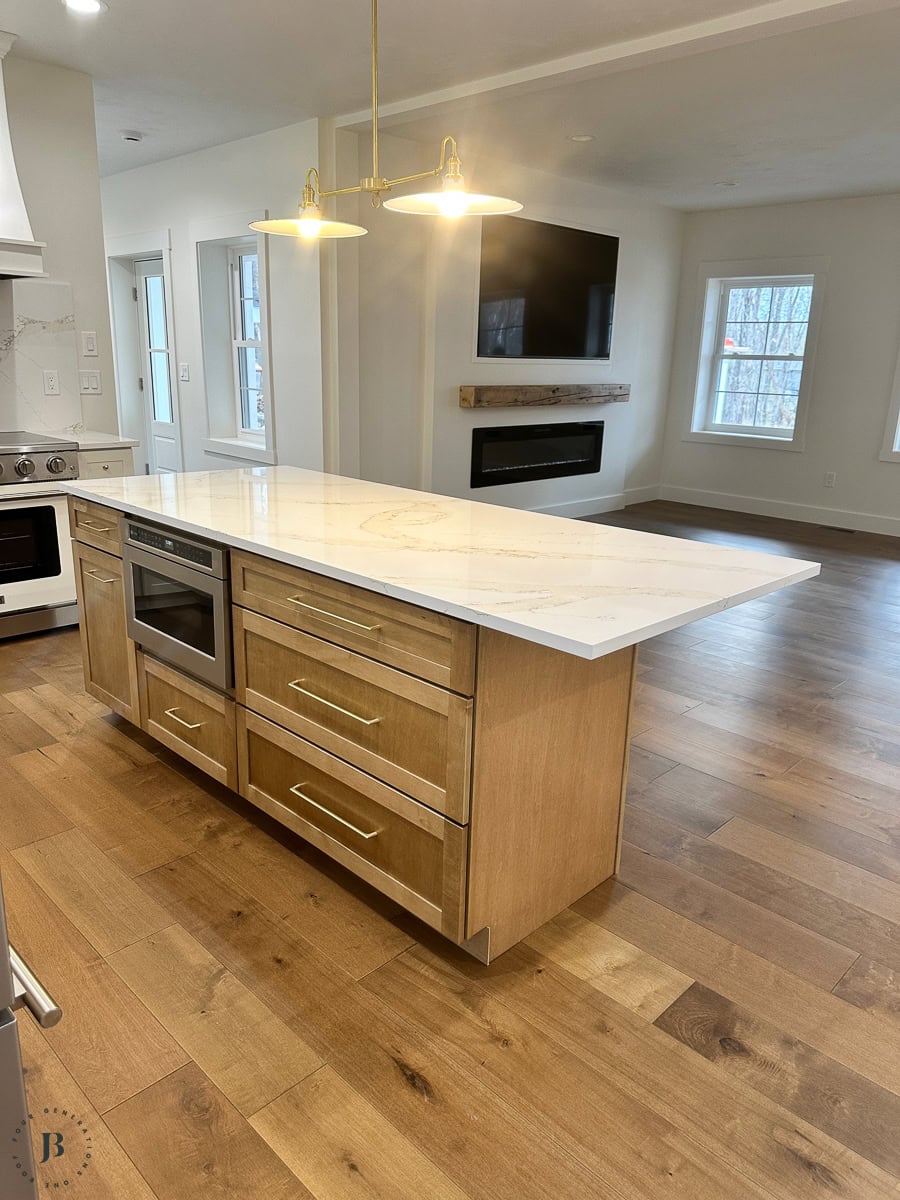
We also added the microwave in the island at our Rhode Island house as well. Our back kitchen wall has two windows, leaving minimal space for upper cabinets.

The One Question to Ask This Week
Whether you’re renovating or building, the question underneath every kitchen in this post is the same, where does the room create a collision, and is that collision actually the layout’s fault?
If you’re building from scratch, ask the same question of the floor plan before the framing crew shows up, even within the footprint you’ve already got. Moving a line on paper costs nothing. Moving a wall after drywall is line item that will cost thousands!
If you’re in the color and finish stage after your layout’s settled, grab the free Living Room Color Guide!

Meet Jessica
What started as a hobby, Jessica’s blog now has millions of people visit yearly and while many of the projects and posts look and sound perfect, life hasn’t always been easy. Read Jessica’s story and how overcoming death, divorce and dementia was one of her biggest life lessons to date.