

How To Paint Wood Trim (step by step)
Article may have affiliate links. If you make a purchase, I may earn a tiny commission at no extra cost to you. Big thanks for supporting my small business.

The fastest way to update dated wood trim is to paint it white and the process always comes down to the same five things: clean it, lightly sand or degloss it, prime it with a stain-blocking primer, caulk the gaps, then finish with two coats of trim paint.
I’m walking through exactly how we did it on our own dark stained trim, including the primer that actually stopped our orange stain from bleeding through.

Whether you are painting wooden trim, doors or walls, a fresh coat of paint will provide a great before and after.
Painting Trim White
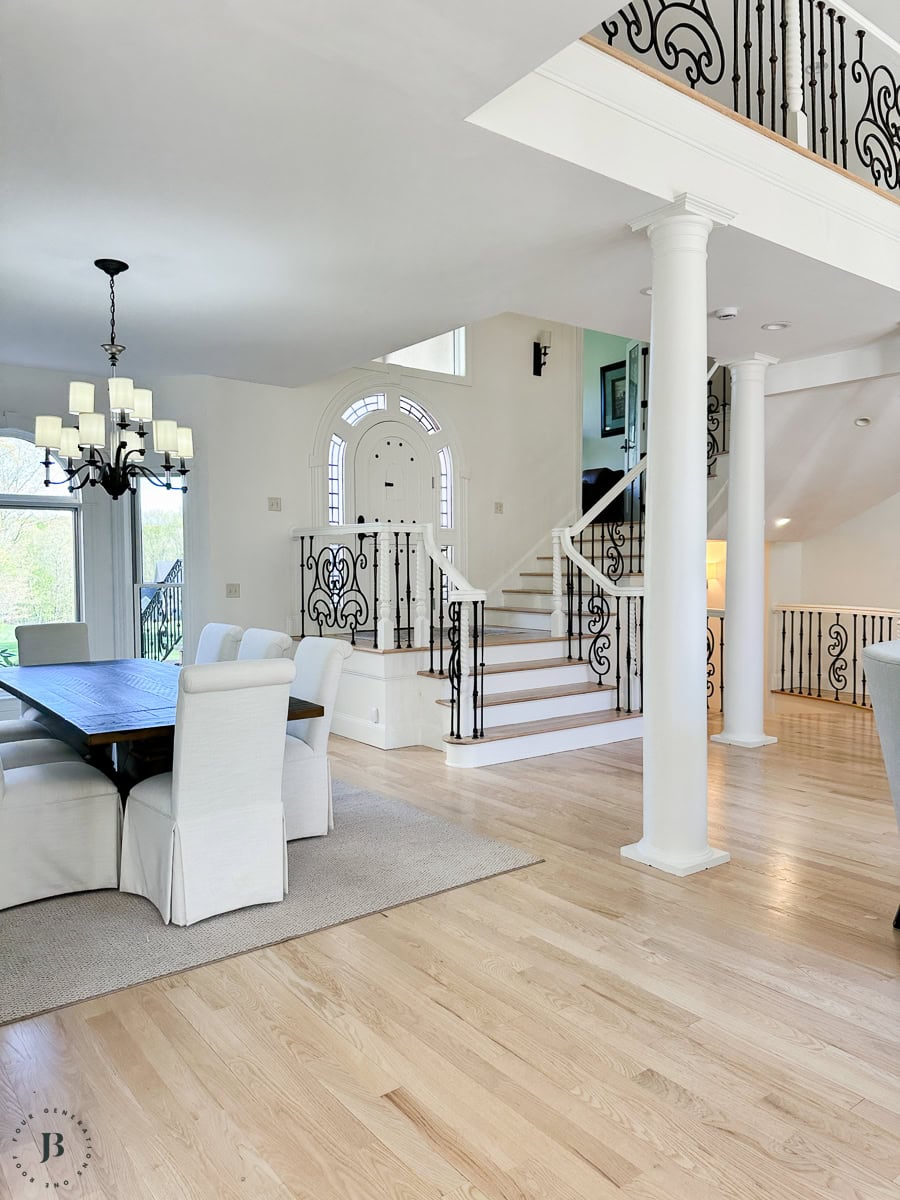
Many of you know that we have been considering painting all of the wood trim, doors and stairway in our house for quite some time.
Painting trim white, especially if you are painting over stained wood, is a simple but lengthy process as you must prepare the wood.
One of the biggest issues with stained wood is the stain color bleeding through and turning the white trim paint a dirty orange brown.
Paint prep work is the key to success so be diligent and take your time!
Painting Wood Trim FAQ’s
Best Primer for Painting Wood Trim White
What type of primer is best for wood trim?
We used Zinsser Cover Stain to prime all the wood trim.
Cover Stain is an oil-based primer which is very smelly but does a great job at covering stained wood. We applied 2 coats of primer allowing each coat to dry for 24 hours before applying the next coat.

The directions on the can are very self explanatory.
If you’re dealing with a particularly stubborn stain or a knot that keeps bleeding through even after two coats of oil-based primer, a shellac-based primer like BIN seals even tighter. It’s a good backup option to know about, though cleanup requires denatured alcohol instead of water or paint thinner.
How to Paint Wood Trim: Complete Instructions Guide
Before we get started with the step by step instructions on how to paint wood, lets review a few common questions below about painting wood trim.
Priming Tip
One thing to note about oil-based products, you cannot clean the brush or roller with water, you need to use paint thinner. If you prefer to use a latex (water based) primer (I think oil based covers the stain better), check out this post, how to paint over stain with latex primer. One important note either way: if your trim was previously painted with an oil-based product, you can’t just switch to a water-based primer and paint over it — it will peel. You’d need to scuff-sand and use a bonding primer made for that transition first.
What Kind of Paint Do You Use On Wood Trim
Trim Paint: The paint sheen of trim is typically semi gloss or satin.
We used latex paint in a satin finish to create a cohesive seamless look from our wall color.
A semi gloss sheen for trim work is popular because the shinier the paint, the more durable and wipeable it is — that’s the actual tradeoff. Satin sheen is equally easy to clean and does not have as shiny of a finish, just slightly less wipeable than semi-gloss over time.
I am not fan of super shiny trim so satin is always our go-to trim sheen.
For our trim paint color, we used Sherwin Williams Westhighland (latex paint) diluted with white by 25% to provide a slight contrast from our wall color. Our wall color is Sherwin Williams Westhighland.
If you’re not sure which white to choose for your own trim, an untinted, straight-off-the-shelf white is almost always a safe choice — it reads clean against most wall colors and lighting conditions, which is part of why it’s such a popular default for trim specifically.
Use a good quality brush, I like Purdy and Wooster, to prevent brush marks. Keep your oil based and latex paint brushes separate. Use a dedicated brush for latex paint and a dedicated brush for oil-based primer application.
Materials you will need to paint wood trim white
You can purchase all your supplies by clicking the highlighted links above or head to our Amazon Storefront.
If you are curious what the best paint for trim is, you can use Benjamin Moore Regal (we used BM) or Sherwin Williams Emerald Interior.
How to Paint Trim Like A Pro
Step 1: Lightly Sand The Trim (or Degloss)
Lightly sanding the trim will break any shine or sheen on the stain and help the primer adhere better to the wood trim. Be sure to vacuum and wipe clean any mess from sanding. If you’d rather skip the dust, a liquid deglosser wiped on with a rag accomplishes the same thing chemically — just follow the ventilation instructions on the product.

Step 2 – Apply Painters Tape Around Trim
When painting baseboards, window or door trim you will need to spend time taping off the trim to prevent getting primer or trim paint on the floors and walls. This first round of tape is just to protect surfaces while you prime — you’ll actually pull it, caulk, and re-tape again before the topcoat (more on that in Step 5).

This process is a bit daunting and time consuming but it will allow for the painting process to go faster and once the tape is removed (after the paint is dry), you will have a clean professional straight paint line.
Step 3 – Apply First Coat Of Primer With Brush Or Roller
Be sure to apply the primer to a clean surface and allow 24 hours to dry before applying the second coat. We applied 2 coats of primer to ensure the stain color does not bleed through.

Step 4 – Lightly Sand Any Rough Primed Areas
Depending on your wood and how thick you apply the primer, you may need to lightly sand with 120 sandpaper the dried primer to ensure a smooth application for the latex paint.
We had a few primed areas that needed to be sanded.

Step 5 – Remove Tape, Caulk Gaps, Then Re-Tape
Stained wood trim is never caulked so you will most definitely have a gap/line between the trim and walls. Pull the painter’s tape from Step 2 before you caulk.
Caulking will create a seamless transition between the trim and walls. Use wood filler for small imperfections and lightly sand filler areas to a smooth finish.
Allow 24 hours for the caulking to dry, then re-apply fresh painter’s tape before moving on to the topcoat. Yes, this means taping twice — once to protect surfaces during priming, and again before paint — but it’s what gives you a crisp final line.

Step 6 – Apply White Trim Latex Paint
Using a high quality 2″ angle brush, we applied 2 coats of latex white paint allowing 24 hours to dry in between coats.

Step 7 – Remove Painters Tape
Remove painters tape once the paint is dry to the touch.
You may need to use a putty knife or blade first to score the painters tape along the edge to get a clean line.
Painting Wood Trim Before & After
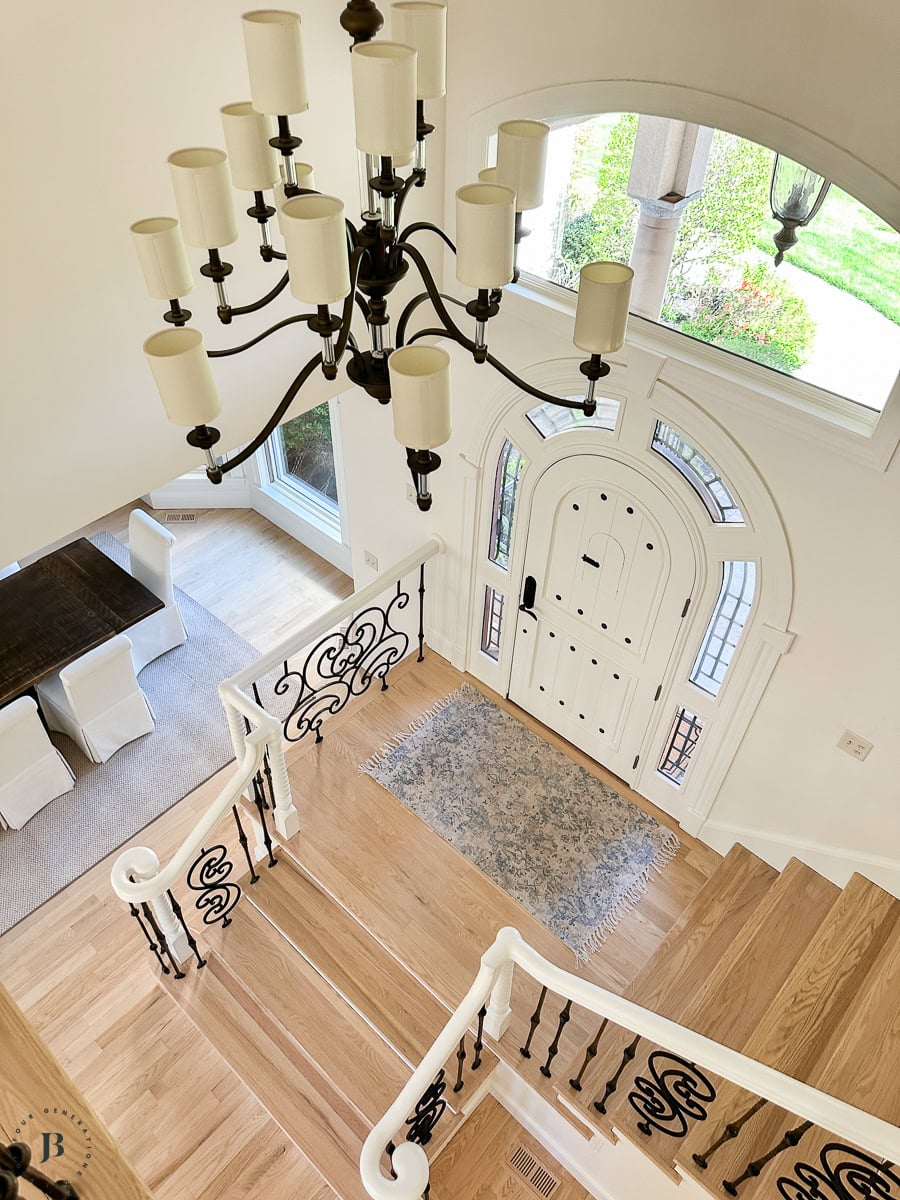
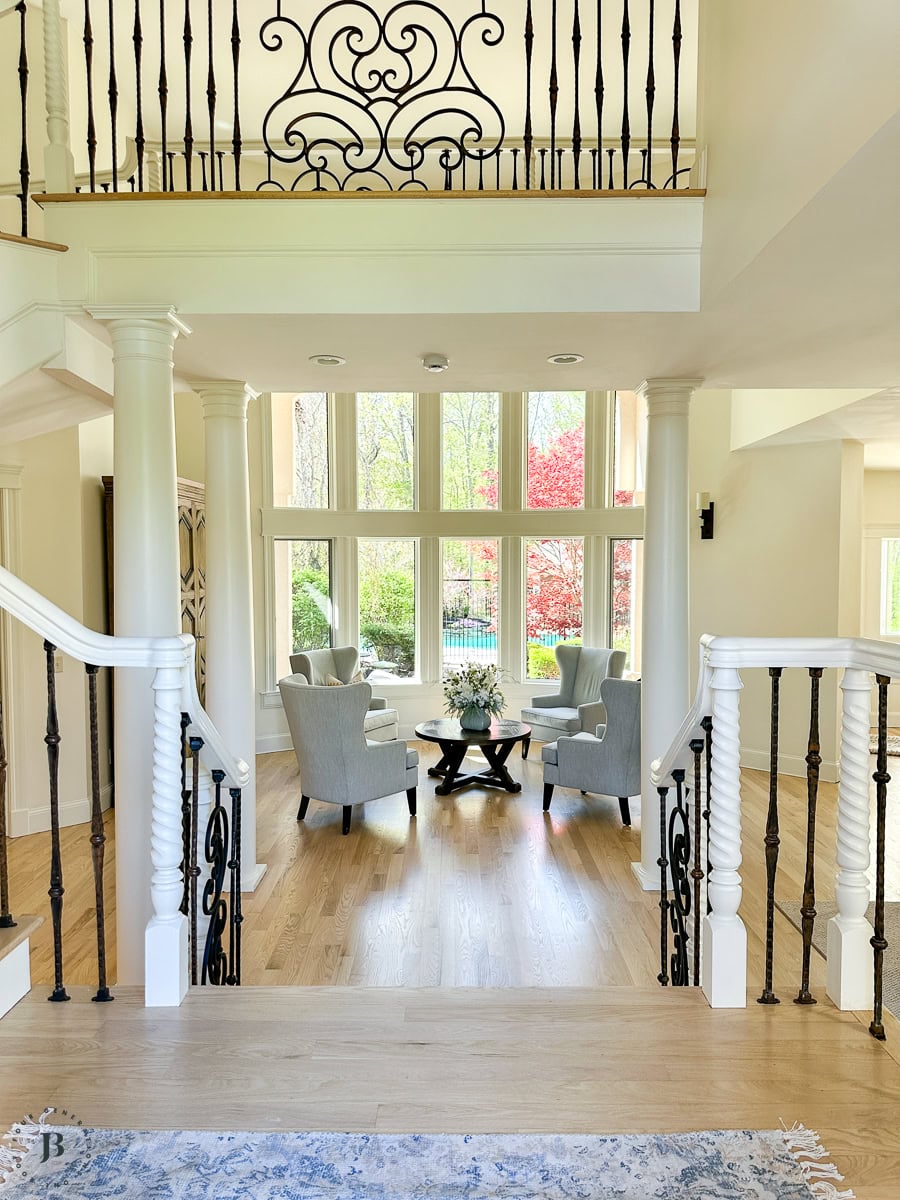
Below is the before picture of the large windows in our dining & foyer area.

Here is the same view with a coat of primer and 1 coat of paint.

Here is the family room before we started painting the interior trim.

Be sure to read this post, modernizing our mediterranean house with paint, to see what the house looked like before we started painting the trims white.

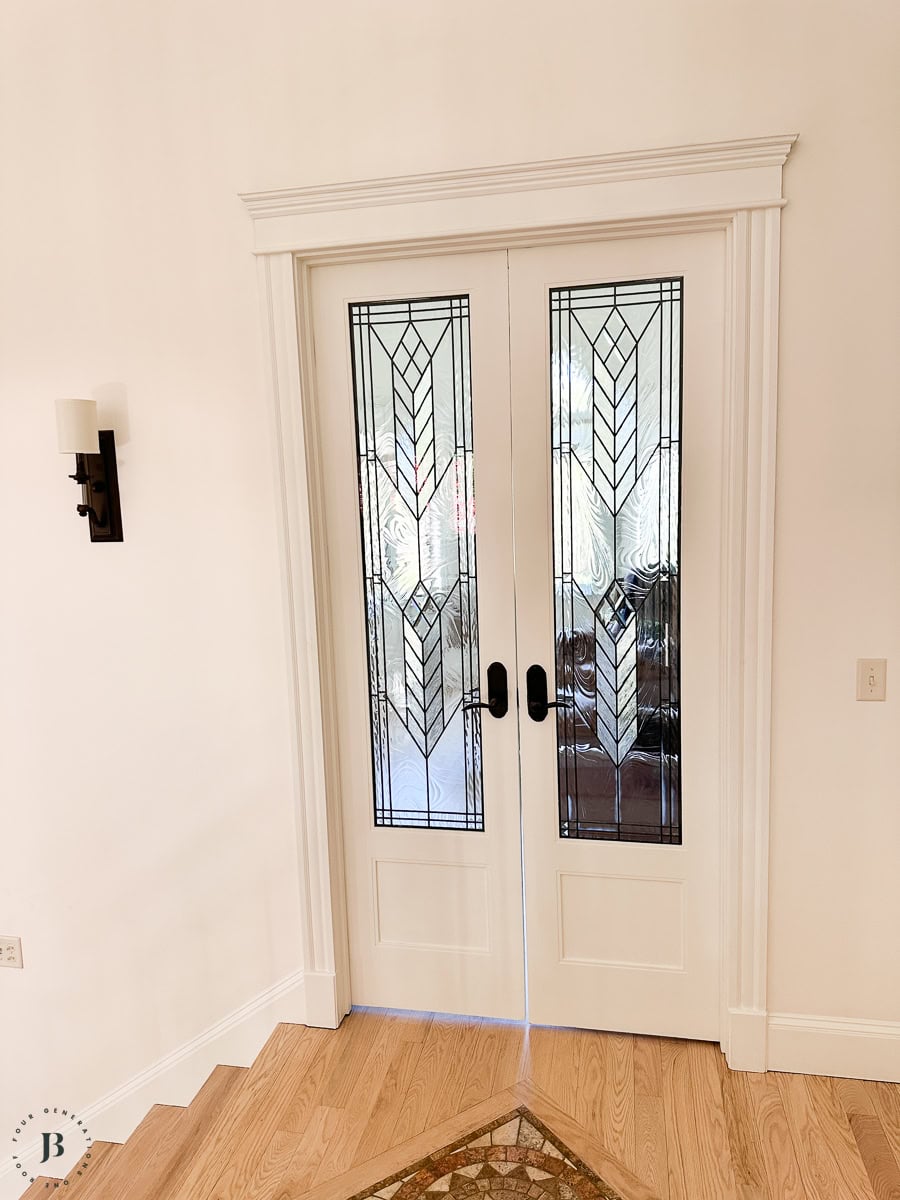
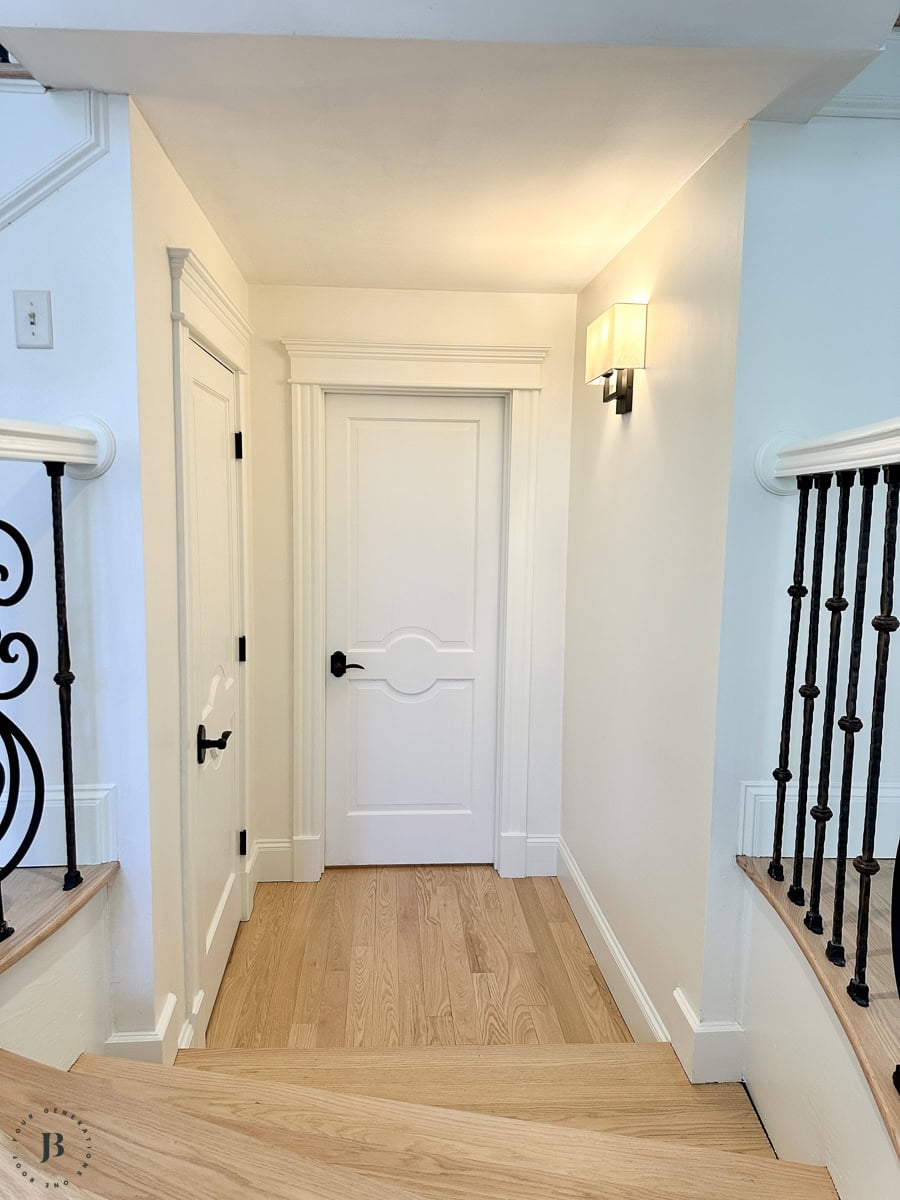
Here is the living room after we painted the trim!
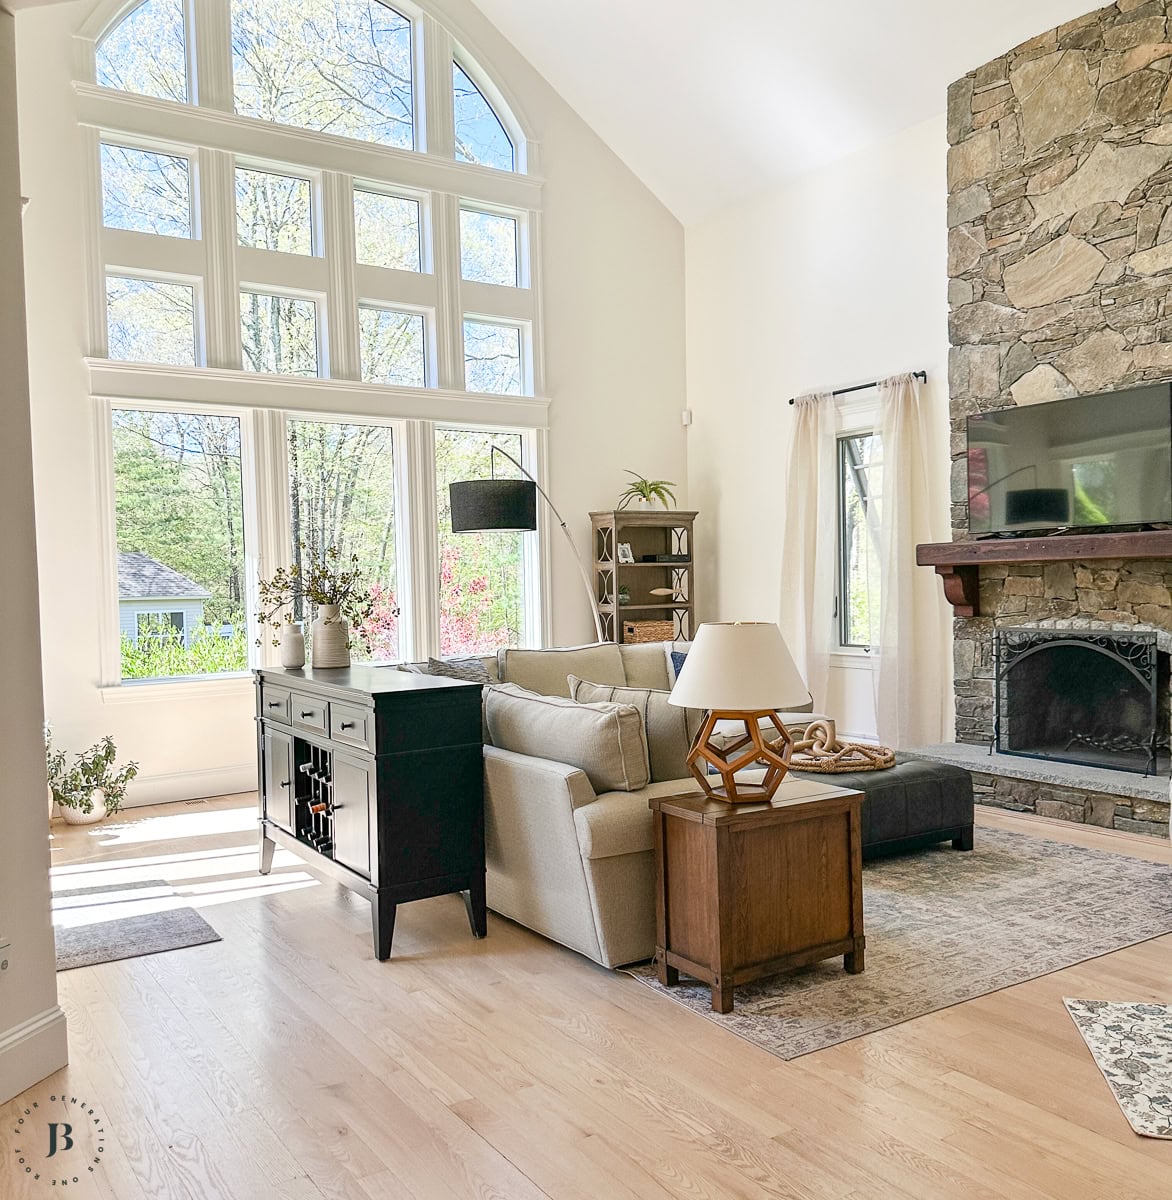
Here is a look at the staircase with white primed stair risers and handrails! The staircase looks so good!

Hopefully I have answered your questions of “can I paint over stained wood?!”
If you are painting over stained trim or previously painted trim yourself you will save a lot of money in labor.
The overall cost was just under $7500 to paint the entire house wood trim.

Meet Jessica
What started as a hobby, Jessica’s blog now has millions of people visit yearly and while many of the projects and posts look and sound perfect, life hasn’t always been easy. Read Jessica’s story and how overcoming death, divorce and dementia was one of her biggest life lessons to date.
Thank you for the informative and easy to follow directions. I have been wanting to paint the trim and decks of my bay windows for a while. At the ripe old age of 73, I may be a little ambitious, but I have nothing but time, since retiring, so why not! Researching my project now so I can open the windows and start with the first sign of Spring. I enjoy your blog and can relate to all the things you have been through, except dementia. Happy that you seem to be turning a corner. God bless you and your family in the coming year.
Hi Karen! Thank you so much for the kind words 🙂 It’s definitely a lengthy process! Send me some pics when you finish of before and after would love to see!
Wow, this is looking so much better, especially looking out the windows to the snow!
Thank you! I love how the eye is drawn to the outside now 🙂
So after the primer, do you remove the painters tape to caulk the cracks? Then tape again before painting?
We are going to paint our daughter’s oak stained bathroom door and trim white. Can we use the same technique on both? I was going to use the stain blocking primer on both. Also, any recommendations on painting only one side of the bathroom door white? The other side leads into a hallway that all the trim, banister and other doors are the same.