

1950s Cape Cod First Floor Master Bedroom Remodel
Article may have affiliate links. If you make a purchase, I may earn a tiny commission at no extra cost to you. Big thanks for supporting my small business.
Today I’m sharing the newly remodeled 1950’s Cape Cod style house featuring the first floor master suite. If you have a traditional 1950s home, you are going to love how we created a first floor master suite with full walk in closet and master bath by eliminating the small formal dining room.
A 1950s classic Cape Cod is typically a small home and does not have a lot of square footage. This home maxed out around 1350 square feet making it a challenge to create an open layout feel.
Our renovation plan, focusing on how we took down a load-bearing wall to open up space for a master bedroom that meets today’s modern living standards.

How Do You Update A Cape – Master Bedroom
When we bought this home, with the intent to renovate and sell, we knew addressing the choppy layout was necessary.
The original layout on the main floor included a kitchen, living room, bathroom, formal dining room and a bedroom. The second floor included 2 large bedrooms with front dormers.
We ultimately decided that creating a first floor master suite with the addition of a second bathroom was absolutely necessary especially considering this home would be marketed for sale to buyers with a growing a family.
In order to add a second bathroom on the first floor, we needed to steal space from another room which meant eliminating the dining area.

Honestly, the formal dining room while it was popular back 20 plus years ago, they are seemingly a thing of the past.
We opened up the layout on the first floor by integrating a peninsula in the new kitchen, which allowed us to relocate the dining area into the kitchen, creating a more cohesive and open space throughout the home.
After choosing to move the dining area into the kitchen, we took down the wall separating the dining room and the first-floor bedroom. This opened up the area, providing space for a new full bathroom and walk-in closet.
How Do You Make A Cape Look Bigger
Unless you are adding on square feet, one of the best ways to make a Cape look bigger is to remove interior walls to give the appearance of an open layout.
Remove Interior Wall
The first thing Jim did was remove the wall between the dining room and first floor bedroom.
This is the old dining room before we remodeled.
Below is the dining room wall that we removed in order to create the master suite.

Here is the view from the “dining room” once Jim removed the sheetrock.

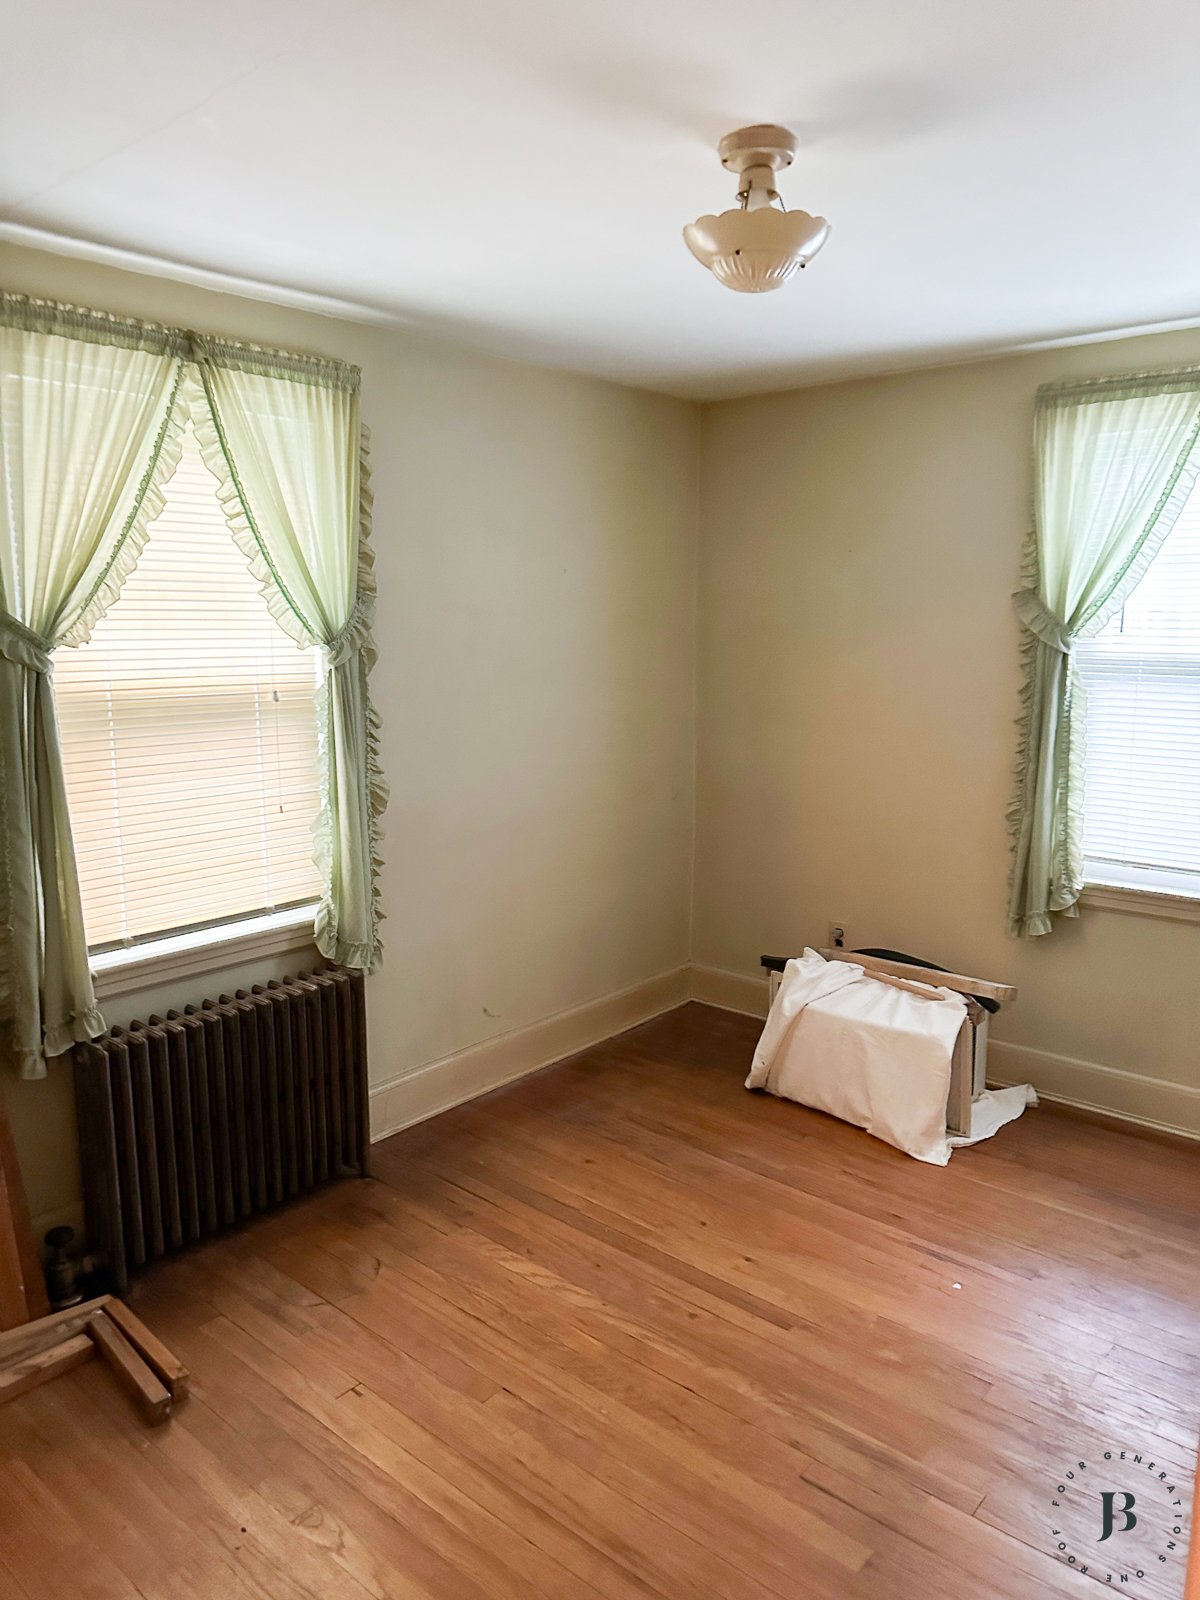
This is the first floor bedroom below that is on the other side of the dining room wall that we removed.

A portion of the wall was load bearing which required Jim to install a header (the part above the entrance into the “dining room” new bathroom.

Here is another view from the bedroom looking into the new walk-in closet and bathroom.

If you saw kitchen remodel post I shared a couple days ago in this home, you know that we removed the load bearing interior wall between the kitchen and living room, giving the appearance of a much larger living space.
If you missed the new kitchen makeover in this house, be sure to check it out when you are done reading this post. The transformation is wild! The extra space that was gained in the new kitchen by adding a peninsula was just what the space needed.
When removing a load bearing wall, be sure to obtain the proper town permits, consult a structural engineer and hire a licensed general contractor to install the new load bearing beam.
On a side note, we also share a great post on removing a load bearing wall in another home renovation if you need more inspiration!
1950s Cape Master Bedroom Remodel Before and After
Ok! Let’s get to the good stuff – we all love a good before and after!
Once the interior wall was removed, Jim framed a new walk-in closet and created a new full bathroom with a walk-in shower.
Here is the before.

Here is the after.

Master bathrooms in a 1950s home are rare so we were determined to make it happen as we knew, it would be a big selling feature.
Once the wall was removed, Jim was able to add plumbing to the new bathroom and frame the walk-in closet.

The view into the new bathroom below is incredible! It’s hard to believe this new bathroom was once the old formal dining room.

By removing the dining room and bedroom wall, we were also able to increase the size of the original bathroom in the existing house (on the other side of this wall below).
The removal of the dining room allowed us to create 2 really amazing full bathrooms.
Full Bathroom

Below is the new full walk-in shower in the master bathroom.


I love the simple large scale tile with a subtle gray line texture.

The tile paired with dark gray grout added a fresh contrast to the nickel fixtures.

New Vanity, Lighting & Fixtures
The vanity, mirror and modern light fixtures tied in nicely with the flooring and tile selection.

For the vanity and fixtures, we chose simple modern pieces that complimented a classic feel in order to coordinate with the overall design of the new home.

Walk-In Closet
We added simple wire shelving in the new walk-in closet utilizing every square inch of the closet to provide maximum storage.

Here is the view from the bathroom once Jim framed out the new space.

We decided to install a sliding modern interior door that closed off the master bedroom from the walk-in closet and bathroom, creating a master bathroom and closet combination.

We were lucky that we didn’t need to install new windows as the previous owners had taken care of that upgrade a few years prior.
Fortunately, the windows were standard size and allowed maximum natural light.
Interior Sliding Door
Below is the entrance to the new bathroom while Jim was framing out the space.

I really love the sliding interior door option in the bedroom to maximize space.

Hardwood Floors
Here is the entrance to the bedroom before we remodeled.

We refinished the hardwood floors throughout the whole house, achieving a unified and seamless appearance.
One thing about an older home is, often times the hardwood floors are amazing but just need to be refinished.

Cape Cod homes are very popular here in New England and while they usually have small rooms, the 2 bedrooms on the second floor are typically large bedrooms with dormer windows.
This home now has 3 bedrooms and two baths perfect for as a starter home, a growing family or buyers looking to downsize.

The new design for this 1950s Cape Cod home not only included a master bedroom and master bathroom but also a kitchen remodel with new cabinets, a screened-in porch remodel transformed to a 3-season room, a full remodel of the existing bathroom, an entire wall removal between the living room and kitchen and a garage overhaul with interior access.
Here is the peak at the new kitchen!

Catch Up: Cape Cod House Remodel Series
- 1950s whole cape house renovation (see a full tour of this home before and after)
- 1950s bathroom remodel before and after
- 1950s Cape First Floor Master Bedroom Makeover (see how we added a 2nd bathroom to the house and walk-in closet)
- 1950s Cape Cod kitchen remodel
- 1950s Cape House Breezeway Renovation (before and after)
- 10 large shower tile ideas, if you have a bath remodel on your mind
In this 1950s Cape Master Bedroom Remodel, we’ve shown that modernizing while retaining charm is possible. This remodel not only improved the home’s look and feel but also its functionality.
Stay tuned, I’ll be sharing more of this 1950s home remodel soon. In the meantime, let me know what you think of the kitchen remodel!

Meet Jessica
What started as a hobby, Jessica’s blog now has millions of people visit yearly and while many of the projects and posts look and sound perfect, life hasn’t always been easy. Read Jessica’s story and how overcoming death, divorce and dementia was one of her biggest life lessons to date.
Wow, this was an amazing transformation and such a good use of the existing space! Have you shared how you turned the screened porch into a 3 season room? We would like to do that in our home, and would love to hear all the details about how you and Jim transformed your porch.
Thanks Jeanine! The breezeway remodel is live on the blog now! 🙂 You can see it here https://www.fourgenerationsoneroof.com/1950s-cape-house-breezeway-renovation/