

Dad’s DIY Lawn Dethatcher Tips and Tricks (Best Lawn Series)
Article may have affiliate links. If you make a purchase, I may earn a tiny commission at no extra cost to you. Big thanks for supporting my small business.
Today I am sharing my dad’s DIY lawn dethatcher tips and tricks that won’t break the bank, which is part of our Best Lawn Series. What is a lawn dethatcher? It’s basically a tool that you add to the back of your lawn mower and it digs up all the dead grass, allowing new grass to grow once seeded.
You can purchase an inexpensive tag along detacher like we have below and fix your grass quickly and easily.
Is your lawn soil really hard, full of weeds and just overall tired looking?

Let’s take a look at how my dad dethatches our lawn every year!
Can I Dethatch My Lawn By Myself
You, can 100% dethatch your own lawn and it’s so easy!

Our lawn seems to be in desperate need of dethatching every Spring. This is where a yard dethatcher and aerator that hooks onto your lawn mower (tow behind) comes in handy.
You can rent power dethatchers (dethatcher rental prices vary) or hire a professional but the good old fashioned way (kind of a homemade way) has always worked for us.
My dad’s lawn dethatcher that attaches to the back of our lawn mower and is older than dirt.
If you do not want to do this yourself, search dethatcher rentals in your area.

If you are looking to purchase a dethatcher attachment, I suggest checking out the links I provide here in this post.
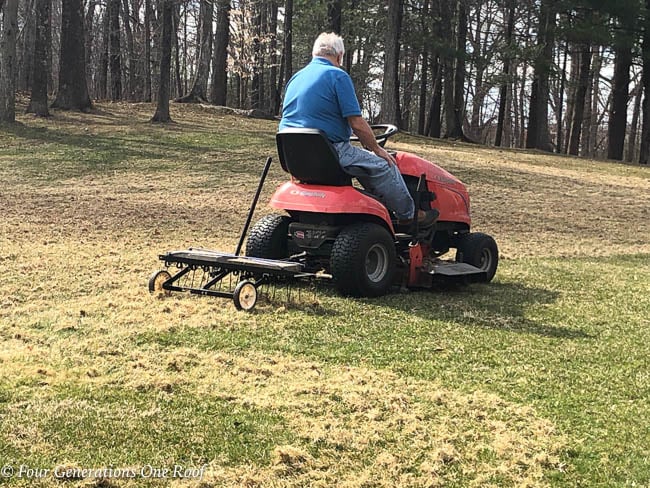
This lawn dethatcher pulls behind the lawn mower (tow behind dethatcher) and digs up all the dead grass. Call me crazy but I love watching all the dead grass get dug up.
A lawn dethatcher and aerator (this is a great aerator) are the two must have yard tools if you want a lush green lawn. A tow behind lawn dethatcher or aerator will make your life so much easier vs renting one.
Plus, if you purchase a tow behind, you will have it year after year.
This image above is from previous year (check out this post where I talked about the yard project killing me and the budget). We removed all the dead trees and brush and you can see the dead lawn. It was thick yellow dead grass and weeds.

From far away it didn’t look that bad (like really far away) but up close, totally disgusting.
If you remember, we hired a company to remove the dead trees (see below) and overgrowth.
The yard excavation was extensive and ate up all of our time and budget so the existing lawn took a backseat to being repaired.
Want to dethatch your lawn this weekend? Follow my dad’s lawn dethatcher tips and you will have a beautiful lawn in no time.
How To Dethatch a Lawn with a Mower Pull Behind
Once we picked up all the limbs and sticks from the lawn, my dad started to dethatch the lawn with the lawn mower. You will need to hand rake any areas where the dethatcher cannot physically fit.
For example, near flower beds, walkways and along the driveway.
The lawn dethatcher tines (the metal pointy things that dig into the ground) are very sharp and will scratch any hard surface and destroy your flower bed edge, so don’t get too close!
You simple attach the lawn dethatcher to the mower (your mower should have a small hole for a hitch attachment on the back). Note the hitch pin above that attaches to the mower.
When To Dethatch A Lawn
The lawn dethatcher metal tines essentially dig up the dead grass.
You could never hand rake a large yard and loosen the soil to the extent of a dethatcher.
Typically the end of summer and fall is a good time if live in the northern part of the country. I’ll be honest, we have done it in the spring as well and it still helps our grass regardless.
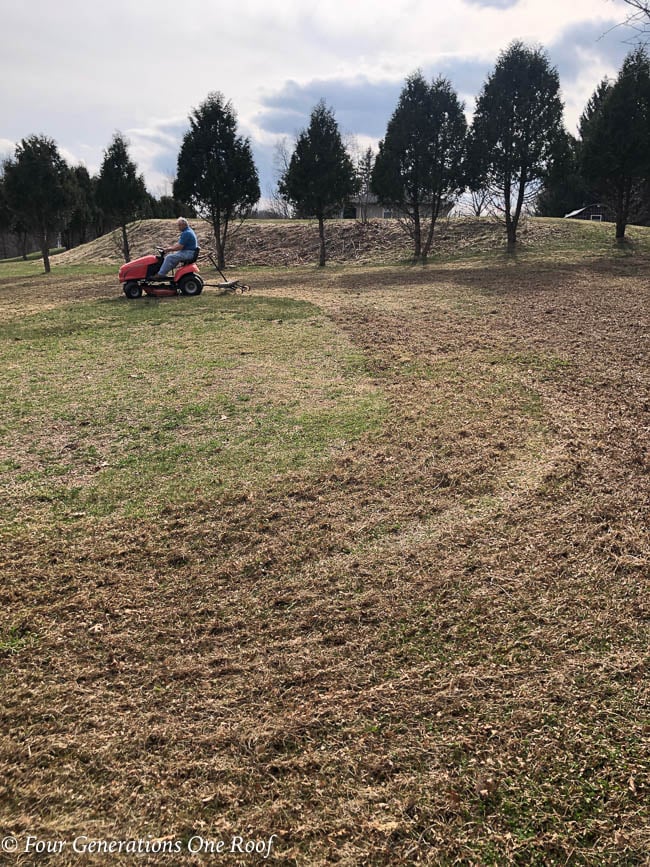
I absolutely love this picture above. You can see the thatched lawn on the right (the part my dad already dug up) and the gross lawn that isn’t dethatched on the left.
TIP: You will need to weigh down the dethatcher with cement blocks.
How to use a lawn dethatcher:
- We use a bungee cord to keep the blocks in place.
- You must raise the lawn dethatcher (dethatcher rake) using the adjustable bar before crossing a patio or driveway. The sharp tines will scratch your driveway!
- When to dethatch your lawn? Early Spring or Fall is the perfect time to dethatch your lawn.

Where To Buy a Lawn Dethatcher
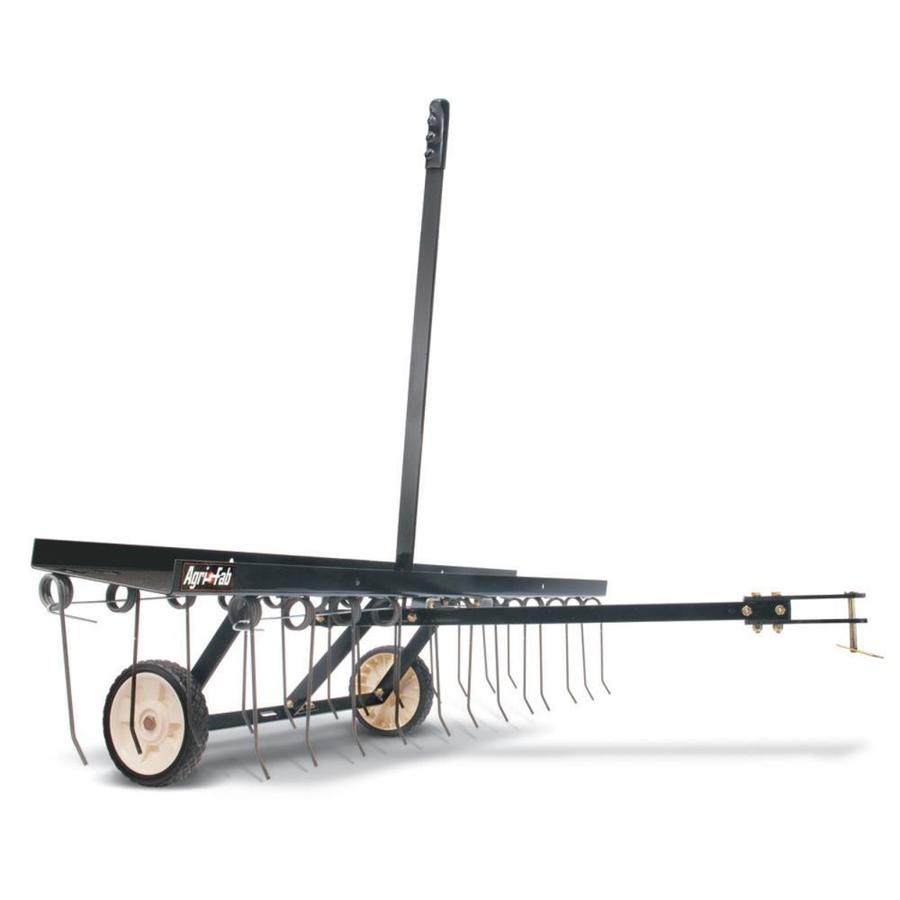
The best lawn dethatcher will have metal tines that are sturdy with sharp ends. You can see how the metal tines dig into the ground and loosen up the soil.

I found this affordable lawn mower dethatcher below on Amazon. It’s very similar to the one we have. Most lawn and garden centers will also carry them for sale.
If you are interested our lawn mower dethatcher attachment shown above, this one very similar to the one we have. I have also linked a couple others here. Just be sure you get the correct length based on the size you want. Find several more dethatcher options here that I have rounded up.
Once my dad was done dethatching the lawn, we removed the dethatcher and attached the lawn mower bagger in order to pick up all the dead grass.
Can you imagine hand raking all the dead grass? A lawn dethatcher rake attachment will save your arms!
I’m thinking no way. My dad sucked up all the dead grass with the lawn mower and I removed and emptied the full bags.

New Lawn Care Tips
There were many areas of the lawn my dad could not dethatch.
The newer lawn installed last year is still very thin in areas and you do not want to tear it up so we gently hand raked it in preparation for overseeding.

Now that the lawn is dethatched in the front yard (the backyard is happening this weekend) it is ready for grass seed in certain areas.
I snapped this picture right before we started working in the yard. I had just picked my parents up from their trip to St. Lucia. While many would get home from a vacation and “rest,” my dad was ready to get working in the yard.
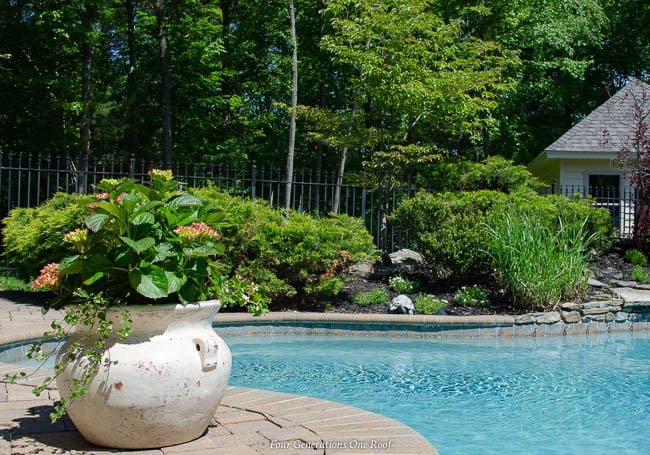
Updated: Fast forward to the end of the summer and check out how our yard (see below) is doing sporting lush green grass (click here) thanks to the on-going lawn thatching process and aeration.

We recently installed driveway entrance columns (picture above) and I am sharing how to plant planters on top of the driveway columns so come take a look.
I promise, the yard looks so much better than these lawn dethatching pictures!

Lawn Series Related: Cleaning up the pool flower beds
Getting your grass seed down in early Spring is best. This way the grass has time to grow before the hot dry weather arrives. My dad’s lawn dethatcher fixed our gross lawn in about 2 hours total. An hour to dethatch the lawn and an hour to suck up the dead grass with the bagger. The Best Lawn Series part 2 happens this weekend so stay tuned for more tips and tricks.


Meet Jessica
What started as a hobby, Jessica’s blog now has millions of people visit yearly and while many of the projects and posts look and sound perfect, life hasn’t always been easy. Read Jessica’s story and how overcoming death, divorce and dementia was one of her biggest life lessons to date.
Wow, that is a lot of lawn! I can’t wait to see the end result, I am sure it is going to be beautiful, I hope your parents had a fabulous time in St. Lucia. TFS some great tips.
Hi Juanita! It is a lot of lawn, I agree! We are hoping to get a jump on it this year so we are not spending the half the summer maintaining it like last year! -ha. They had a good time but glad to be back. I hope you are doing well 🙂