

DIY Fall Pumpkin Planter (Ready in 10 Minutes)
Article may have affiliate links. If you make a purchase, I may earn a tiny commission at no extra cost to you. Big thanks for supporting my small business.
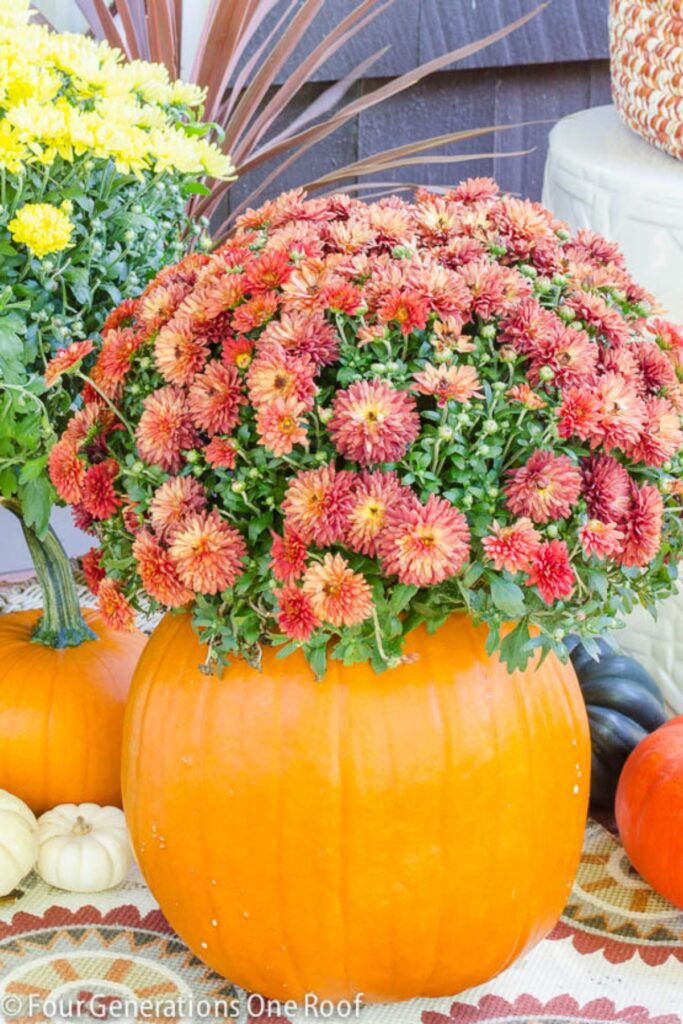
This DIY fall pumpkin planter takes 10 minutes and three supplies. A pumpkin, a knife, and a plant. That’s it.
I’m not exaggerating on the time either. Carve the top off, scoop it out, drop in a mum, and you’ve got a planter that beats anything plastic sitting on your porch right now. As easy as pie.
Real pumpkin or faux pumpkin, this works either way. Both give you the fall look without buying an actual planter.
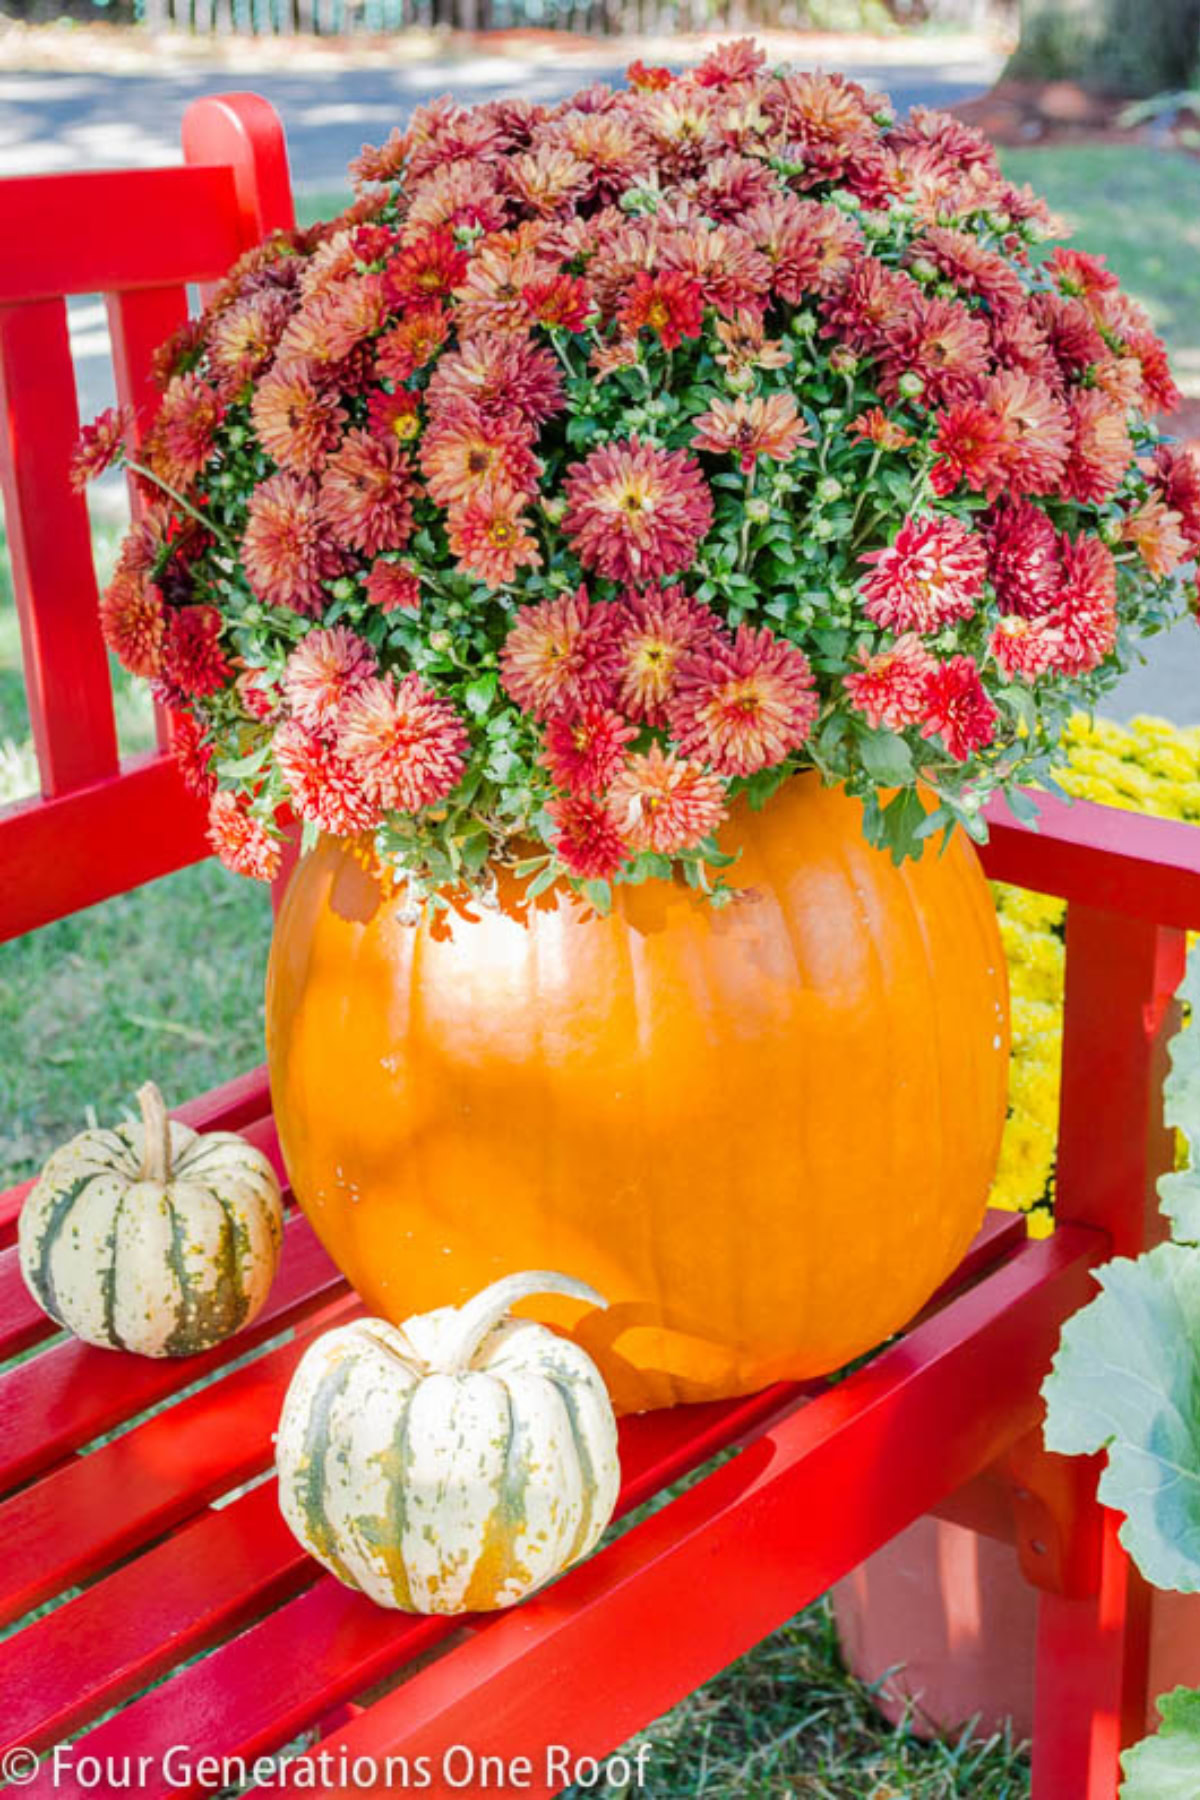
What You Need For A DIY Pumpkin Planter
Here’s everything you need before you start carving.
- A pumpkin (real or faux)
- A knife
- A spoon, for scooping out the insides
- A mum or other fall plant
- Pumpkin spray or a bleach bath, to keep it from rotting
- A plastic planter insert, optional, if you don’t want soil touching the pumpkin
- Soil, optional, if you’re skipping the plastic insert
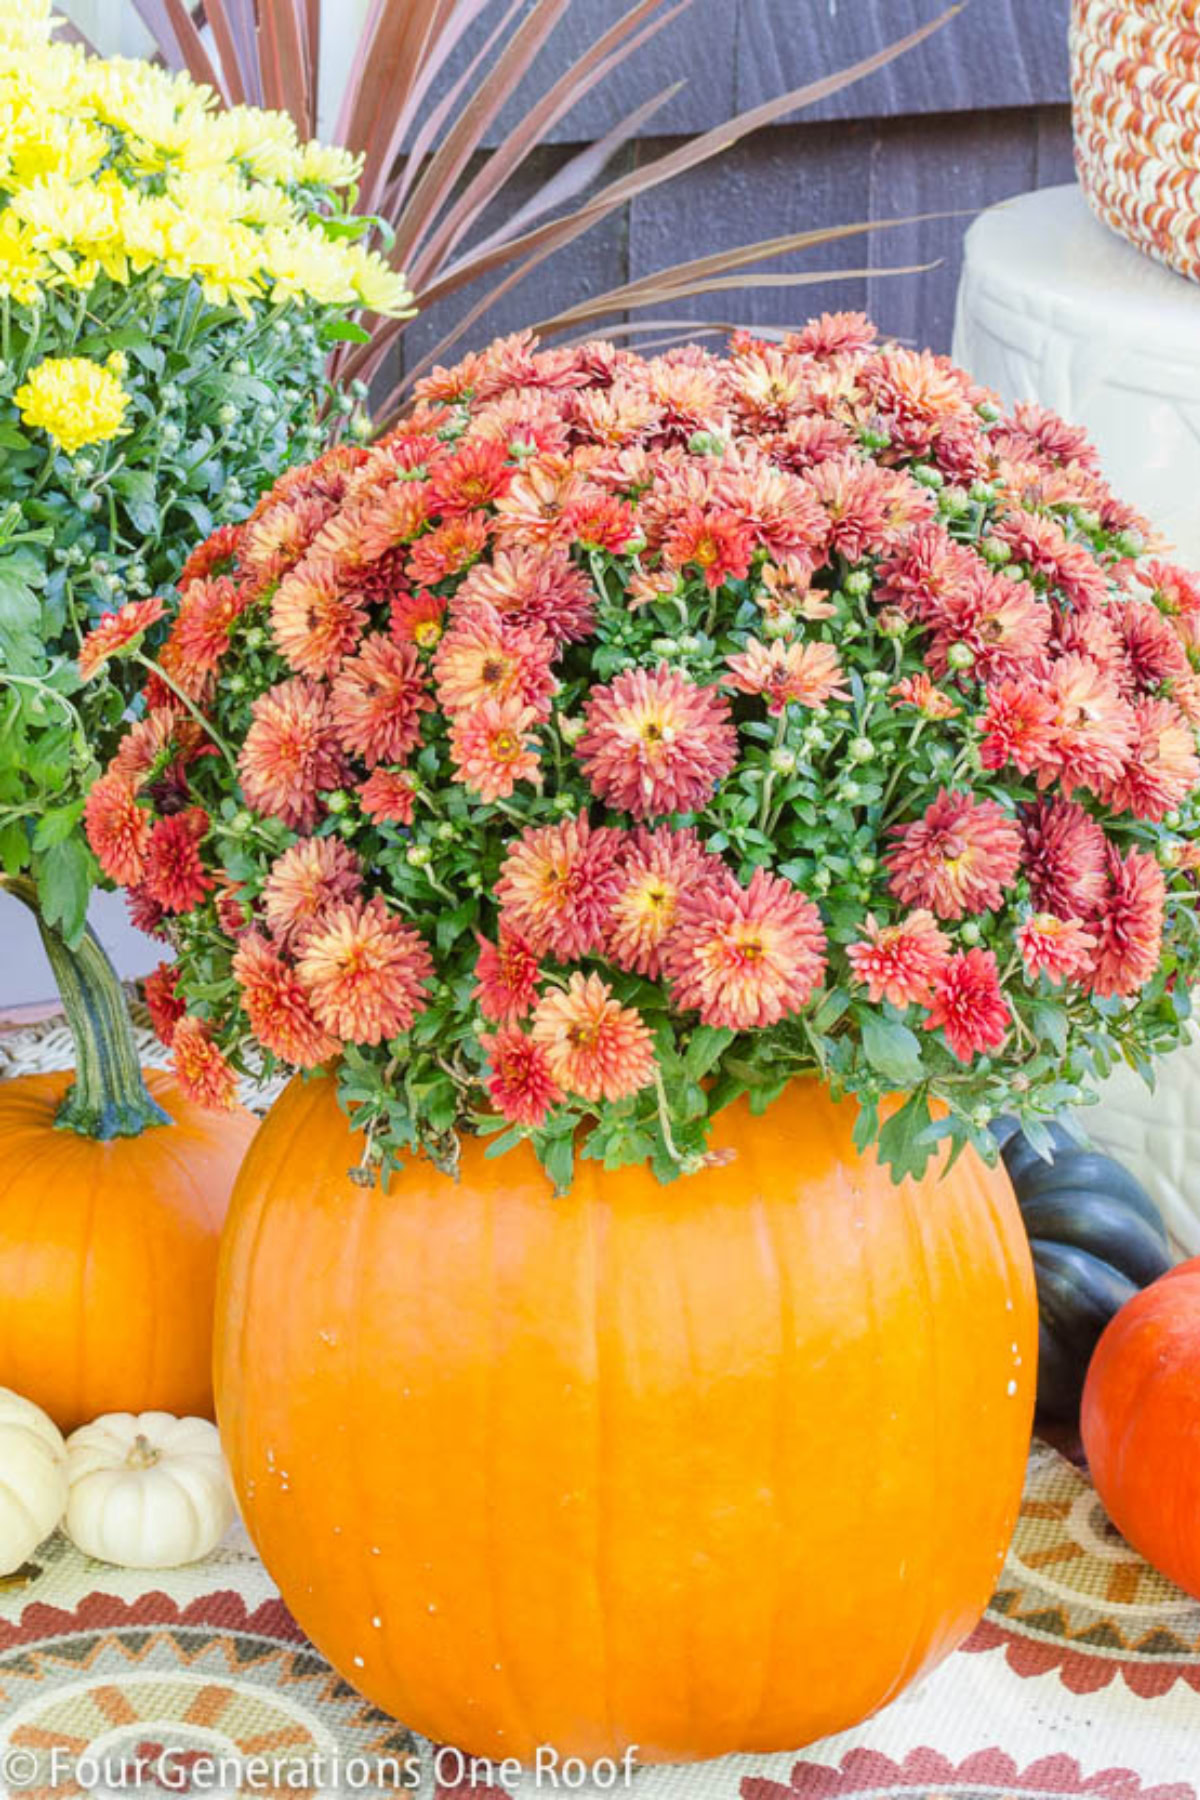
How To Make A Pumpkin Planter Step By Step
Once you’ve got your supplies, the whole process takes four steps.
Step 1. Remove The Stem From The Pumpkin
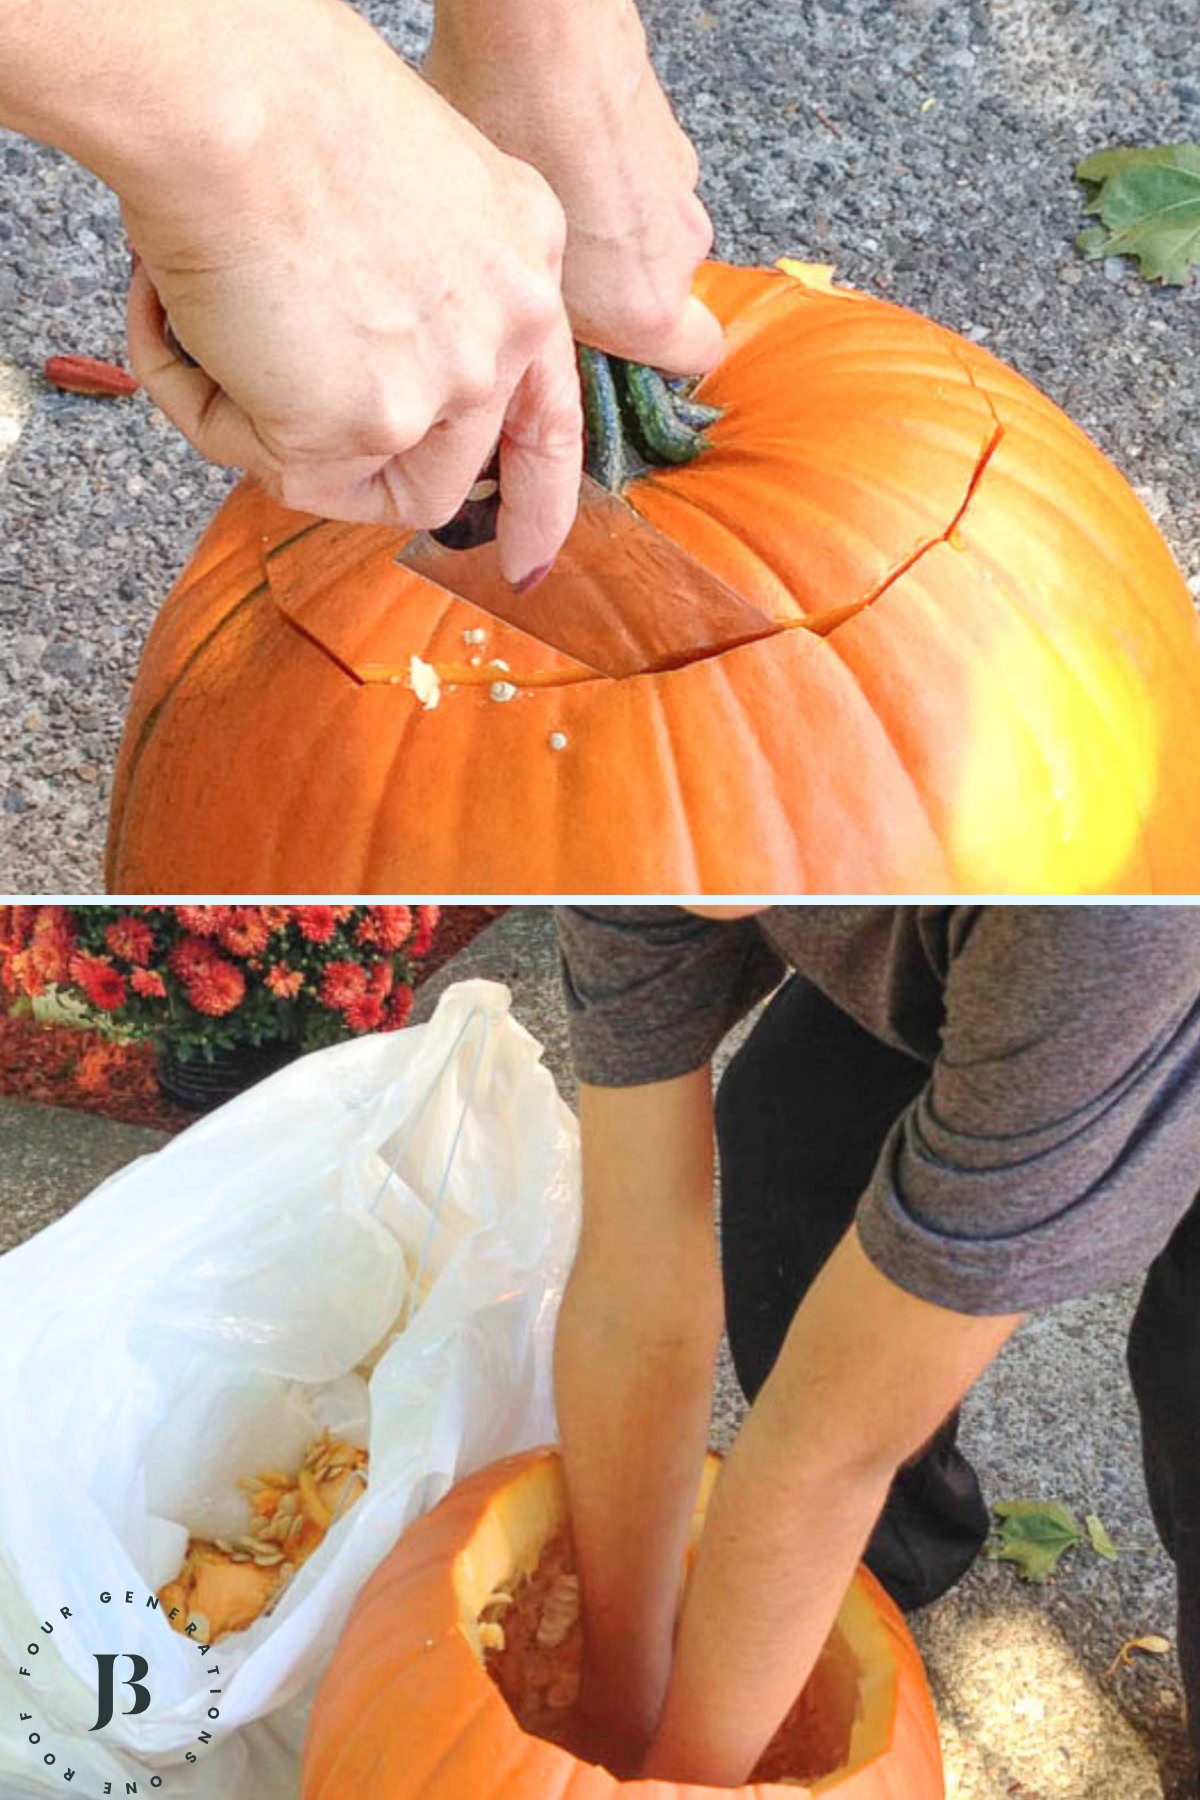
Insert the tip of the knife into the stem at an angle and press down lightly to make a cut. Gently carve around the stem in a circular motion. Twist and remove the stem from your pumpkin.
Step 2. Clean Out The Pumpkin
To clean out the guts of a pumpkin, use a spoon or your hands to scoop out all of the stringy insides from the pumpkin.
Step 3. Wash, Dry, And Spray The Inside Of The Pumpkin
If you skip washing, drying, and spraying the inside of your pumpkin, mold and bacteria move in fast. Once that happens, the pumpkin turns mushy, blackened, and starts to smell within days instead of weeks.
Step 4. Place A Mum Plant Inside The Pumpkin
There are two options for planting the mum. Add soil to the pumpkin and place the mum directly inside, or do what I did and just set the plastic planter inside.
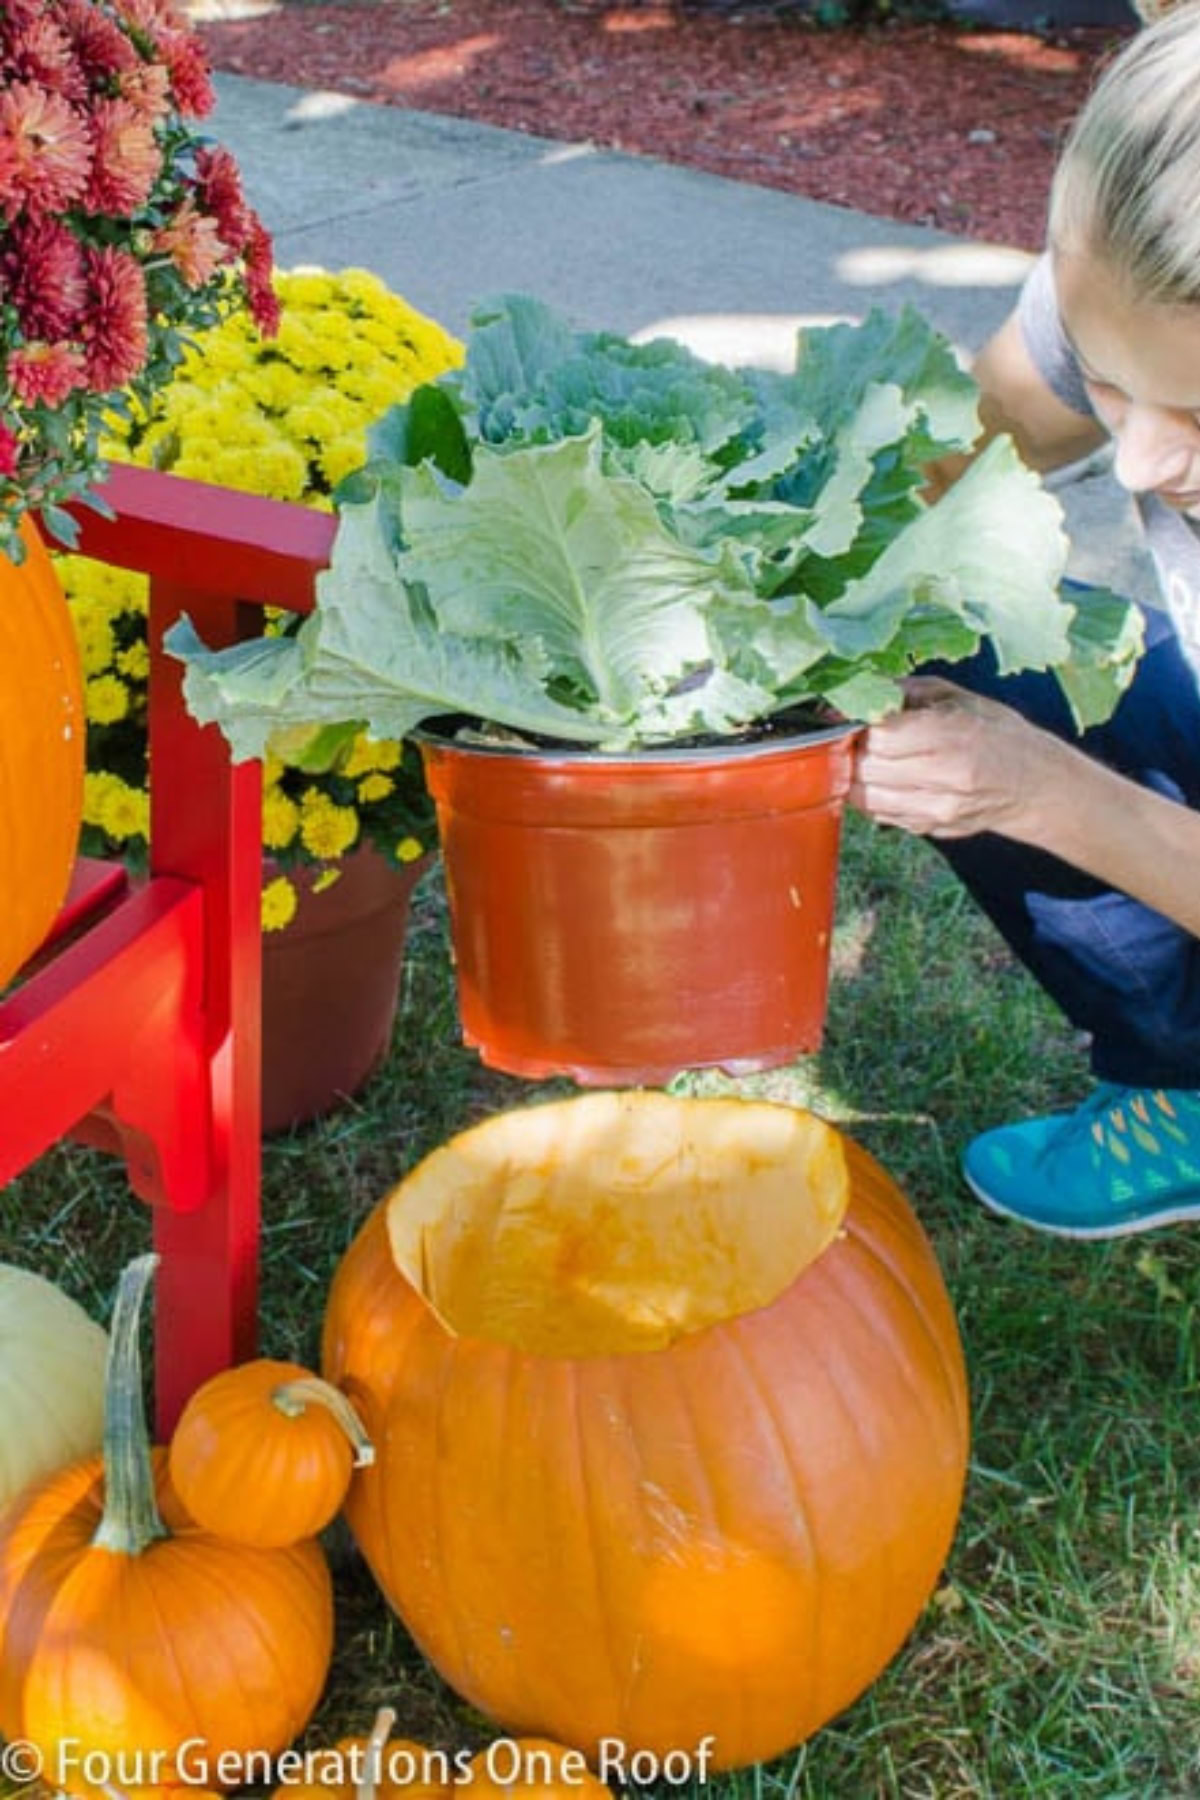
I also cut holes in the bottom of the pumpkin for drainage.
Real Pumpkin Or Faux Pumpkin Planter, Which Should You Use
A real pumpkin gives you the classic look, but it’s temporary. Spray it or give it a bleach bath and you extend the timeline, but it’s still going to rot eventually. That’s just the nature of using an actual pumpkin.
A faux pumpkin skips that problem entirely. No mold, no soft spots, no bleach bath, and you can reuse it next fall instead of buying a new one every September.
If you want the real deal for one season, use a real pumpkin and follow the wash and spray step above. If you want something you’ll use year after year, go faux.
How Long Does A Pumpkin Planter Last
A carved pumpkin planter typically lasts 3 to 4 weeks before it starts to rot. Store it somewhere cool and dry, out of direct sun, and you can stretch that timeline further.
Once decay sets in, the pumpkin becomes a target for bugs and mold fast, so keep an eye on it. A bleach bath or pumpkin spray at the start buys you the most time.
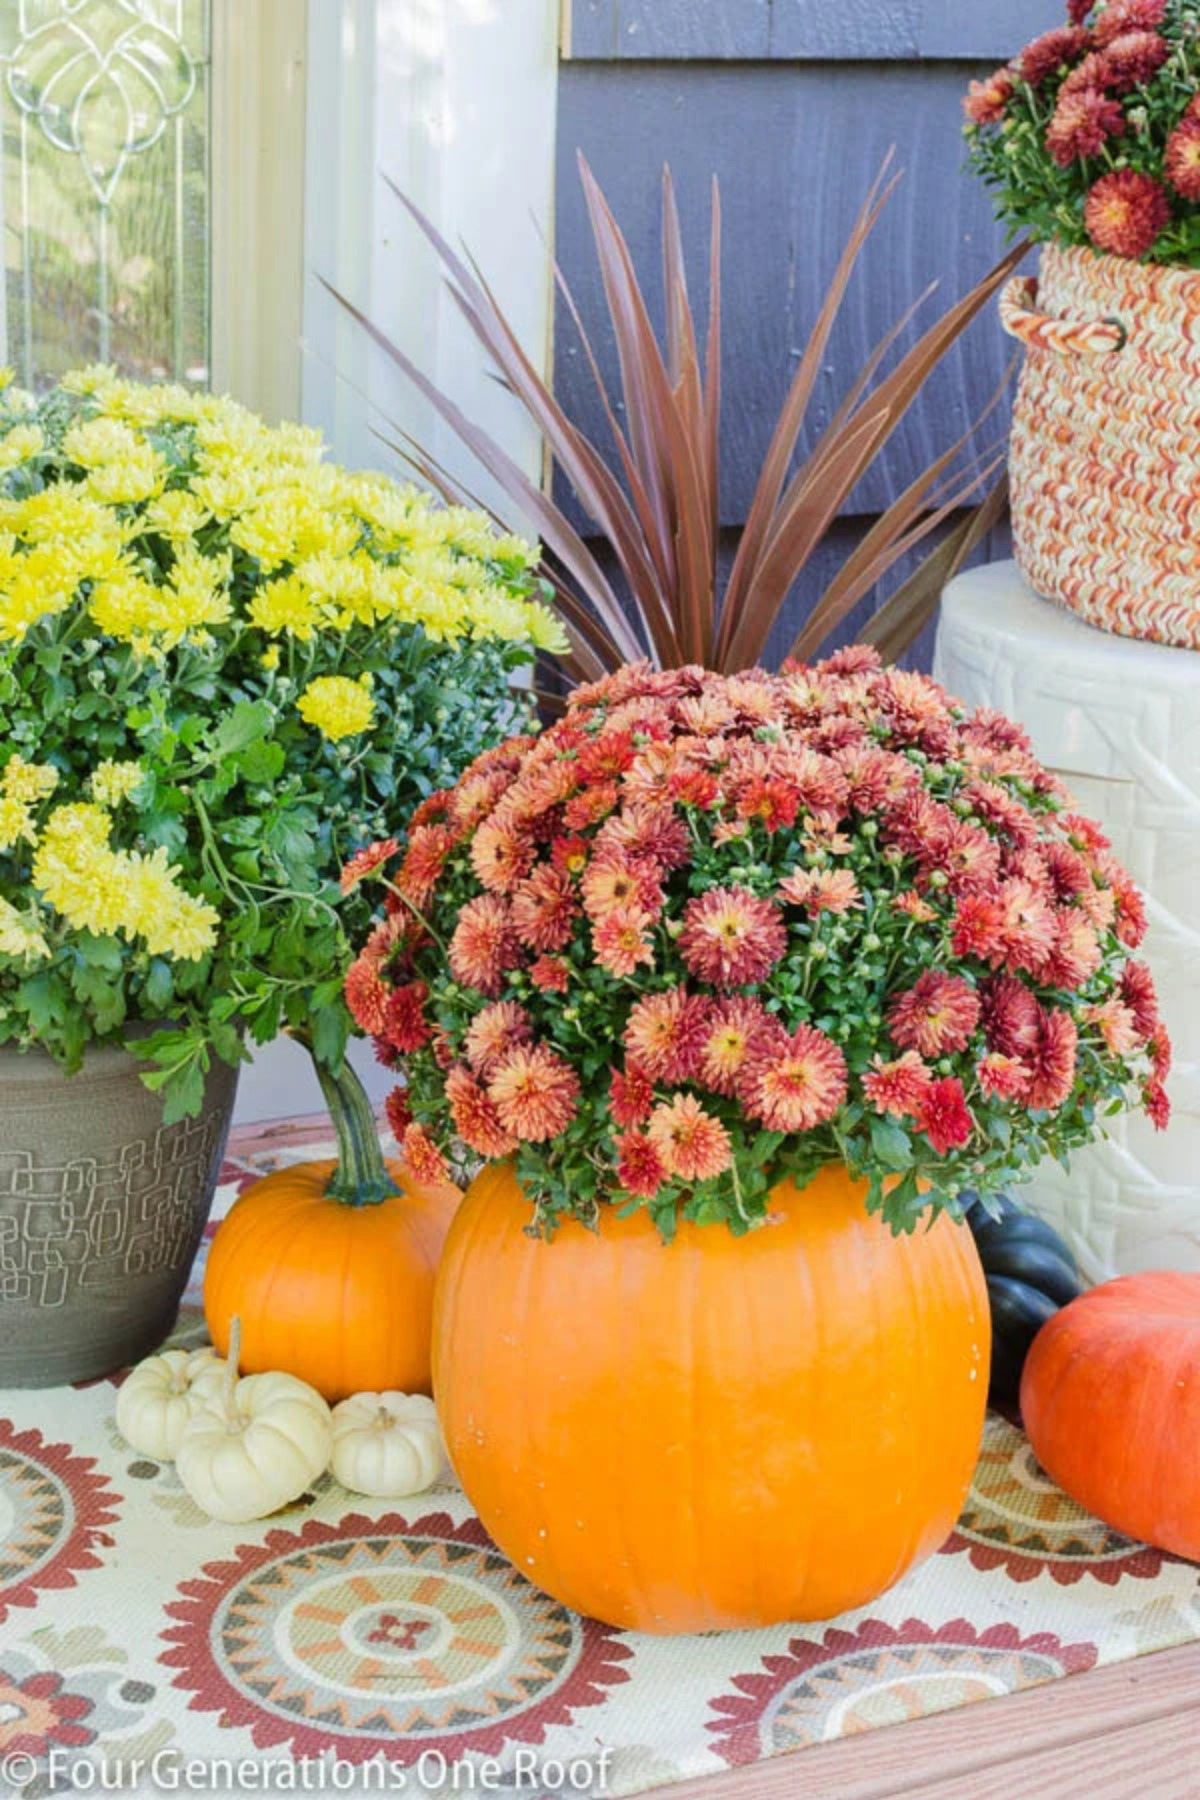
A carved pumpkin planter is one of the fastest ways to add real fall decor to your porch. Follow these four steps and you’ll have a planter that looks nothing like the plastic ones from the store, in under 10 minutes.
Frequently Asked Questions About Pumpkin Planters
A carved pumpkin planter lasts 3 to 4 weeks on average. Keeping it cool, dry, and out of direct sun stretches that timeline further.
Yes. Cut one or two small holes in the bottom of the pumpkin so water has somewhere to go. Without drainage, the pumpkin holds water and rots faster.
Yes, and it solves the rotting problem completely. A faux pumpkin planter never molds or softens, and you can reuse it every fall instead of buying a new one.
Wash and dry the inside after scooping it out, then spray it with a pumpkin preservation spray or give it a bleach bath. Store it in a cool, dry spot away from direct sun.
No. You can add soil directly to the pumpkin, or skip it entirely and set a plastic planter with the mum still in its pot inside the pumpkin. That second option is faster and less messy.
Mums are the easiest choice. They’re widely available every fall, come in the right size for a pumpkin, and give you that classic autumn look with almost no extra work.
Meet Jessica
What started as a hobby, Jessica’s blog now has millions of people visit yearly and while many of the projects and posts look and sound perfect, life hasn’t always been easy. Read Jessica’s story and how overcoming death, divorce and dementia was one of her biggest life lessons to date.
Yes! I love this. Naked plastic pots drive me bananas. Now, when I drive around my town and see everyone beautifully covering their pots with pumpkins, I will have you to thank. 😉
Love this idea!
xo Michael
haha thanks Michael!
I love it! And what a fun project to have the kids help with 🙂
Stacy I almost did the studded pumpkin idea today but I couldn’t find the brass head tacks yesterday!!! 🙂
Jess,
Love this idea. 🙂 And the expressions on your faces are priceless. 🙂
Happy day to you rock star!
karianne
Thanks Thistle and happy day to you too!!!!
Sooo so cute – what a simple way to plant a pumpkin 😉
Thanks so much for stopping by Courtney!! Hope all is well
Totally a “why didn’t I think of that” moment! Love it! Can’t wait to see the rest!
Why thank you Miss Jen! 🙂
Jessica, I love this! I actually think this is one DIY even I can do! Love the expression on your son’s face as he cleans out the pumpkin….priceless! Thanks for sharing!
You sure can!!! Go for it 🙂
Love this! That looks great! Literally the perfect planter for fall!
Thanks Ashley! Happy Fall!